Tag Archives: handmade

Handprints and footprints for Christmas keepsakes


handprint and footprint for christmas keepsakes |marmite et ponpon

Before having kids, Christmas was that glamorous night full of festivities and gifts, delicious food and lots of booze, and back home for the family gathering.

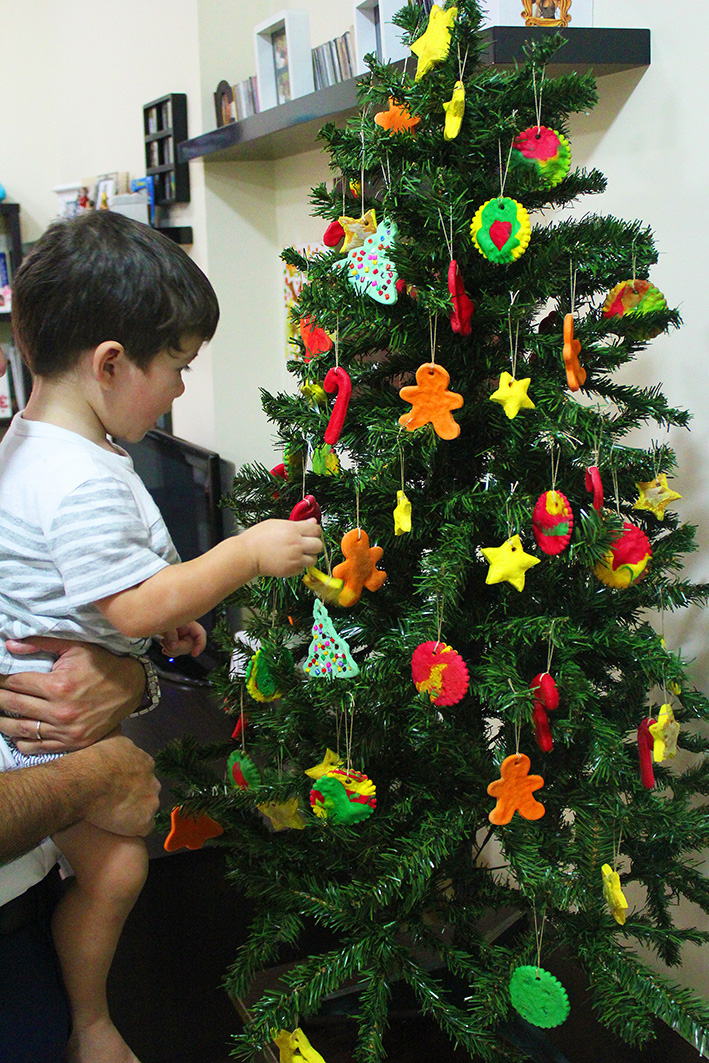
Now, with my boys (nady 5 and joud 2) are here, Christmas is not just that night, it is 24 days and 24 nights to it. Beautiful decorations can’t be those expensive intact objects, they are keepsakes done with tiny hands and big love. Red or green are not just ordinary colors. Santa becomes mom’s best friend and chocolate can replace a meal . . . Yes i turn into an elf to be able to communicate with santa and change the letters (toys) many times!

Christmas is more than just this night or day, it’s the anticipation to it that makes you live the season beaming with excitement and joy.  Against all odds, my Christmas is not a classic one, the star is not anymore on top of the tree, it fell from the summit to spark in their eyes and Jesus left his crib to be born in their heart. My Christmas is THEM!

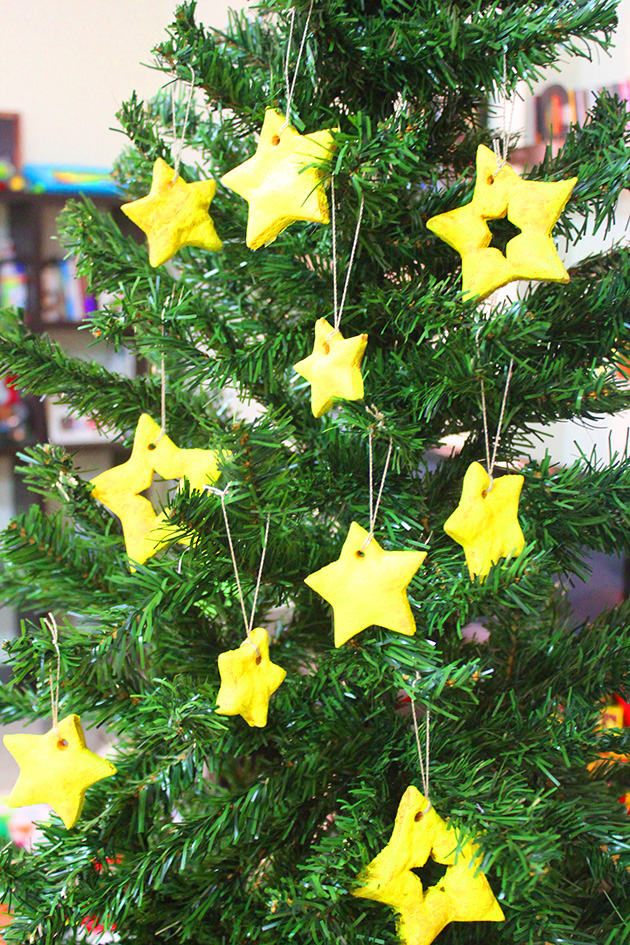
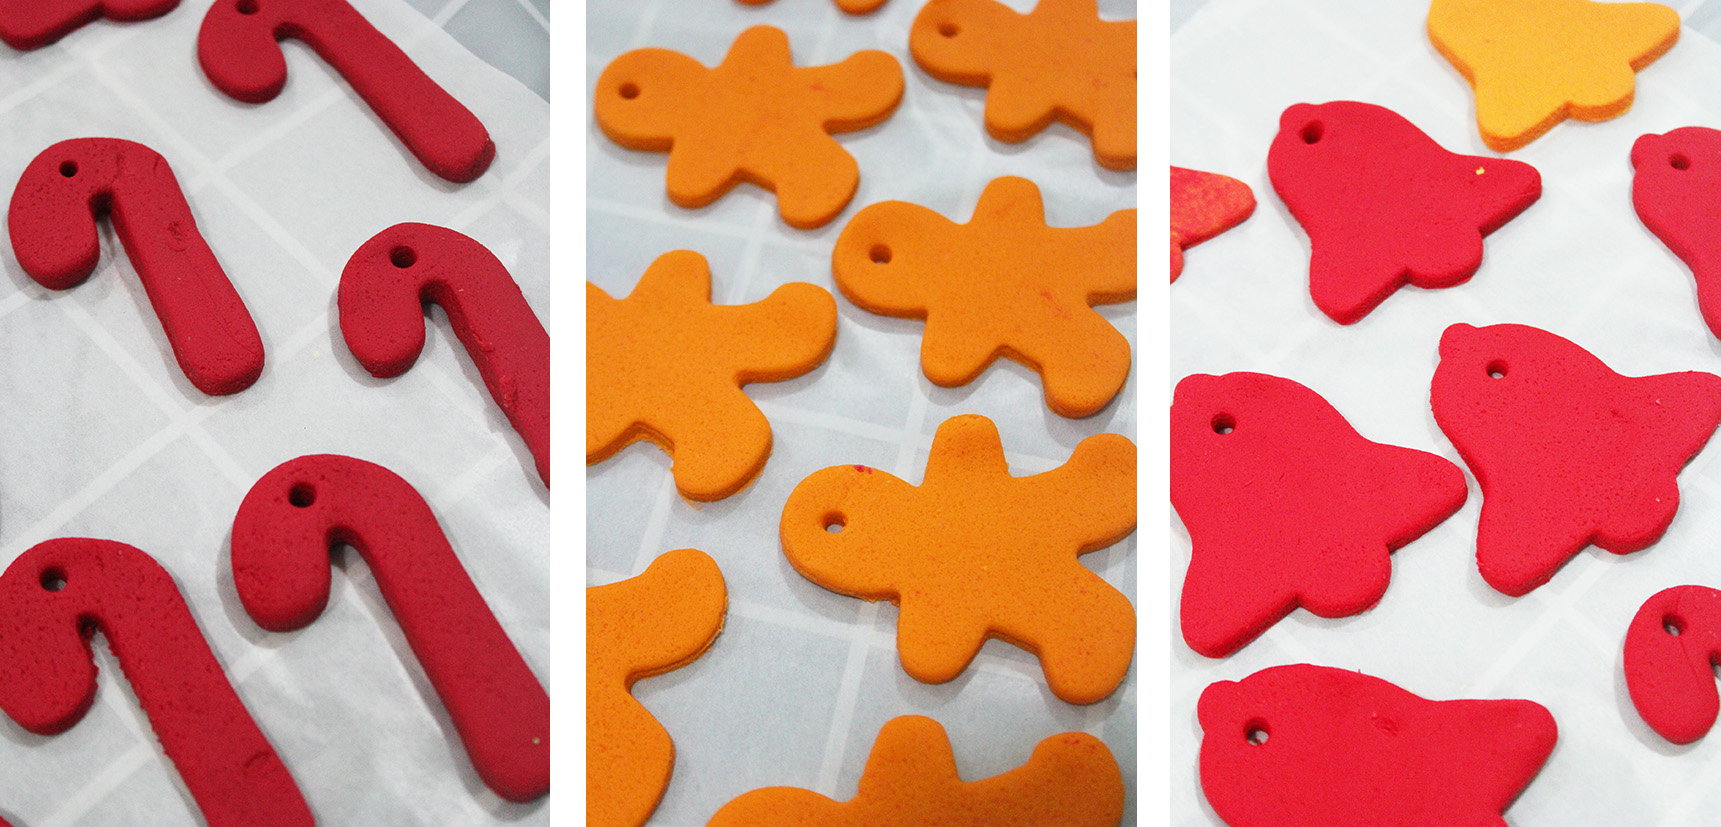
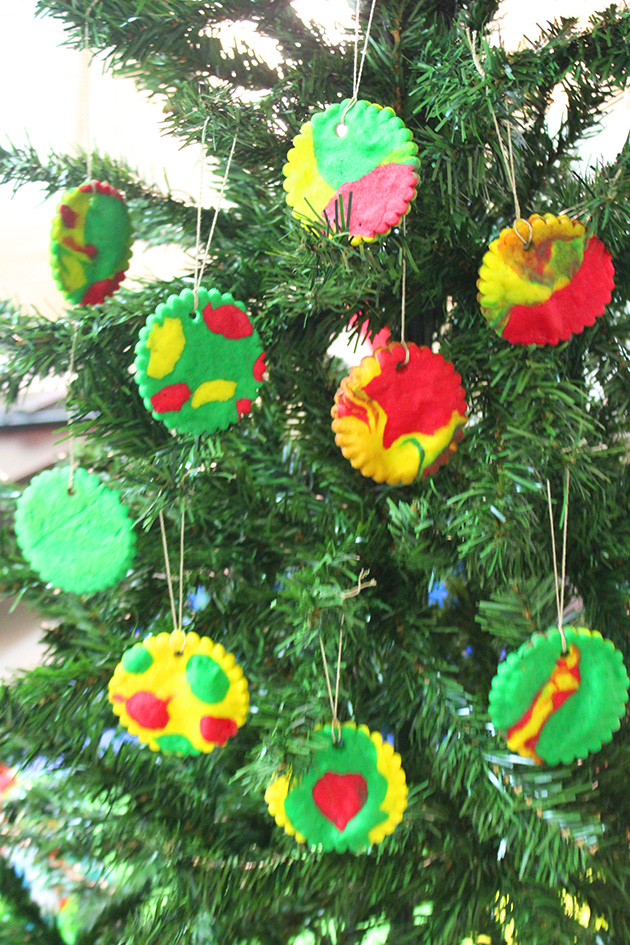
Christmas Keepsakes, kids will love doing their footprint and handprint as christmas tree, snowman, santa and rudolph.

Very easy and fun project to keep for the life. We spent a joyful time together doing them. Wish you lots of laughters as much and more than we had. And let the magic of the season start!

1-handprint and footprint for christmas keepsakes |marmite et ponpon2-handprint and footprint for christmas keepsakes |marmite et ponpon3-handprint and footprint for christmas keepsakes |marmite et ponpon4-handprint and footprint for christmas keepsakes |marmite et ponpon

If you like this post give it some likes and shares to spread the joy. Don’t forget to like marmite et ponpon facebook page and follow on twitter. More interesting posts are yet to come. Ho Ho Ho!

Easter tree decoration – homemade clay recipe for kids


easter tree decoration |marmite et ponpon

Hop in Easter mood with us and let’s start the decoration with this beautiful tree. Let your kids DIY the ornaments with a homemade clay recipe, ready in less than 10 minutes and with only 3 ingredients:

  • 1 cup cornstarch (cornflour)
  • 2 cups baking soda
  • 1 1/2 cup water

Mix all ingredients in a saucepan and bring to medium heat. Whisk continually  until it starts to thicken. It will take couple of minutes to look like mashed potato in consistency, remove it immediately from the heat. Place it in a bowl and cover it with damp cloth until it’s cool.

Knead it on a smooth surface, adding cornstarch if it feels a bit sticky, hand it to your kids and let the fun begin!

Cut out eggs and bunnies, using the cookie cutters and let them dry overnight. I am sure not all kids will have this patience, you can dry it in the oven for couple of hours on very low, so your kids can color them in the same day.

Don’t forget to make small holes (with a straw) before they dry, to be able later to insert a thread and hang it on the tree.

easter tree decoration |marmite et ponpon

This year the fun is double, i am crafting with my two boys! Let me be honest and say it’s beautifully insane 🙂 i need to tame my 19 months old boy excitement who is still discovering, exploring and creating that artistic mess, so overwhelmed with colors and beauty, he doesn’t believe rules exist and everything for him is edible! While my 4 years old boy, my charming little artist, who’s been doing this for a quite time, doesn’t fail to show me his passion and innate artistic skills. They both have it actually and i am so happy about it!

Back to our decoration, and while the paint is drying, get some dry branches and fix them in a pot (fill it with sand or pebbles not to fall) to have a tree like shape. And let the kid enjoy hanging up their handmade deco when they are completely dry.

easter tree decoration |marmite et ponpon

By the way, we prepared a lot more ornaments, but before having our final tree up, my little monkey dropped it 3 times and broke some! Well let me tell you this is part of the game, part of the fun and part of the learning. The most important is to be patient, and try to enjoy with them!

Those cracks make it more beautiful and real, and they will tell you later million story and laugh. Crafting with kids is not about the final outcome, the least you care about is working for the end result, let them enjoy the creative process, be patient again and enjoy as much as you can those priceless moments.

easter tree decoration |marmite et ponpon

If those bunnies and chick are striking your attention, they were made last year by my eldest son. You can check the link to that post.

If you like this post give it many likes and shares to spread the joy. Don’t forget to like marmite et ponpon facebook page and follow on twitter. More interesting posts are yet to come.

Handmade Christmas tree ornaments- crafts for tiny hands


handmade christmas tree ornamentsChristmas is my favorite holiday; so joyful, festive and special for what it represents. When you say Christmas you immediately think of the decorated trees, shopping for gifts, lights, beautiful decorations, happy family gatherings, jingle bells, yummy food, midnight mass, visiting friends and family, kids waiting for Santa… and by the way my husband proposed to me on the Christmas eve! I always thought it can’t get better until my love Nady was born, he became the Christmas and the joy of the family! I admit that kids take Christmas to another level of feelings to discover that happiness is a small word to what you actually feel. He changed the whole concept and added more magic and excitement to this season. This year, we are decorating the house together, and specifically the tree. Handmade ornaments with salt dough!  I love when he is involved in the crafts, it’s a quality and fun time together! Mon amour d’artiste! christmas tree with handmade ornaments:nadychristmas tree with handmade ornaments 3christmas tree with handmade ornaments 2Very simple craft, doesn’t require a lot of ingredients and the outcome is wow! With just flour, salt and water you can do these beautiful ornaments! Mix:

  • 1 cup flour
  • 1/2 cup salt
  • 1/2 cup water

and knead until smooth. If your dough is still crumbly you can add more water, or if it’s sticky you can add flour, you can always correct flour and water to get the consistency you want. Add coloring gel to the dough or paint it later if your kids are old enough to create designs on them. I love working with this dough, it’s so versatile; you can bake it for 15-20 mns on 200ºC or leave it to air dry for 2 days, if you are using decorations that can’t be baked. If you are leaving it to air dry i suggest to flip it after one day. For instance, we used colorful plastic pieces to decorate the tree shape ornament, and kept it to dry without baking. handmade tree ornament 2Nady was so happy rolling the dough, cutting, and poking the colored plastic bits. Grand garcon (big boy). He got so excited, he sat on the table! handmade tree ornament 1This is how they look on the tree after they dry! handmade tree ornament 3The sky is the limit, you can do any Christmas related shape you want! handmade star ornament 1We used a straw to make the small hole, where we inserted a golden thread to be able to hang it on the tree. handmade star ornament 2handmade star ornament 3After baking these stars, i brushed them with little oil for a shiny look! We used the whole set of Christmas cookies cutters, so we did many shapes! handmade ornaments varietyhandmade cane ornamenthandmade ginger man ornamenthandmade bell ornamentAnd finally the colorful Christmas balls! I loved the outcome, the color blend makes you happy 🙂 handmade balls ornaments 2You can be as much creative as you want, all depending on the material you have and the age of your kids. You can paint, use glitter, beads, pompoms……Let them unleash the artist inside them! handmade balls ornaments 1handmade balls ornament 3These ornaments last for years if well stored in a dry container and not exposed to moisture in any way. Et voila our beautiful Christmas tree for the year 2014, done by Nady and the help of maman. 3a2bel kel seneh! This is how we wish you (in arabic) a long life to celebrate more christmases in the coming years. christmas tree with handmade ornamentOne month until Christmas, it’s never early to start celebrating, We did! What about you, did we put you in the mood?! If you like this post give it some likes and shares to spread the joy. Don’t forget to like marmite et ponpon facebook page. More posts yet to come, stay tuned!

Easter and spring crafts for kids- beautiful bunny garland


Two weeks ago we kicked off Easter spirit because we wanted this year decoration to be done by us. Usually this festive season coincides with the spring. Hello to the colorful crafting season!

Crafting should be fun, entertaining and instructive at the same time. My son loves everything hanging and dangling, so we decided to do a colorful bunny garland to decorate his play area.

To start with, you need to cut out bunny shape in different colors. Click on bunny to download a high resolution file of the cut out.

bunny cut out 1

bunny cut out 2

bunny cut out 3

To make the activity more fun, adding pompom tail and eyes to the bunnies was a great idea. This way it is not just learning the colors.

bunny tails 1

Nothing worth the look on your baby’s face when they are excited about something. It’s priceless!

bunny tails 2

bunny tails 3

How soft a bunny tail is!

bunny tail 4Now we need to stick eyes for the bunny to be able to see the carrots. Bunnies love carrots.

bunny eyes 1

Papa is participating as well. I love when we do things as a family.

bunny eyes 2

garland craftingWhen the bunnies are ready, stick them on a thread next to each other to have a beautiful colorful garland.

Isn’t it?

There are plenty of choices for the garland. You can do it with eggs, flowers or chicks….

garland 1

garland


how to make elegant easter eggs- step by step


elegant eggs

For elegant yet simple Easter eggs, it’s a must to use gold or silver color and it’s the material that will make it look fancy.

I chose to dye the eggs with acrylic gold paint using my hand to make it look like patina effect.

colouring gold

all gold

Give it some time to dry before applying the paillette line. Fix it with glue for safe results, I used super glue.

paillette line

paillette 2

all apillette

The richness, neatness and somptuous elegance will mark you Easter!