Tag Archives: bunny

Oreo and kiri cheese bunny pops – mini chef in the kitchen


oreo and kiri bunny pops |marmite et ponpon

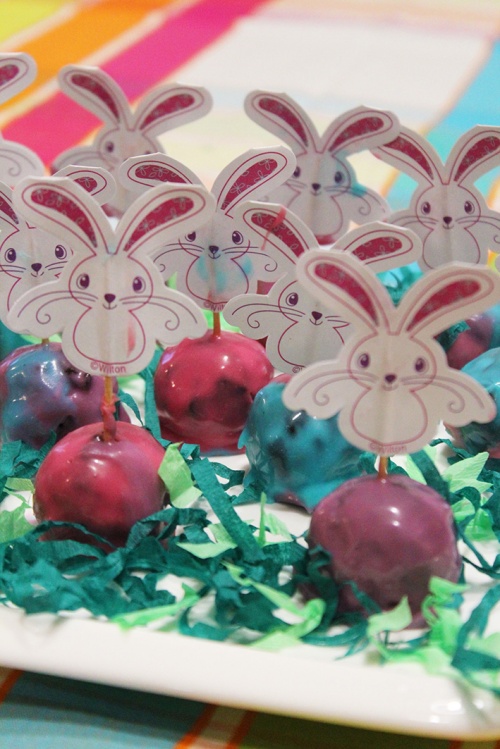
We are living Easter spirit to the max; Crafts, decorations, egg hunt… and today we are making a colorful “eastery” treat, just on time to satisfy the kids sweet tooth and boost the festivities mood.

Very simple recipe for kids to make, doesn’t require skills or baking. You will need for almost (18-22) balls medium size

  • 6 packs of oreo (24 pieces)
  • 4 cubes kiri cheese

Roughly crush oreo and mix with kiri until u get a consistent batter. Let it rest in the fridge for half an hour before shaping it into balls.

oreo and kiri bunny pops |marmite et ponpon

oreo and kiri bunny pops |marmite et ponpon

Dip it in melted white chocolate, or color it with springy colors, using food color gel. Insert the bunny picks, and let it chill a bit in the fridge before serving.

If you can’t find the bunny picks, you can also use chicks, carrots, flowers, any item of spring theme, then you can color the balls accordingly.

oreo and kiri bunny pops |marmite et ponpon

oreo and kiri bunny pops |marmite et ponpon

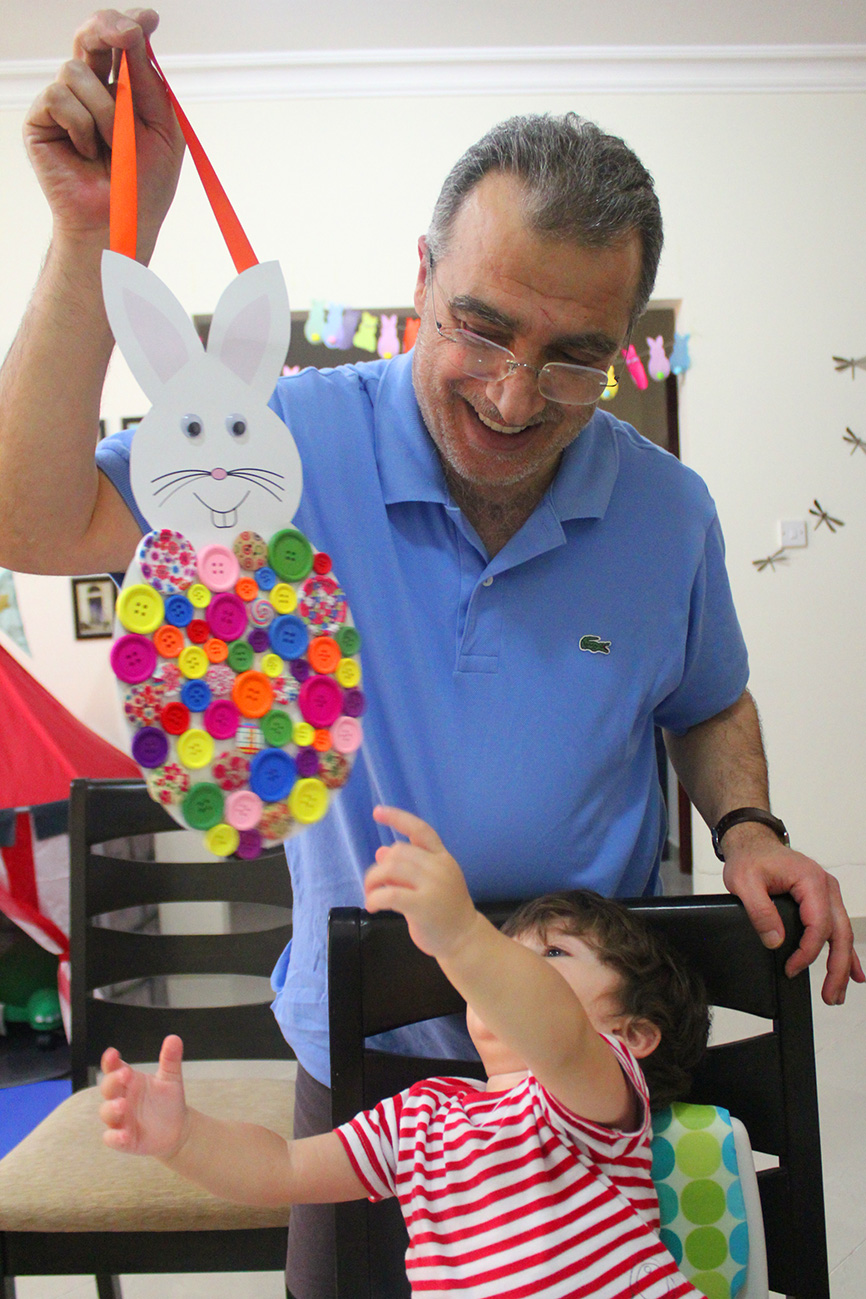
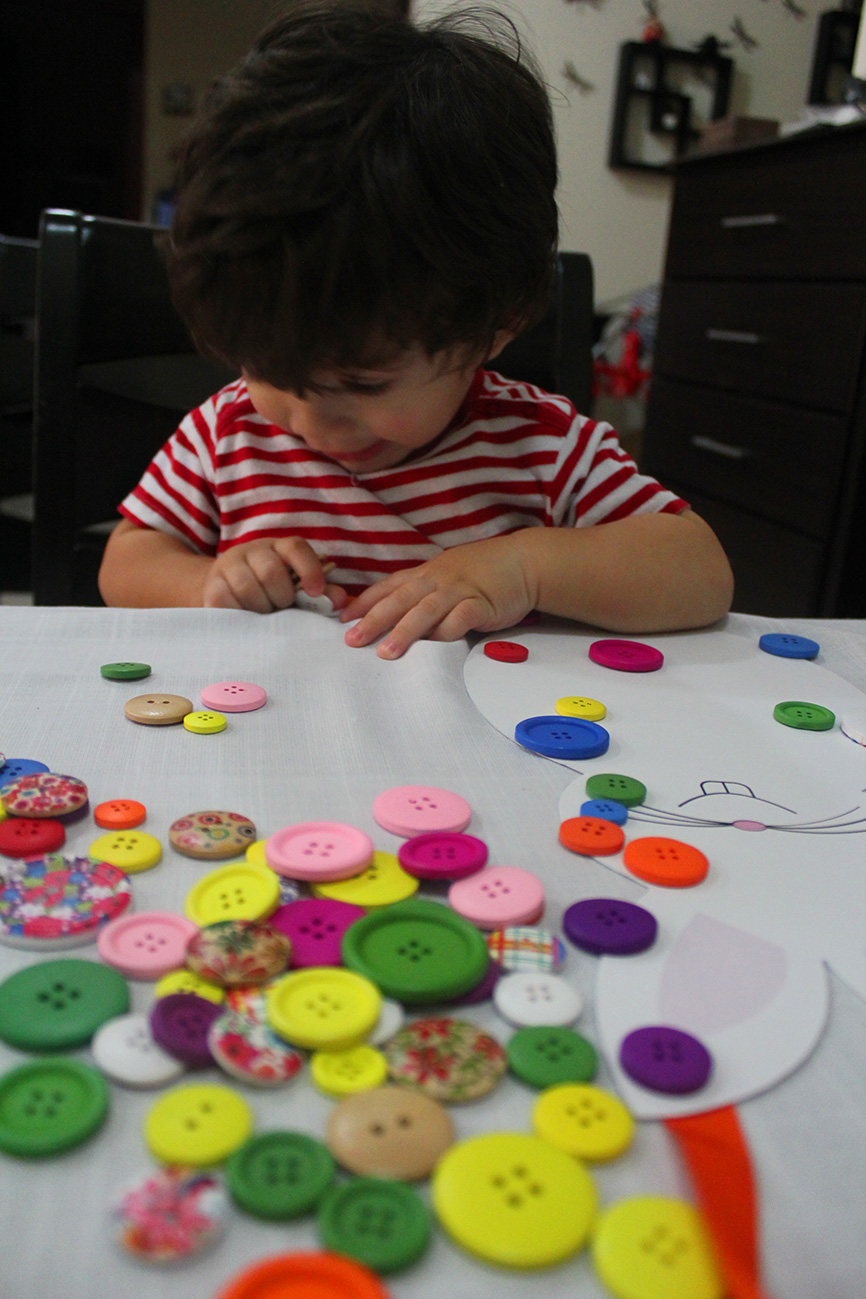
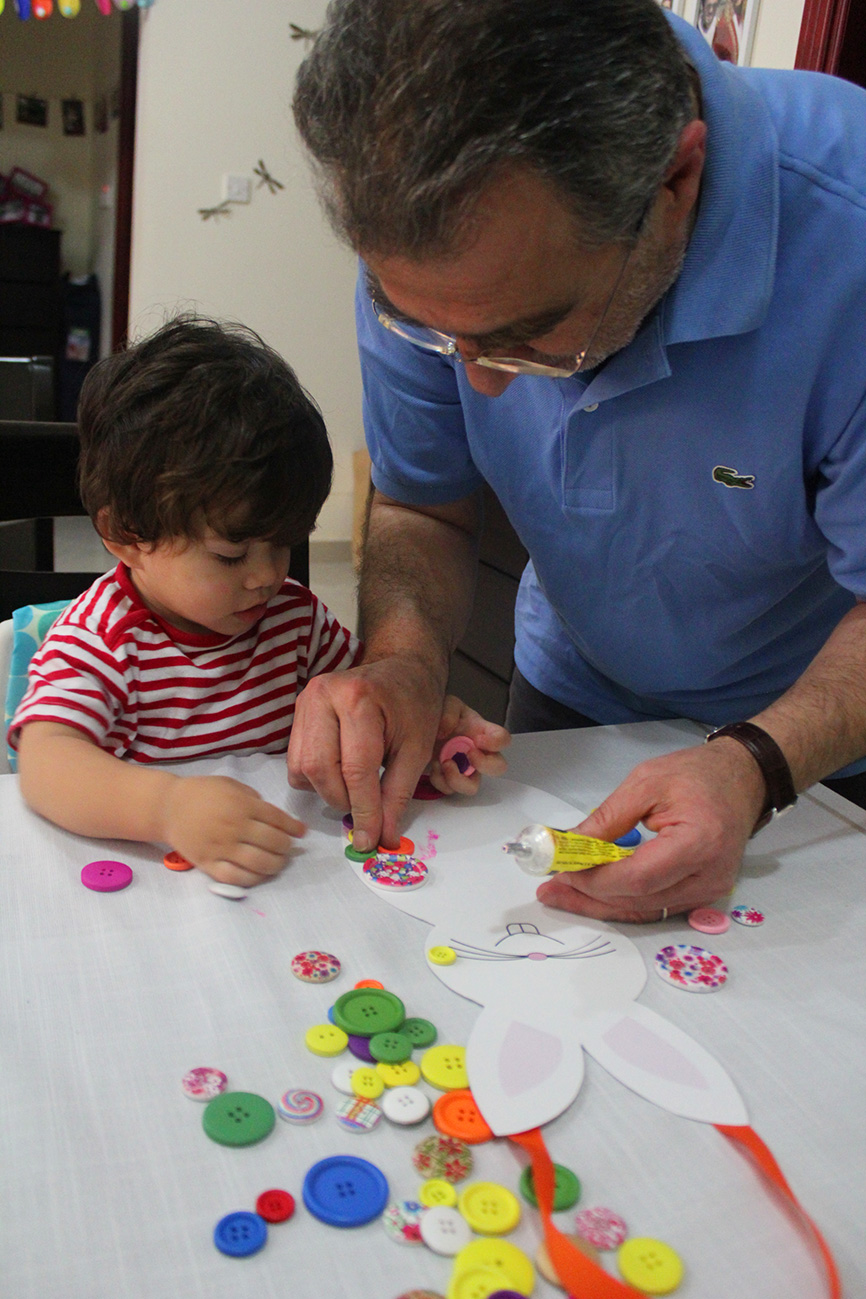
No doubt, cooking with kids takes more time and effort, but for the many learning experiences you can embrace while your kids are in the kitchen, i encourage you to do it more often. Trust me the benefits to their development justify the extra efforts.

If you like this post give it some likes and shares to spread the joy. Don’t forget to like marmite et ponpon facebook page and follow on twitter. More posts yet to come, stay tuned!

oreo and kiri bunny pops | marmite et ponpon

Easter bunny burlap bunting – Crafts for little hands


Easter bunny burlap buntingSpring has officially started so now let’s hop in Easter mood! Meaning it’s time to start our DIY home decoration. This year i am using burlap (jute) as a main element.

Crafting with my son is becoming even more fun as he grows up. He shows more interest and skills which makes me happy and proud. Not just that, he has an opinion too!

We started with a colorful bunting. First you need to cut out burlap triangles. Cut as much as you need and the convenient size, so when attached together, it makes the bunting length you want. Nady chose blue and green paint to make dots on the triangles with his tiny finger. You can use textile paint or acrylic paint.

IMG_4443My little man is becoming so independent, he refused any assistance! I was just sitting, watching and taking pictures!

burlap dottingWhen all done, leave them couple of hours to dry. In our case we left them overnight to extend more the fun!

IMG_4449Next step we used different colors of felt to cut bunny shapes. If you don’t have felt, choose any textile available. Crafts should be fun and entertaining not energy consuming. Enjoy this precious time with your little ones and make the most of it to be instructive too.

burlap rabbit buntingStick on each triangle a bunny. Click on bunny to download a high resolution file, you can adjust the size of the bunny depending on how big you want it.

Now bunnies need tails. The favorite part for nady. He loves pompoms! you can find pompoms everywhere in our house, even in the fridge! Yes in the fridge near the yogurt his favorite snack!

IMG_4464He was so excited using the glue alone without my help! The most phrase i heard in this craft was “tout seul maman”! (all alone maman). I remember last year when we did a bunny garland i was introducing a lot of new words that i was hearing this time gracefully. Kids grow up fast!

IMG_4466We had so much fun and it was a good exercise developing the fine motor skills and improving his vocabulary.

Use a thread or ribbon to attach the triangles next to each other.  Hang the bunting and enjoy 🙂

burlap easter buntingIf you like this post give it some likes and shares to spread the joy. Don’t forget to like marmite et ponpon facebook page and follow on twitter. More posts yet to come, stay tuned!

buttons made Easter bunny – DIY door hanger


buttons bunny - DIY easter door hanger

Easter fun is still on! Crafting with jeddo (grandfather) Maurice! A bunny made with colorful buttons to decorate the front door. We are enjoying every minute with my parents.

Very easy DIY door hanger for easter. All you need is a bunny cut out and buttons. Click here to download a high resolution file.

bunny

buttons

All you need to do is to fill the bunny tummy with buttons of different sizes and colors. Stick two eyes and a ribbon behind the ears for hanging.

buttons bunny - DIY easter door hanger

buttons bunny - DIY easter door hanger

buttons bunny - DIY easter door hanger

Isn’t it attractive? Nady was fascinated with the colors. I love Easter, a happy and colorful holiday always coinciding with the spring season.

buttons bunny - DIY easter door hanger

If your baby is still discovering with his mouth, avoid small buttons. Nady tasted all of them 🙂

buttons bunny - DIY easter door hangerIt’s a fun way to teach the colors to your kid.

buttons bunny - DIY easter door hangerGuess who was more happy?!

buttons bunny - DIY easter door hanger

The door hanger is ready! Easter decoration is almost done, we still have to decorate the eggs on saturday. Don’t miss this year’s special eggs. Wait for the post 🙂

Easter and spring crafts for kids- beautiful bunny garland


Two weeks ago we kicked off Easter spirit because we wanted this year decoration to be done by us. Usually this festive season coincides with the spring. Hello to the colorful crafting season!

Crafting should be fun, entertaining and instructive at the same time. My son loves everything hanging and dangling, so we decided to do a colorful bunny garland to decorate his play area.

To start with, you need to cut out bunny shape in different colors. Click on bunny to download a high resolution file of the cut out.

bunny cut out 1

bunny cut out 2

bunny cut out 3

To make the activity more fun, adding pompom tail and eyes to the bunnies was a great idea. This way it is not just learning the colors.

bunny tails 1

Nothing worth the look on your baby’s face when they are excited about something. It’s priceless!

bunny tails 2

bunny tails 3

How soft a bunny tail is!

bunny tail 4Now we need to stick eyes for the bunny to be able to see the carrots. Bunnies love carrots.

bunny eyes 1

Papa is participating as well. I love when we do things as a family.

bunny eyes 2

garland craftingWhen the bunnies are ready, stick them on a thread next to each other to have a beautiful colorful garland.

Isn’t it?

There are plenty of choices for the garland. You can do it with eggs, flowers or chicks….

garland 1

garland