Tag Archives: decoration

Easter tree decoration – homemade clay recipe for kids


easter tree decoration |marmite et ponpon

Hop in Easter mood with us and let’s start the decoration with this beautiful tree. Let your kids DIY the ornaments with a homemade clay recipe, ready in less than 10 minutes and with only 3 ingredients:

  • 1 cup cornstarch (cornflour)
  • 2 cups baking soda
  • 1 1/2 cup water

Mix all ingredients in a saucepan and bring to medium heat. Whisk continually  until it starts to thicken. It will take couple of minutes to look like mashed potato in consistency, remove it immediately from the heat. Place it in a bowl and cover it with damp cloth until it’s cool.

Knead it on a smooth surface, adding cornstarch if it feels a bit sticky, hand it to your kids and let the fun begin!

Cut out eggs and bunnies, using the cookie cutters and let them dry overnight. I am sure not all kids will have this patience, you can dry it in the oven for couple of hours on very low, so your kids can color them in the same day.

Don’t forget to make small holes (with a straw) before they dry, to be able later to insert a thread and hang it on the tree.

easter tree decoration |marmite et ponpon

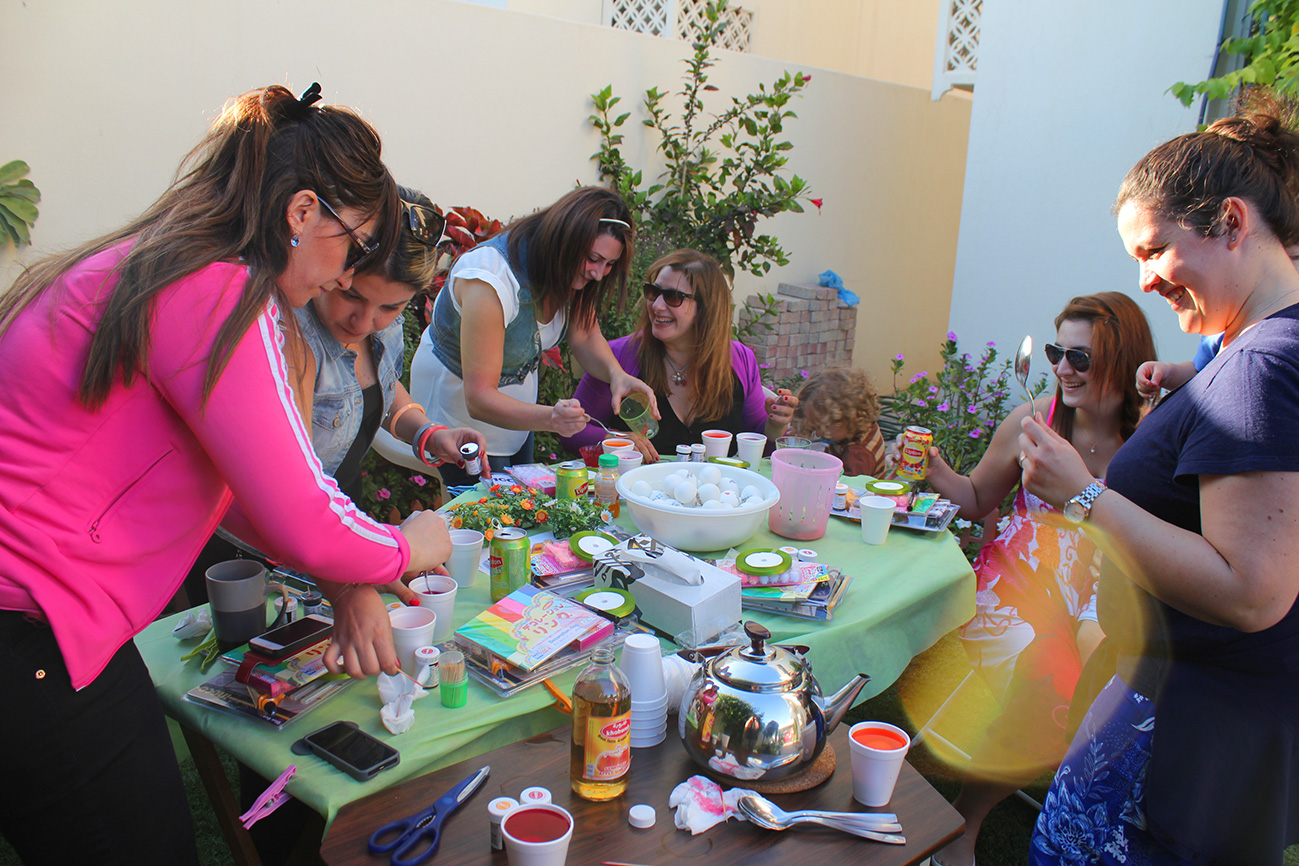
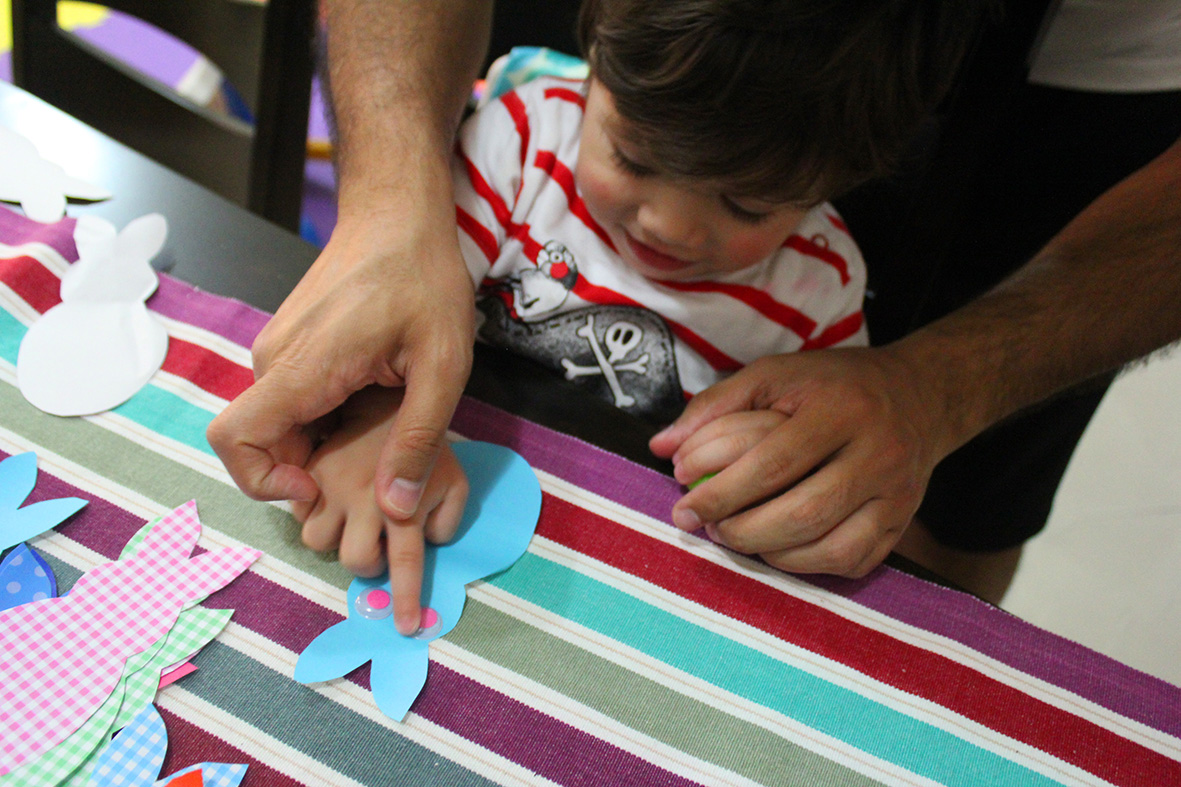
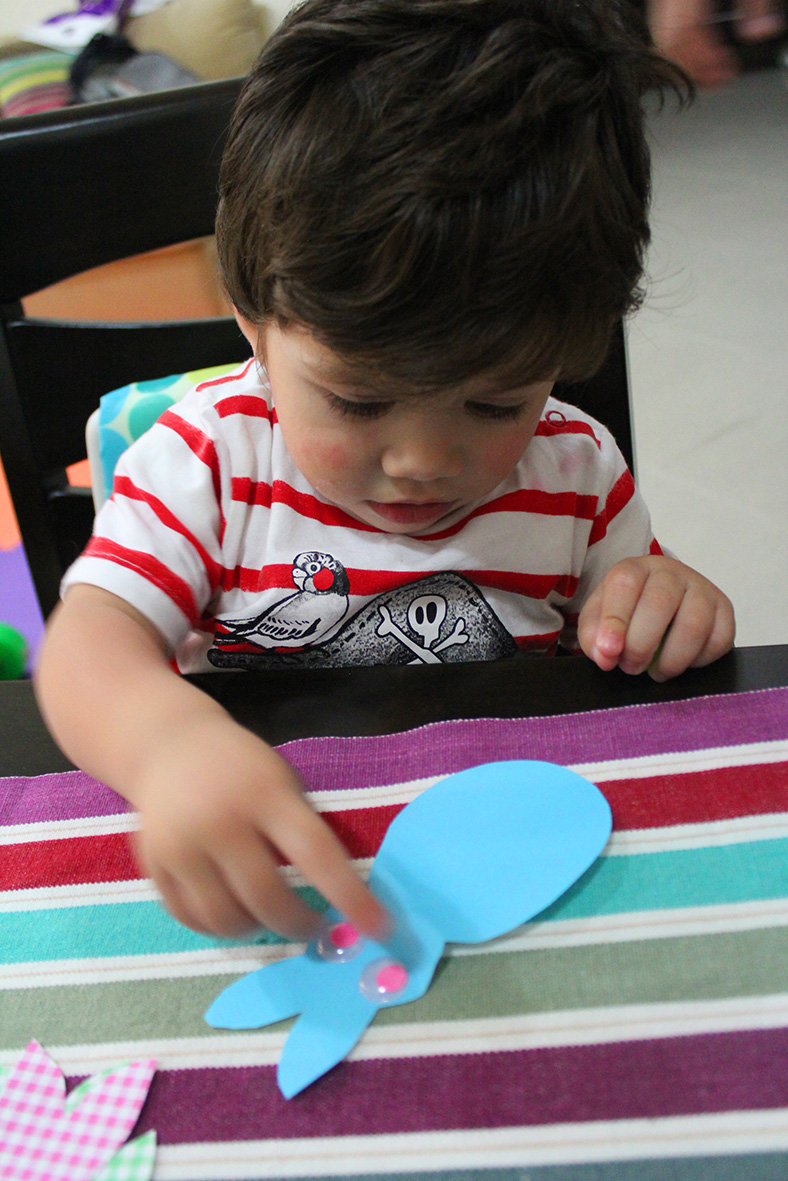
This year the fun is double, i am crafting with my two boys! Let me be honest and say it’s beautifully insane 🙂 i need to tame my 19 months old boy excitement who is still discovering, exploring and creating that artistic mess, so overwhelmed with colors and beauty, he doesn’t believe rules exist and everything for him is edible! While my 4 years old boy, my charming little artist, who’s been doing this for a quite time, doesn’t fail to show me his passion and innate artistic skills. They both have it actually and i am so happy about it!

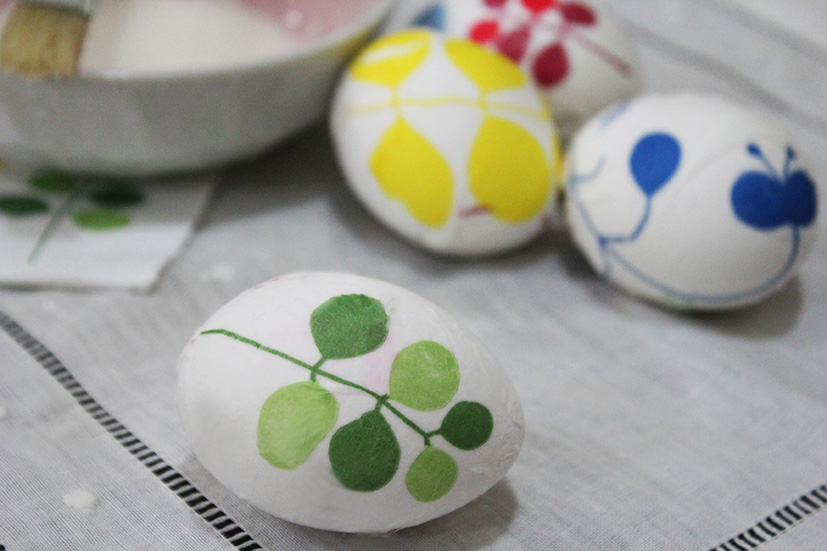
Back to our decoration, and while the paint is drying, get some dry branches and fix them in a pot (fill it with sand or pebbles not to fall) to have a tree like shape. And let the kid enjoy hanging up their handmade deco when they are completely dry.

easter tree decoration |marmite et ponpon

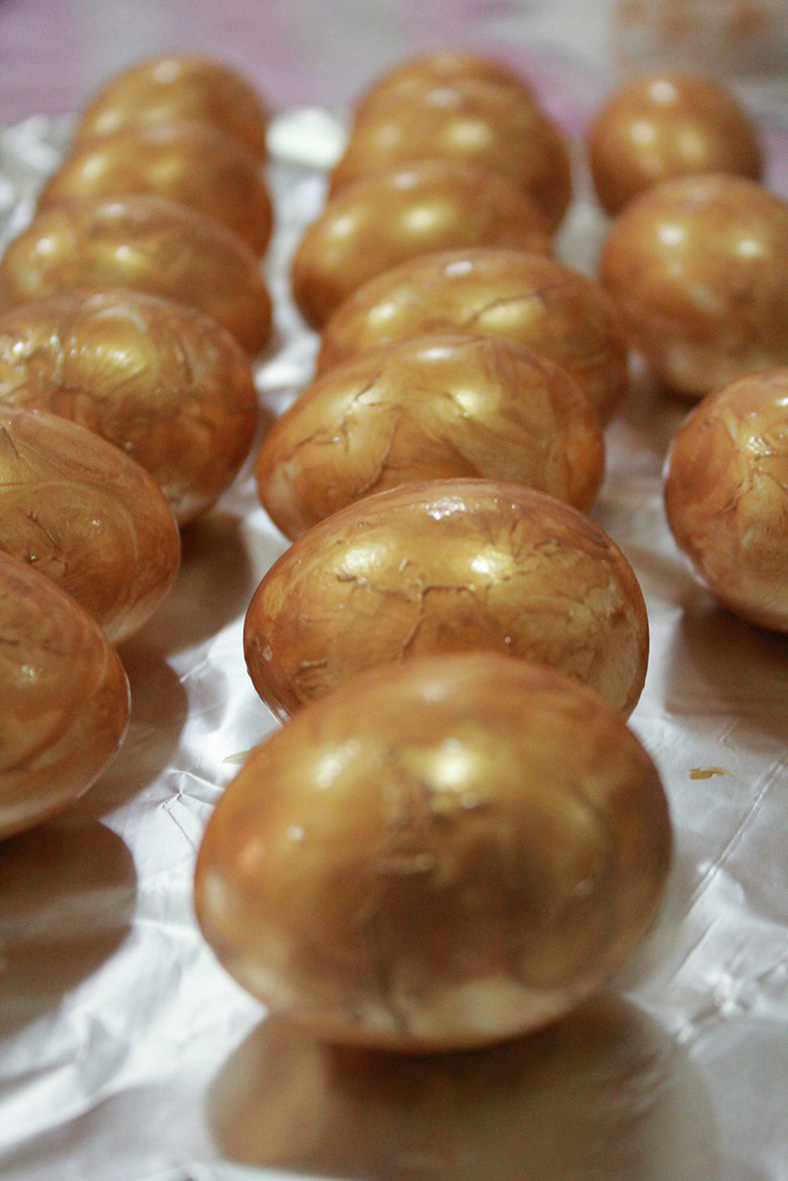
By the way, we prepared a lot more ornaments, but before having our final tree up, my little monkey dropped it 3 times and broke some! Well let me tell you this is part of the game, part of the fun and part of the learning. The most important is to be patient, and try to enjoy with them!

Those cracks make it more beautiful and real, and they will tell you later million story and laugh. Crafting with kids is not about the final outcome, the least you care about is working for the end result, let them enjoy the creative process, be patient again and enjoy as much as you can those priceless moments.

easter tree decoration |marmite et ponpon

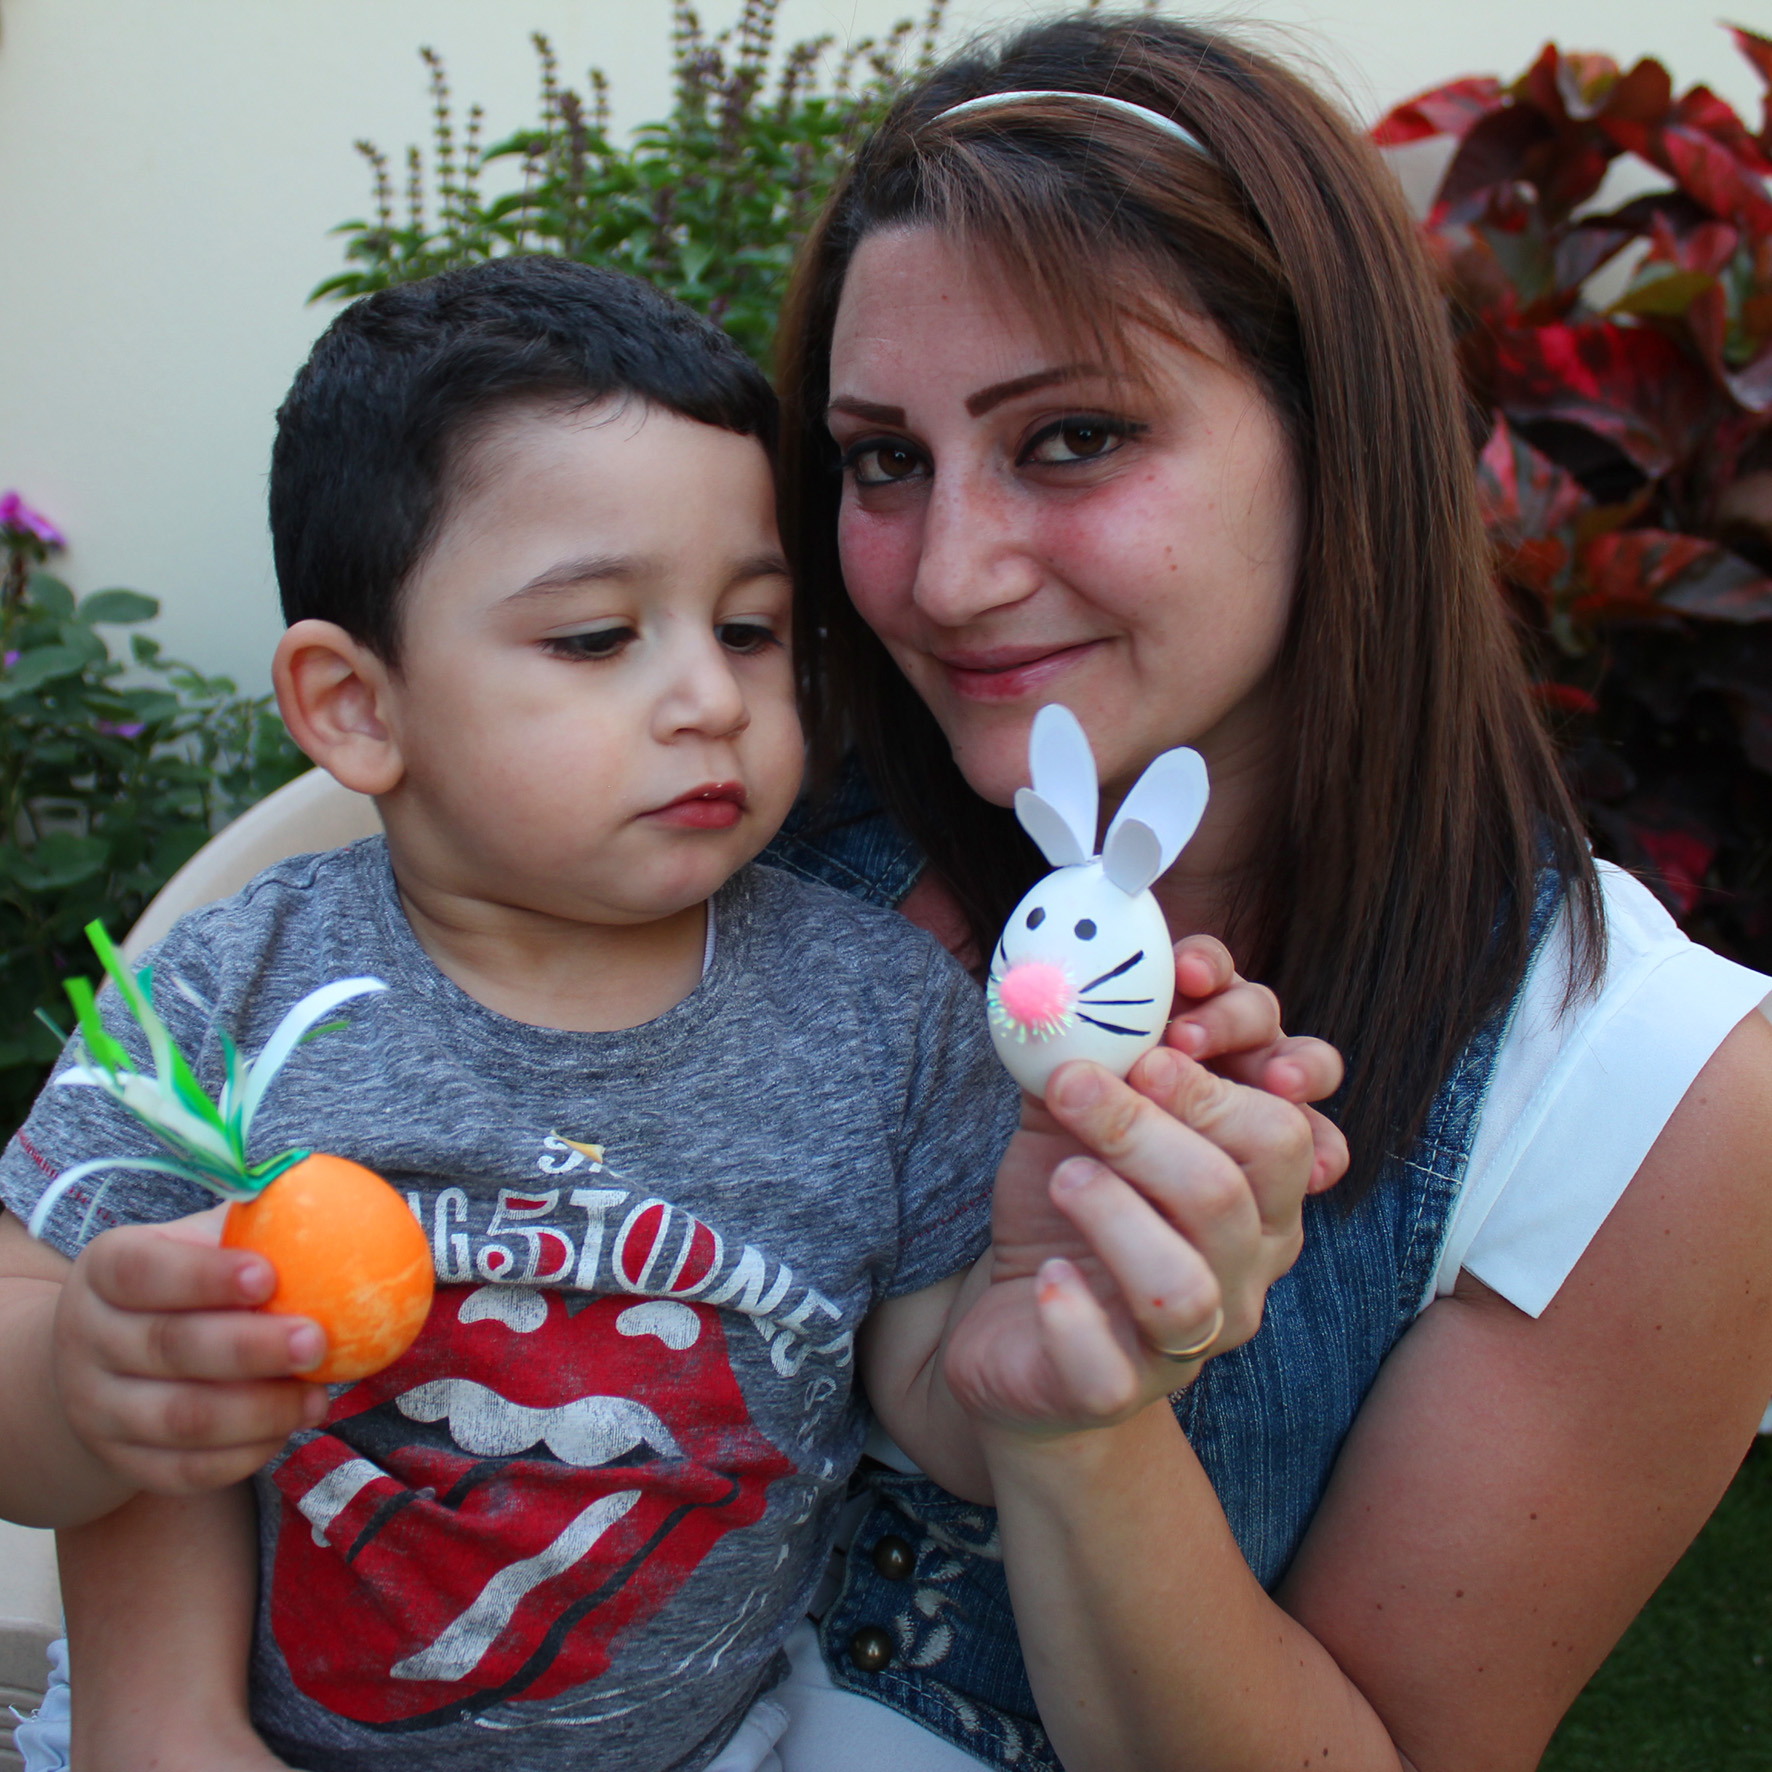
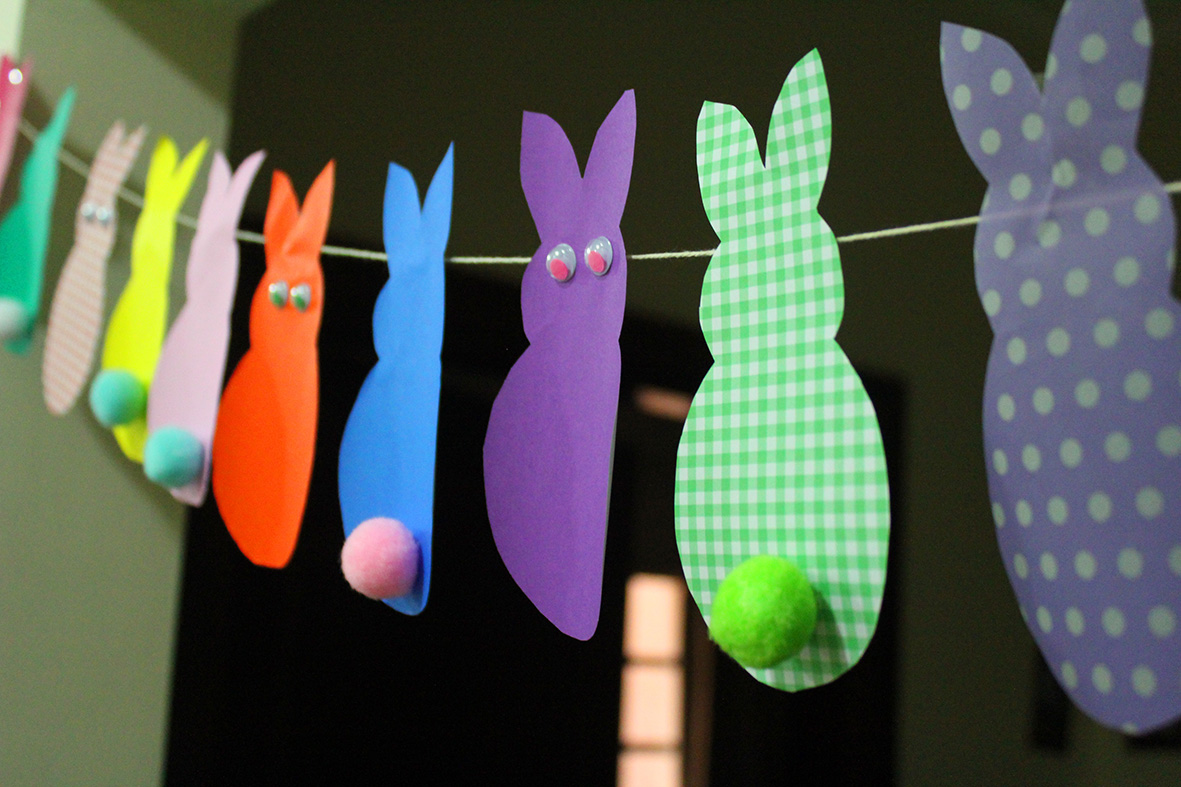
If those bunnies and chick are striking your attention, they were made last year by my eldest son. You can check the link to that post.

If you like this post give it many likes and shares to spread the joy. Don’t forget to like marmite et ponpon facebook page and follow on twitter. More interesting posts are yet to come.

marmite et ponpon first workshop – Easter eggs decoration


first workshop A successful workshop for Easter eggs decoration with beautiful ladies!

The first Easter workshop for marmite et ponpon and for sure not the last.

Thanks to my friend hajar who organized this lovely gathering and the host Eliana who made us feel home.

It was a flourishing workshop, everyone went home with his complete kit and samples of decorated Easter eggs. I enjoyed sharing my ideas with Hajar, Eliana, Rosette, Rawia, Nadine and Marleine who did really a nice job.

So much fun and amusement made the first workshop a day to remember 6th april, 2014. Hopefully there will be more to come.

I would love to share with you yesterday’s celebration.

2

3

4

5

6

7

8

9

10

Happy Easter to the beautiful ladies!


Easter and spring crafts for kids- beautiful bunny garland


Two weeks ago we kicked off Easter spirit because we wanted this year decoration to be done by us. Usually this festive season coincides with the spring. Hello to the colorful crafting season!

Crafting should be fun, entertaining and instructive at the same time. My son loves everything hanging and dangling, so we decided to do a colorful bunny garland to decorate his play area.

To start with, you need to cut out bunny shape in different colors. Click on bunny to download a high resolution file of the cut out.

bunny cut out 1

bunny cut out 2

bunny cut out 3

To make the activity more fun, adding pompom tail and eyes to the bunnies was a great idea. This way it is not just learning the colors.

bunny tails 1

Nothing worth the look on your baby’s face when they are excited about something. It’s priceless!

bunny tails 2

bunny tails 3

How soft a bunny tail is!

bunny tail 4Now we need to stick eyes for the bunny to be able to see the carrots. Bunnies love carrots.

bunny eyes 1

Papa is participating as well. I love when we do things as a family.

bunny eyes 2

garland craftingWhen the bunnies are ready, stick them on a thread next to each other to have a beautiful colorful garland.

Isn’t it?

There are plenty of choices for the garland. You can do it with eggs, flowers or chicks….

garland 1

garland


How to decorate easter eggs with paper napkins – Dye free technique


final outcome1

Very easy technique to decorate eggs, and it’s safe to eat them later. You don’t need colorings nor any other unsafe products. All you need is:

  • hard boiled eggs
  • paper napkin of your choice
  • 1 cup of water + 1 tsp cornstarch

method

Technique:

Brush the napkin, gently with the mixture water corn starch, until it’s spread on all the egg. Cut the excess of paper and keep it aside to dry.

If little wrinkles show, no worries, this is the beauty of handmade things, but try to spread the napkin as much as you can.

Napkins come in so many colors and designs, the choices are endless. What a smart technique for dye-free Easter eggs!!

final outcome 2Happy Easter 🙂

If you like this post give it many likes and shares to spread the joy. Don’t forget to like marmite et ponpon facebook page and follow on twitter. More interesting posts are yet to come.

how to make elegant easter eggs- step by step


elegant eggs

For elegant yet simple Easter eggs, it’s a must to use gold or silver color and it’s the material that will make it look fancy.

I chose to dye the eggs with acrylic gold paint using my hand to make it look like patina effect.

colouring gold

all gold

Give it some time to dry before applying the paillette line. Fix it with glue for safe results, I used super glue.

paillette line

paillette 2

all apillette

The richness, neatness and somptuous elegance will mark you Easter!