Tag Archives: how to do

Digging toys in ice sculpture


ice sculpture

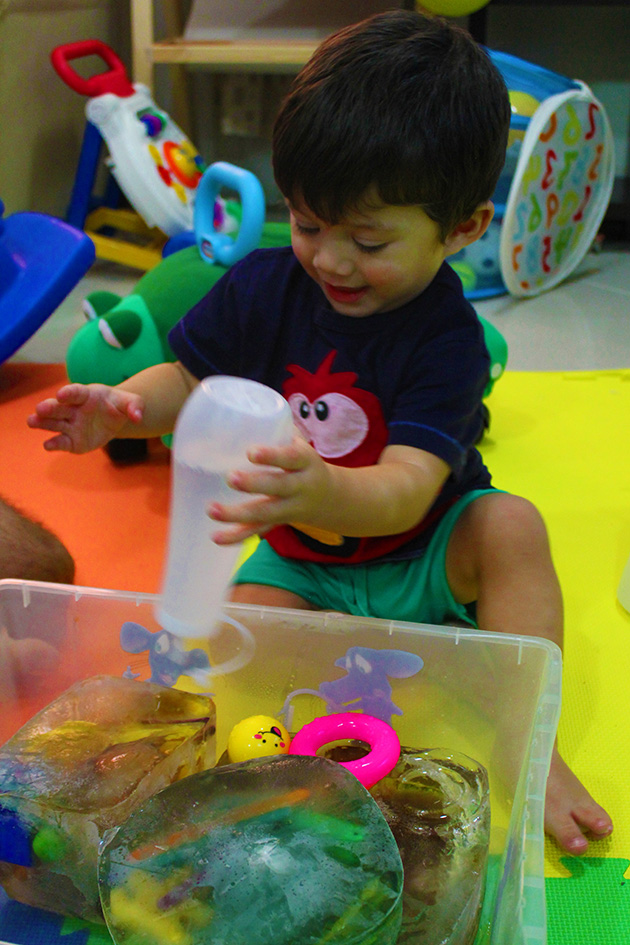
An enthralling sensory play to experience melting ice. Very simple activity but has a lot to discover and learn. You will hear lots of ahhhhhs once your kid touches the ice. Nady was so fascinated by his frozen toys and got so excited to melt the ice and take them out, he got so driven, he forgot how cold the ice was.

How to do this beautiful sculpture? I put Nady’s favorite small toys in 3 different shape containers, added few drops of food coloring and froze them for over night. To remove the ice, I ran water over the outside of each container and held it upside down. I placed the three parts on top of each other to make the sculpture like form.

We started with squeeze bottles full of warm water, Nady was in a hurry to take out his yellow ball!

ice sculpture

ice sculpture

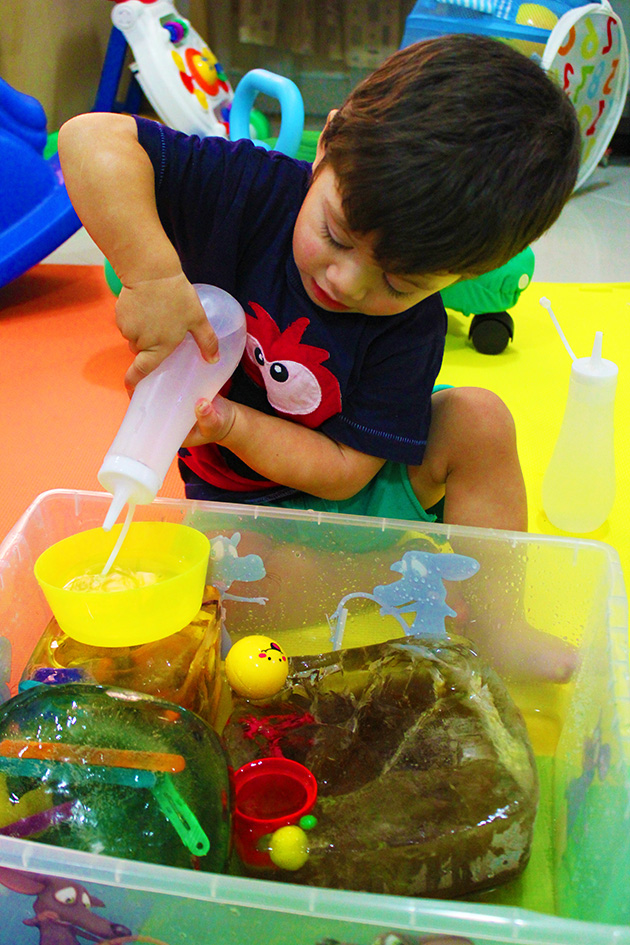
Nady was so enthusiastic, he was eating raisins when we started the play, he grabbed the bowl to fill it with water to throw it on ice, experiencing different ways maybe the gush of water can melt the ice faster!

ice sculpture

ice sculpture

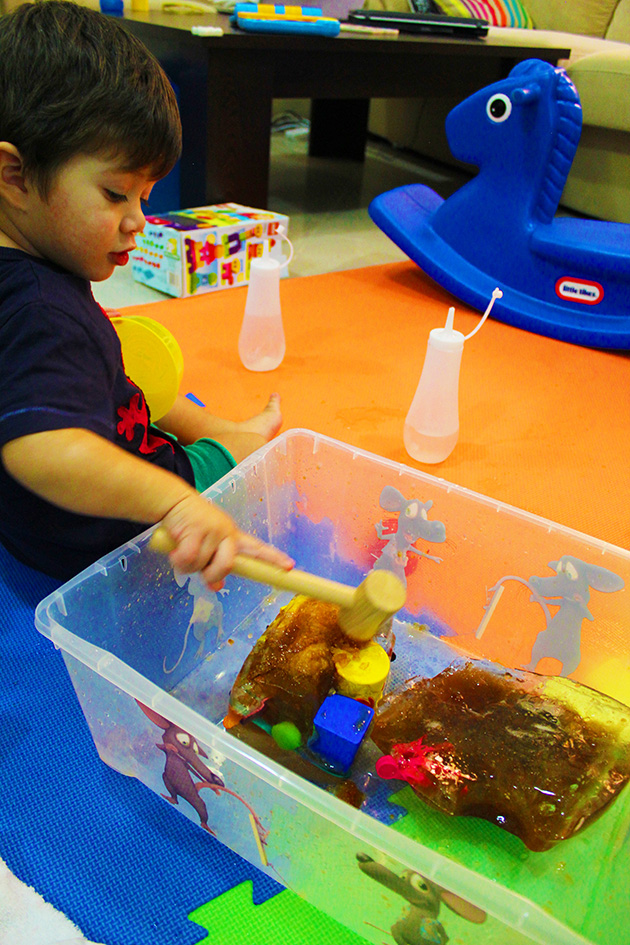
Now it’s hammering time we should get all toys out!

ice sculpture

ice sculpture

It’s a fun activity for all the family actually, we were all playing with Nady! We must admit it’s a senses stimulating play, (experiencing hot – warm – cold and of course solid – liquid or frozen – melted) it fosters learning in all developmental areas and engages extra words to your kid’s lexicon.

ice sculpture

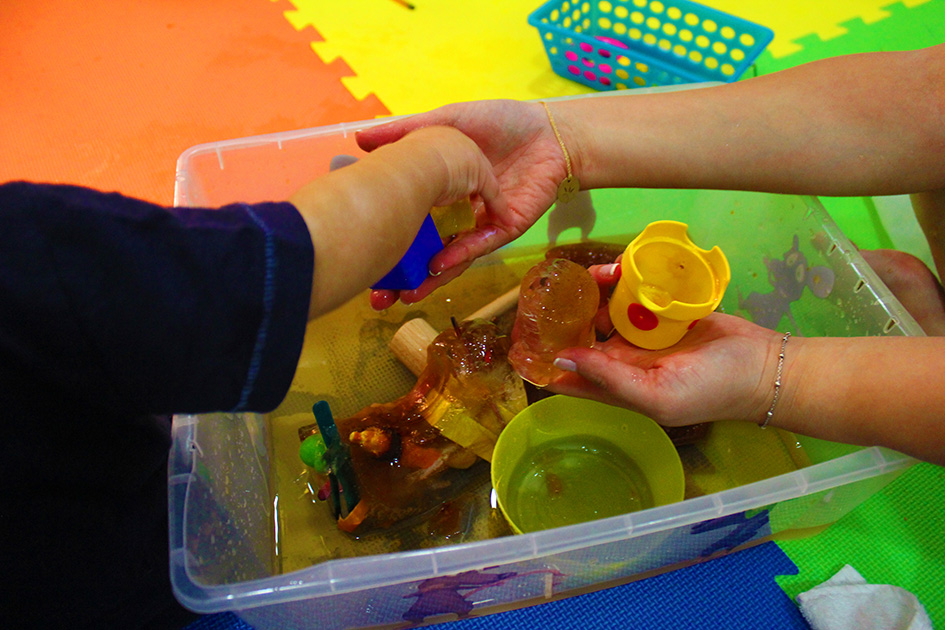
All toys are out, mission accomplished! Nady’s hands were ice cold, but he was warm at the heart! He really enjoyed playing…

ice sculptureIf you liked this post and you want to see more of interesting activities , follow this blog and like marmite et ponpon facebook page. Happy reading!

la crème pâtissière – the easiest no fail recipe


 Crème pâtissière

Crème pâtissière is a velvety smooth pudding that’s quite quick and easy to make. It’s known as pastry cream, used as a filling for eclairs, choux, boston cream pie, napoleons (mille-feuille), tartes, cupcakes  and lots of dessert pastries.

 crème pâtissière

I learned it the easy way from my mom who is a great cook. When i say easy, i mean it’s really easy, with few ingredients and less than 10 minutes to be ready!

It’s a pleasure to make this cream and there is no chance to fail or get any lumps! Follow the instructions and you will be licking the saucepan and spoon.

 crème pâtissière

You will need:

  • 3 cups milk
  • 3 tbsp flour
  • 4 tbsp sugar
  • 3 eggs
  • 1 tsp vanilla
  • 1 tsp lemon zest
  • 1 tbsp rum

In your sauce pan mix all except the eggs and whisk until sugar is completely dissolved and all ingredients are well incorporated.

Add the eggs one by one and mix.

Now bring your sauce pan to medium heat and stir continuously, when you see the first bubble forming (after almost 4-5 minutes), put the heat to low and keep whisking until you get the desired consistency. Am talking about 1-2 minutes.

Spoon the hot crème pâtissière into a bowl and place plastic wrap directly onto it to cover. This will prevent a skin from forming as it cools. Let it rest, until it comes to room temperature and then place it into the fridge to chill for several hours.

 crème pâtissière

I have pâte a choux that i will fill in with this delicious cream!

 crème pâtissière

 crème pâtissièreYou can sprinkle on top some icing sugar, or drizzle chocolate sauce or caramel. They all match heavenly with it. Ready to serve!

 crème pâtissière

 crème pâtissièreEven kids enjoy the taste, it’s nutritious as well! My husband loves it so much he can eat it alone.

 crème pâtissière

Enjoy!

honey ginger glazed chicken


honey - soy glazed chicken

The most delicious oven roasted chicken you will ever eat! Honey, soy, ginger and garlic combined to make this succulent glaze.

It only takes few minutes to prepare the marinade. Pour it over the  chicken and let it rest in the fridge for couple of hours to absorb more moisture and the result is a sweet glazed oven-roasted chicken that is incredibly tender.

honey - soy glazed chickenSuch a luscious and savory lacquered chicken pairs perfect with potatoes, rice or noodles. I had some leftover of sesame ginger rice, it went great together, with the extra glaze i did.

For that you need:

  • 10 pieces of chicken (you can use breasts, thighs, full legs or just drumsticks)
  • 3/4 cup soy
  • 1/2 cup honey
  • 5 garlic cloves minced
  • 1/2 cup freshly grated ginger
  • 1 tbsp balsamic vinegar
  • 2 tbsp olive oil

Combine together all ingredients and pour over the chicken. Keep it in the fridge to marinate at least 2 hours to overnight until time of baking.

Preheat oven 240°C and bake for 45 minutes. Keep an eye on the chicken and be careful not to overcook it.

honey - soy glazed chicken

The sweet smell was filling the house, I was preparing the table to take some pictures (for this post) when Antoun came in from work to have lunch. This is the most challenging part, not letting him dig in before i take the pictures. I only had 3 minutes, I don’t blame him actually, i was in a hurry too, they looked so delicious, they made my mouth water!

honey - soy glazed chicken

honey - soy glazed chicken

This meal is so rich in flavors, it caters all tastes. Try it!

DIY crab apple snack for kids


DIY crab apple snack for kids

Apples and crabs are Nady’s most liked when it comes to fruits or shower. What a combo to wow Nady! He was really fascinated with this fun snack. Is this real?

DIY crab apple snack for kids

Very easy and simple to do. You only need a red apple to create this cool crab:

DIY crab apple snack for kids

Cut two sides of the apple half centimeter from the center. Slice one side in 8 wedges to create the legs. Cut the two sides of the center, disregarding the seeds.

DIY crab apple snack for kids

Put them on top of each other to cut symmetrical triangles to create the claws. Then place the other half we cut in the beginning to make the body.

With edible paint make the eyes to look more realistic. If you don’t have paint, simple use the seeds!

DIY crab apple snack for kids

Such a cute and delicious crab fruit!

DIY crab apple snack for kids

I bet your kids will have a big smile on their little faces when they get such snack! Bon appetit mon amour 🙂

I bet your kids will have a big smile on their little faces when they

DIY vintage charcuterie board


DIY vintage charcuterie board

Small adds up revive your charcuterie board and create a style of its own. Not necessary for just charcuterie, could be for bread and cheese or even a serving tray!

By adding drawer pulls, any simple cutting board turns to a wonderful piece in your kitchen.

Choose a cutting board of your choice. I wanted it to look antique but i didn’t find one where i live, so i had to do the effect by myself (with acrylic). In a previous post for cheese board DIY i explained how to choose your non toxic paint.

DIY vintage charcuterie board

Very easy and simple DIY. If you are handy with drilling, it takes more time to describe how to make this cutting board than it takes to actually make it. Just mark where you want to fix the pulls and drill holes.

DIY vintage charcuterie board

I love everything rustic and vintage, hence i chose these pulls.

DIY vintage charcuterie board

And here is my vintage charcuterie board.

DIY vintage charcuterie board

With those handles it’s easy to use it as a serving tray as well! It’s an open ended craft, you can create endless colors or shapes to embellish your kitchen and wow your guests. It’s even a beautiful personalized gift for friends and family.

DIY vintage charcuterie board

If you like this post and you want to see more of interesting things, follow this blog and like marmite et ponpon facebook page.

I am thrilled to see your suggestions and comments!