Monthly Archives: September 2014

DIY cheese board – Spruce up your kitchen


DIY - cheese board

Being in a crafty mood nowadays, i am going through my kitchen, trying to throw recycle, create and posh it up. With a simple touch you can add some excitement to your items. You know by now, i am fond of personalized items, i love to give identity to everything in my house, and even to the gifts i offer.

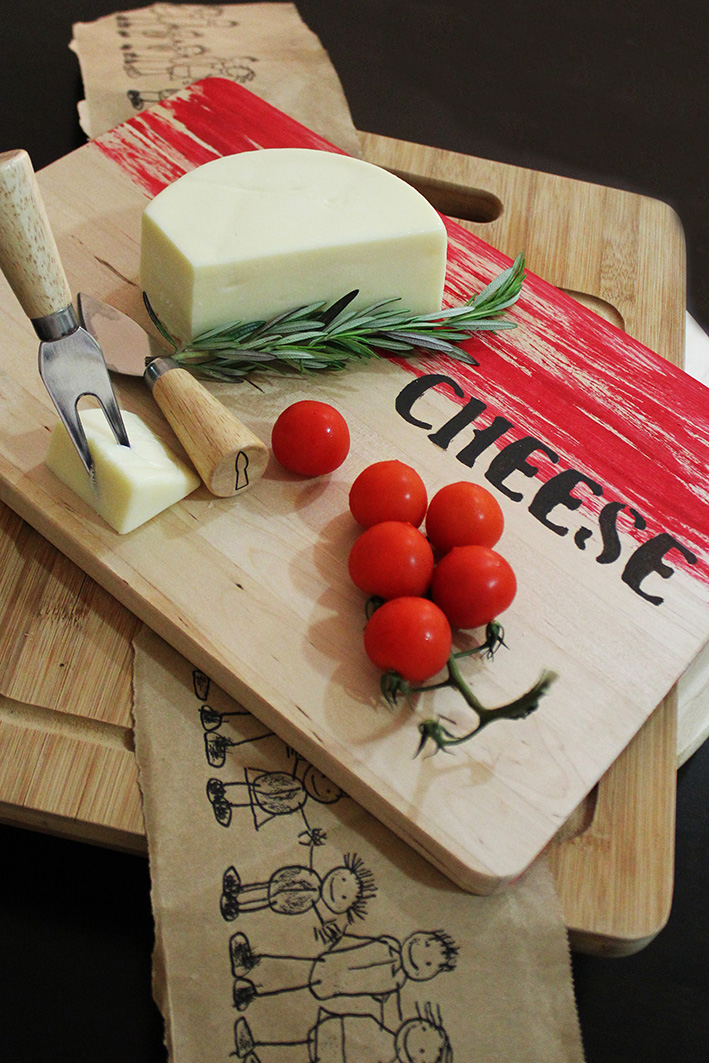
After the sharpie plates DIY , today’s craft is very simple and could be done in couple of hours. it’s often the simplest ideas that are the most striking. Adding some colors and typography to my cheese board, made all the difference!

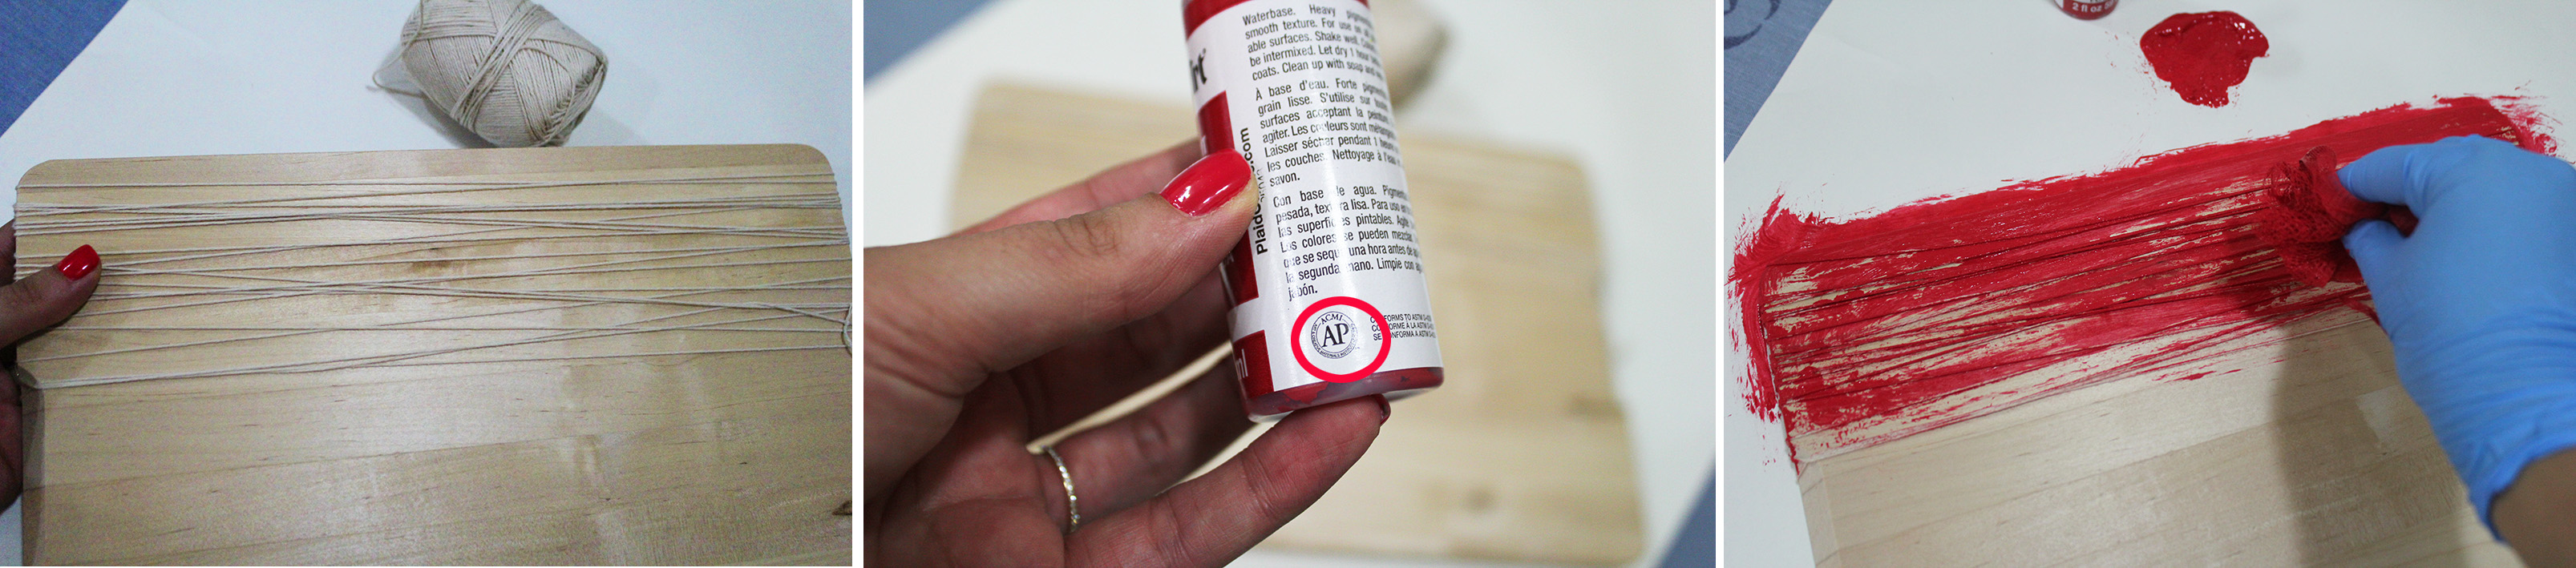
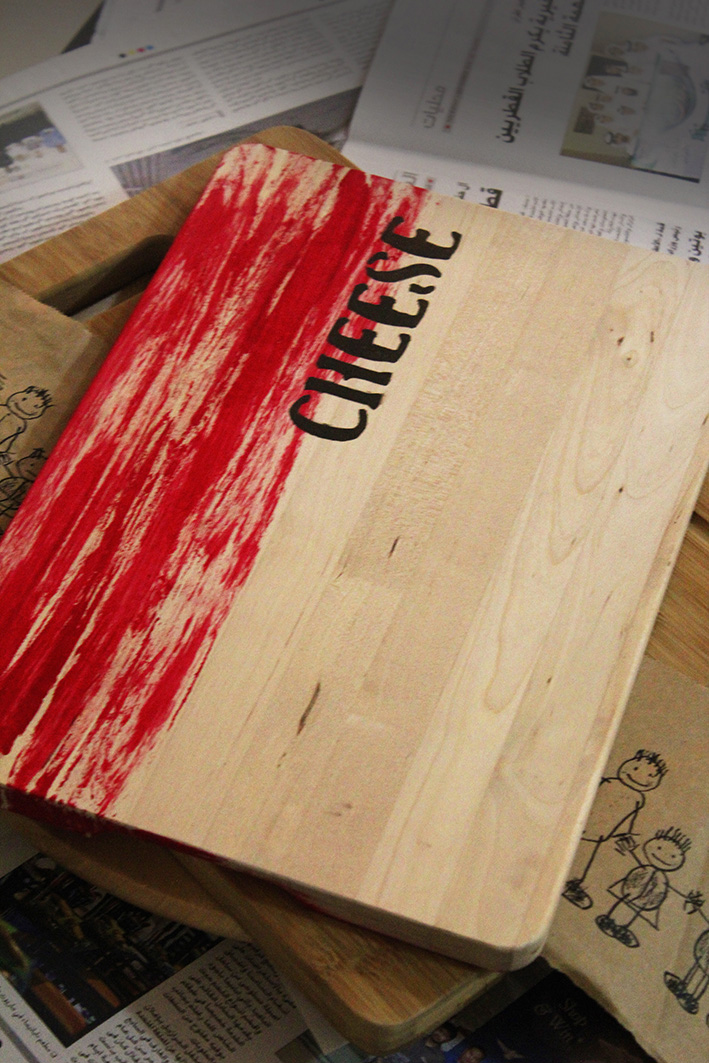
With non toxic red acrylic , I painted the edge of the cutting board after i wrapped it with a thread to create lines effect. Diluting the acrylic with more water creates a “wash” of paint, and shows the wood grain beneath.
DIY - cheese board

After a lot of reading to see which paint to use for food safe purpose, Acrylic paint was the best. It is a water soluble paint but become water-resistant when dry. It is a fast drying and durable paint, containing pigments suspended in an acrylic (or plastic) binder.  They come in a wide range of vibrant colors, easy to apply and clean up and have no fumes. BUT Not all acrylic paints are non-toxic or food safe. Please read paint labels and look for the “AP Non-toxic” seal. Do NOT use paints without this seal. Some have mercury, arsenic and cadmium in them for pigments and you absolutely do not want these ingredients.

After a couple of hours, the paint is dry. I traced the word “cheese” and filled it with dark brown acrylic color.

DIY - cheese board

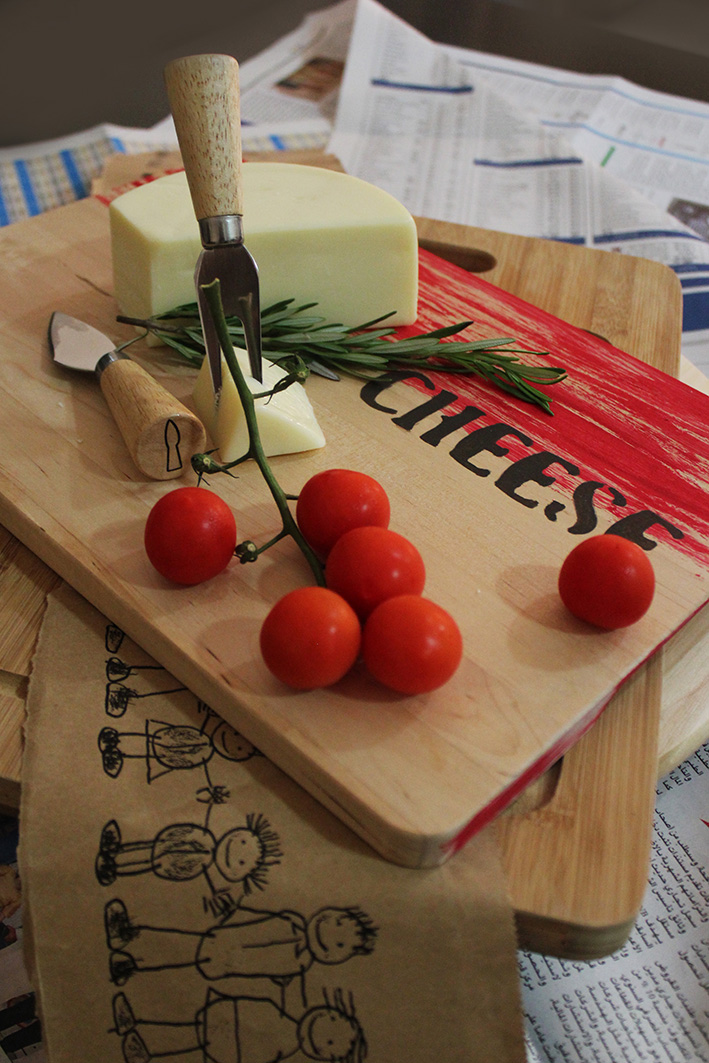
And here is my new adorable cheese board!
DIY - cheese board

With a little creativity and a couple of hours, you can personalize your things at home and be unique. I am planning to use it for the first time in a romantic cheese and wine with my hubby! Time flies, enjoy every second of it.
DIY - cheese board


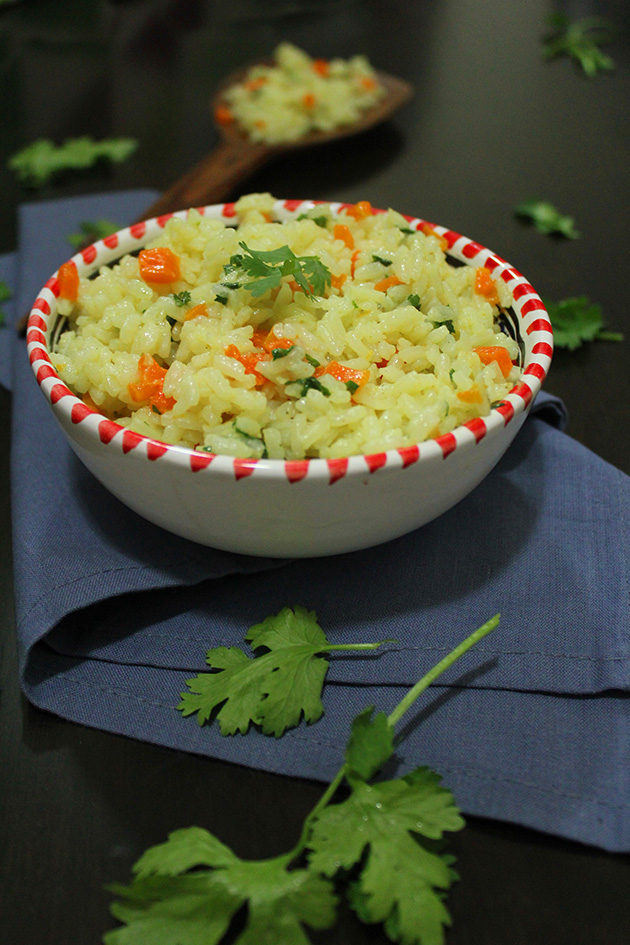
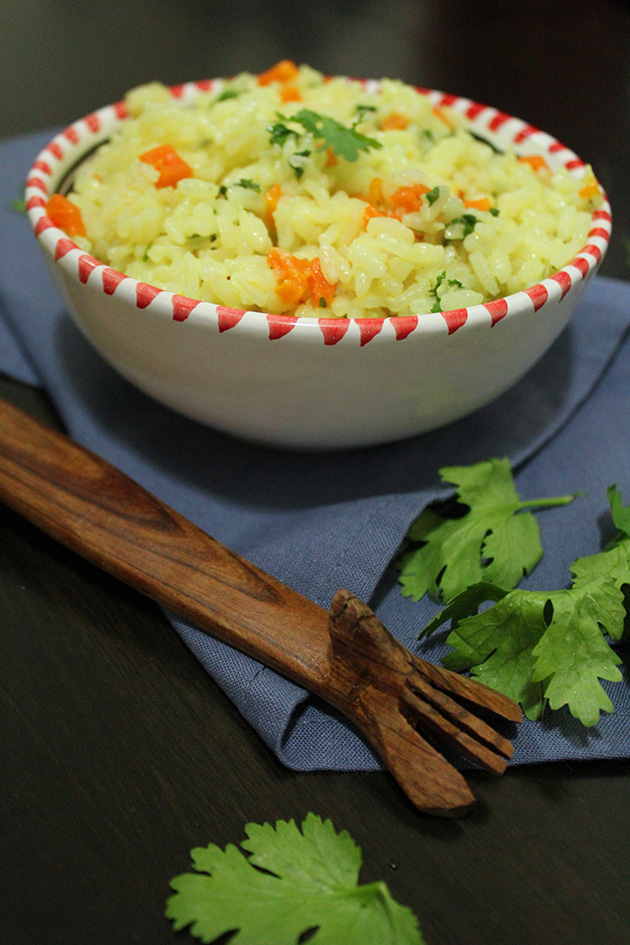
ginger scented rice pilaf with whole roast fish


ginger scented rice pilaf with whole roast fish

A small introduction for wonderers

Pilaf is the way of cooking the rice. Also known as pilav or palaw in which rice is cooked in seasoned broth. The yellow to brown color is attained by stirring in onion or spices. Depending on the cuisine it might have also meat, chicken, fish, vegetables or dried fruits.

ginger scented rice pilaf with whole roast fish

Initially i was making a whole roast fish but didn’t want to present it solo. I thought of roast potatoes and vegetables then i said why not rice?!

To not go classic, i thought of rice pilaf with a twist! Ginger and cilantro, two of my favorite deep flavors that blends together perfectly. The outcome was heavenly tasty.

ginger scented rice pilaf with whole roast fish

Ginger scented rice pilaf:

  • 1 1/4 cup rice
  • 1/2 cup carrots diced finely
  • 1/2 cup onion diced finely
  • 1 tbsp minced ginger
  • 1 tbsp olive oil
  • 1 cube vegetable bouillon (almost 5g)/ broth
  • 2 1/2 cups water
  • 2 tbsp fresh cilantro (coriander) chopped

ginger scented rice pilaf with whole roast fish

ginger scented rice pilaf with whole roast fish

Heat olive oil in sauce pan. Add ginger, onion, carrots and stir until fragrant for 3-4 minutes.

Add rice, bouillon and water and bring to boil. Cover with a lid, reduce heat to low and let it simmer for 20 minutes.

Remove from heat, cover the pan with a towel and let it sit for 15 minutes. Remove the lid and fluff the rice with a fork. Toss in the cilantro and taste to check if you need to add salt (optional) and serve immediately.

The house was full of aroma! Couldn’t wait until the fish was completely roast to start eating. If you are not fan of fish i am sure this rice will pair nicely with chicken, beef or prawns. I can even eat it alone!

To roast the fish there are many ways. My favorite is “en papillote”, the same principle as wrapping in foil with enough liquid to create steam, but using greaseproof paper to create individual portions when you are baking medium or small size fish.

I put chopped cilantro, lemon slices, lemon juice, salt, pepper (quantity as per your taste) and drizzled some garlic olive oil before wrapping the fish. Baked in the oven (for 240°C) for 20 minutes.

Fish is easily overcooked therefore care must be taken when using the oven. When roasting a whole fish always ensure the skin is on.

ginger scented rice pilaf with whole roast fish

Enjoy!

Customize your plates with baked sharpie – DIY


sharpie plates

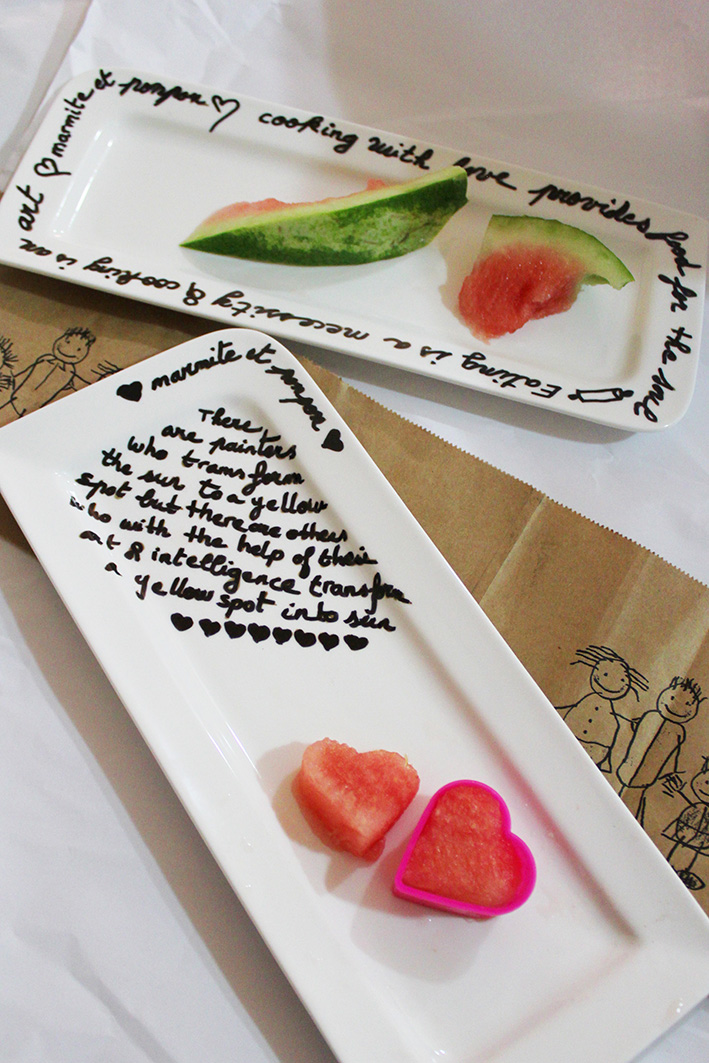
Baked sharpie are permanent! yes they are. I couldn’t believe it until i tried myself.

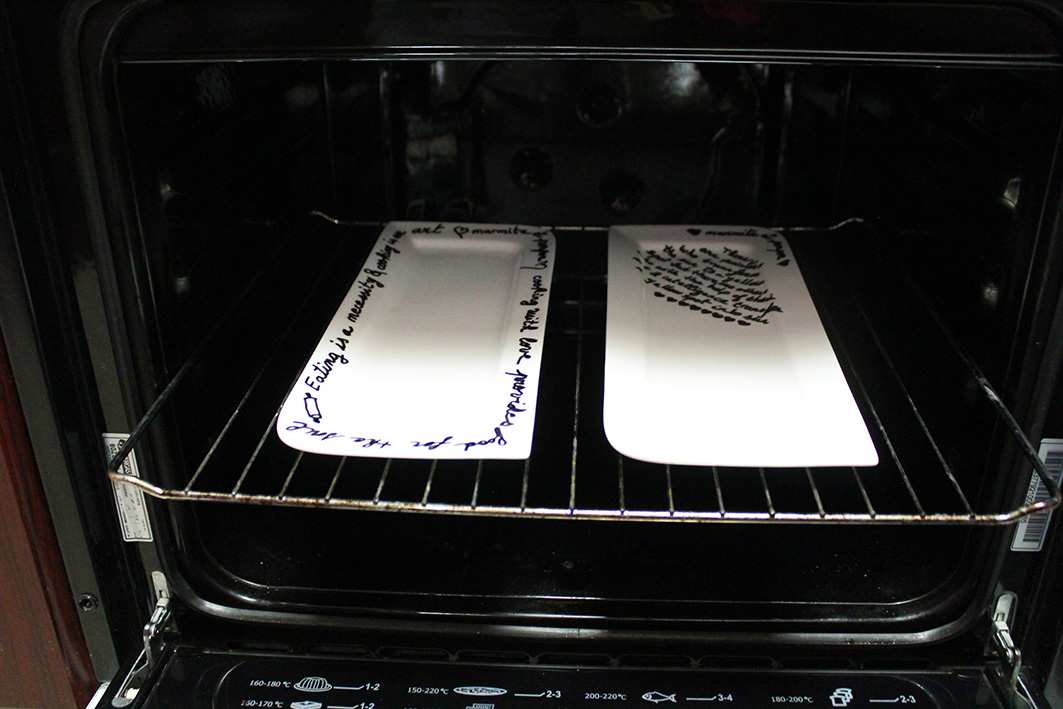
Write with a sharpie (permanent marker) on a plate that’s oven safe, bake for 30 mns (180°C) and that’s it! Your design is permanent and safe!

sharpie plates

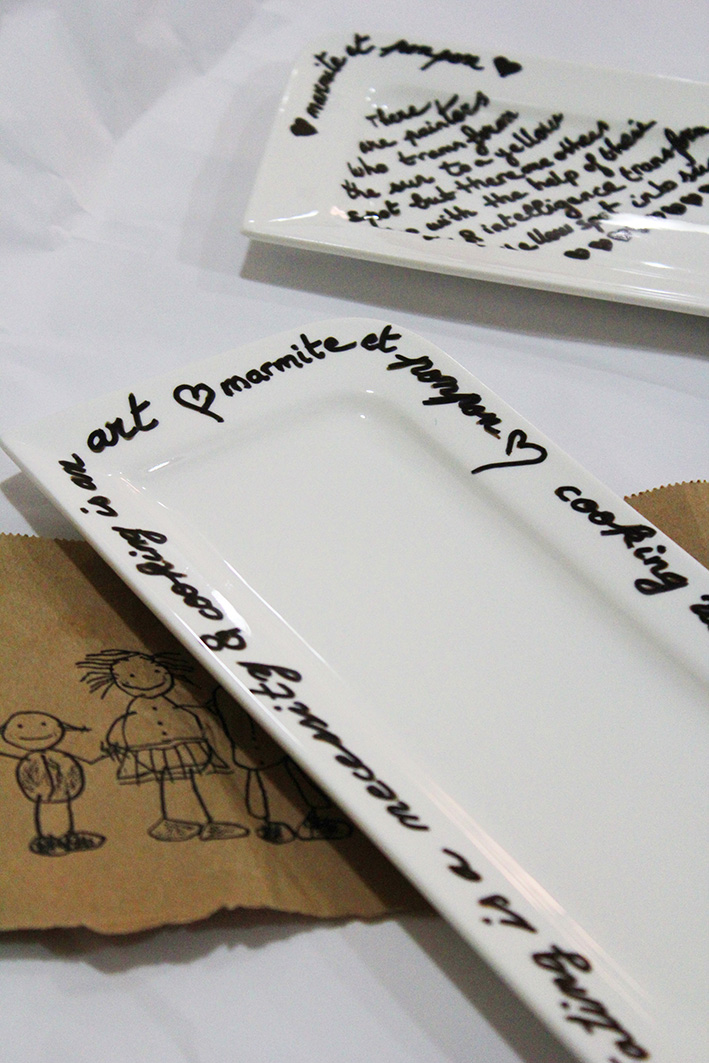
This is how my plates looked before going in the oven.

sharpie plates

In the design stage and before baking, if you made a mistake while writing or you wish to clean off sharpie, just use rubbing alcohol and it’s gone!

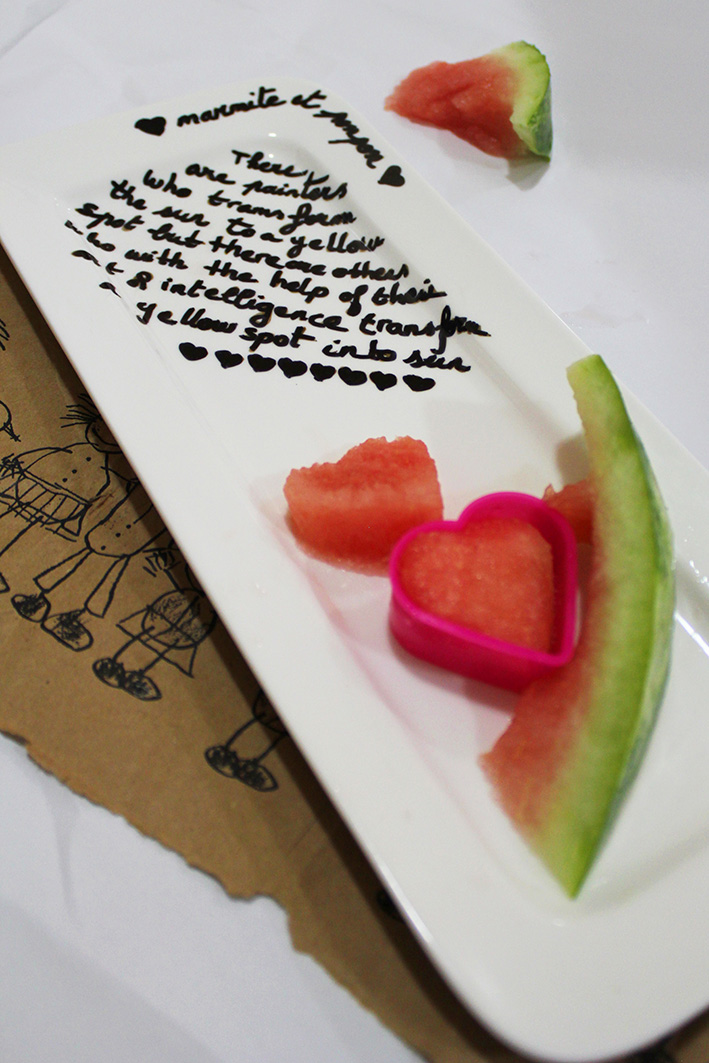
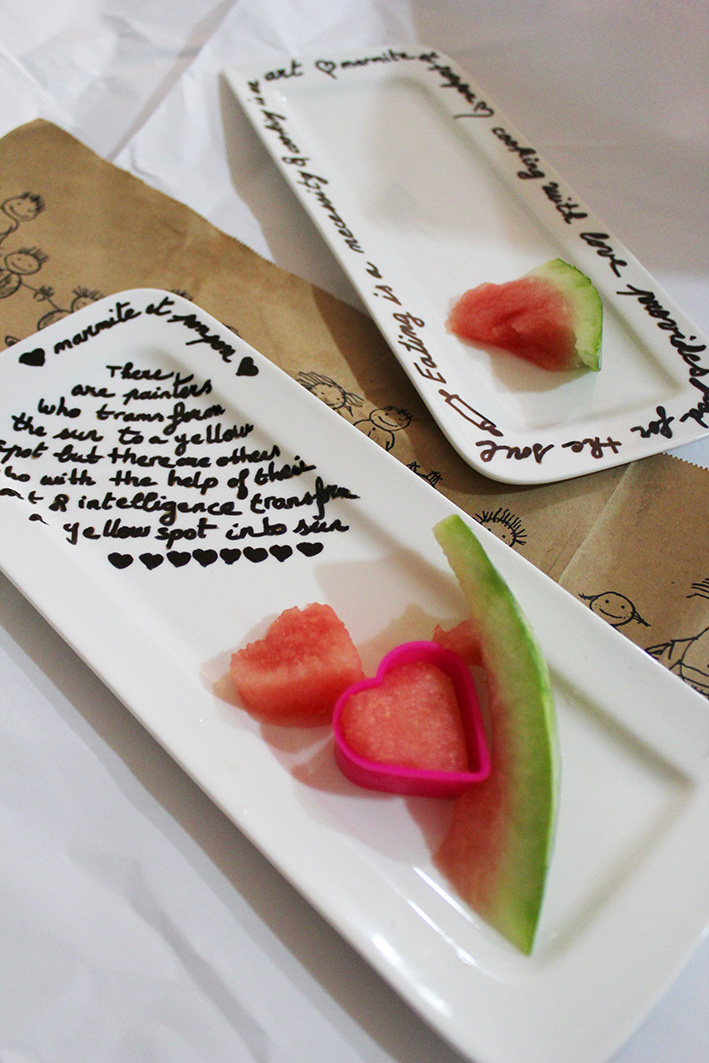
After 30 mns baking,  I turned off the oven and kept them to cool. Then I washed them to use. The writing didn’t go off and this is how it looked! Beautiful result.

sharpie plate

Being crazy about personalized items, now i found the way to do it, expect me writing and drawing on all my dinner ware and creating gifts for family and friends with this fun new technique.

baked sharpie

So simple and affordable. Design a unique mug for your husband, or plates for your children… Let this DIY be a token of affection to your loved ones.

sharpie plates

Love my plates! expect to see them more often in the pictures!


If you have 5 minutes lets DIY! Irresistible goat cheese appetizer


goat cheese & rosemary

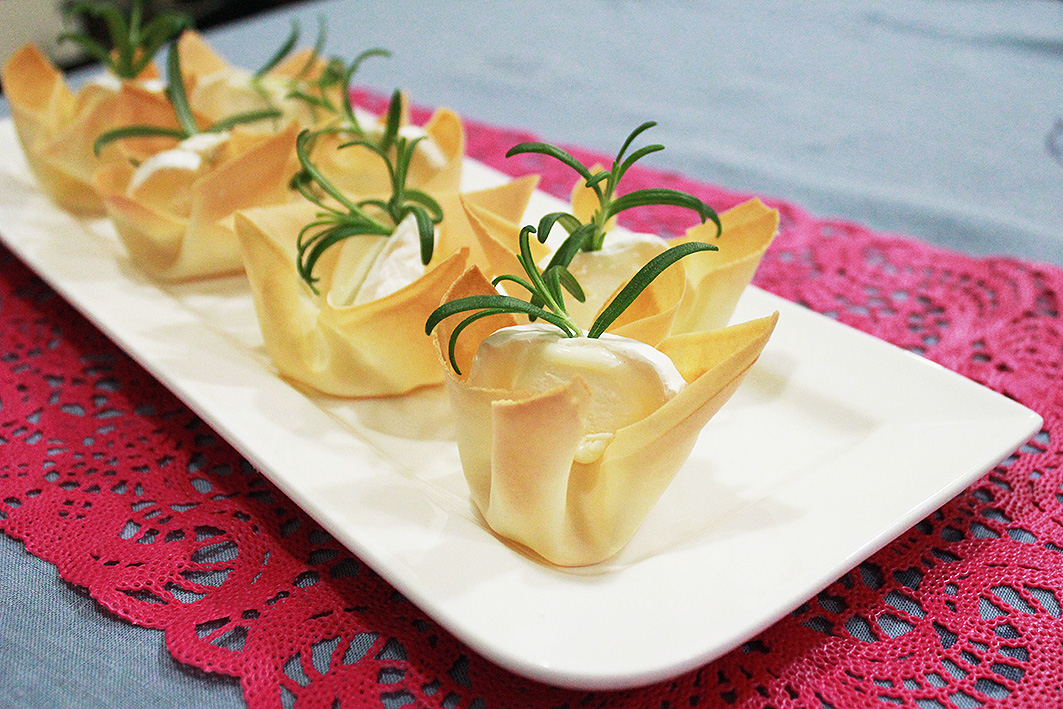
With less than five minutes, you can make this beautiful appetizer from scratch.

All you need is spring roll pastry and cupcake mold to make the base shell. Very simple technique:

shell crust

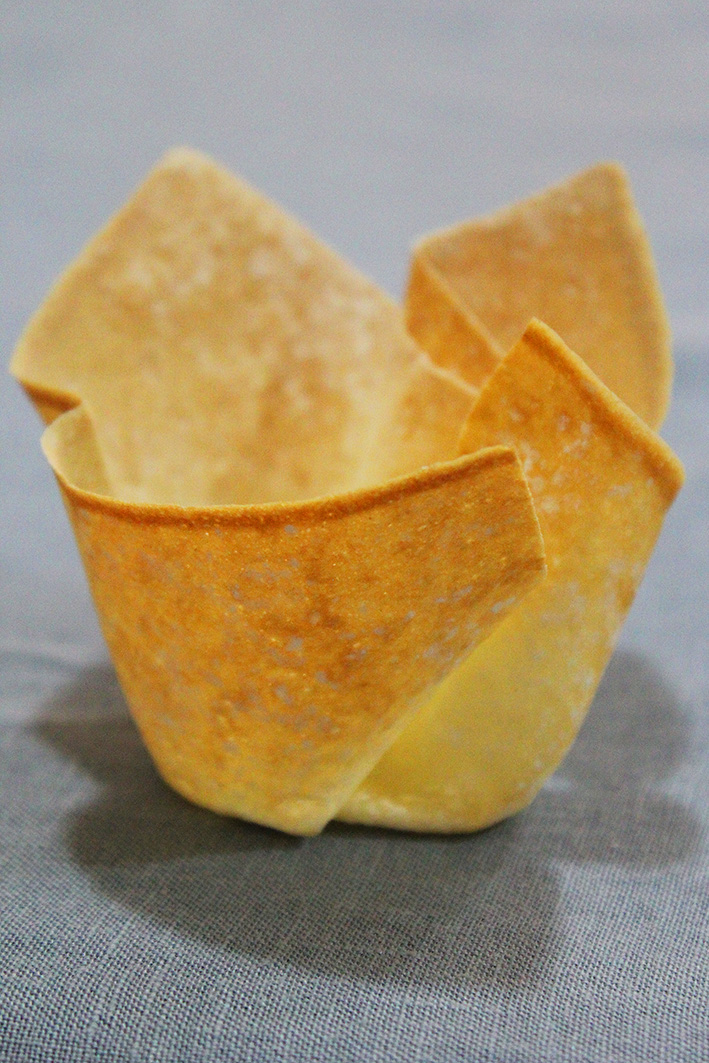
Cut square shapes. Place them in the cupcake mold and adjust the edges in a way to have like a cup. Leave a space between each one so they don’t touch. Bake them on 180°C for 3-4 minutes or until golden brown.

appetizer shell

crust shell

As you see it’s like a cup, you can fill it with any food of your choice. For instance, i used goat cheese (my favorite) and rosemary. Et Voila it is ready to serve.

goat cheese & rosemary

Wouldn’t you just love to have one of these beautiful appetizer? Small tips turn a simple food to a decorative one, giving you pleasure to the eyes and butterflies in your stomach.

Happiness is in details! If you want to see more of interesting things,  follow this blog and like marmite et ponpon facebook page. Happy day to all of you!

To “nouilles” lovers – (creamy chicken tagliatelle)


nouilles

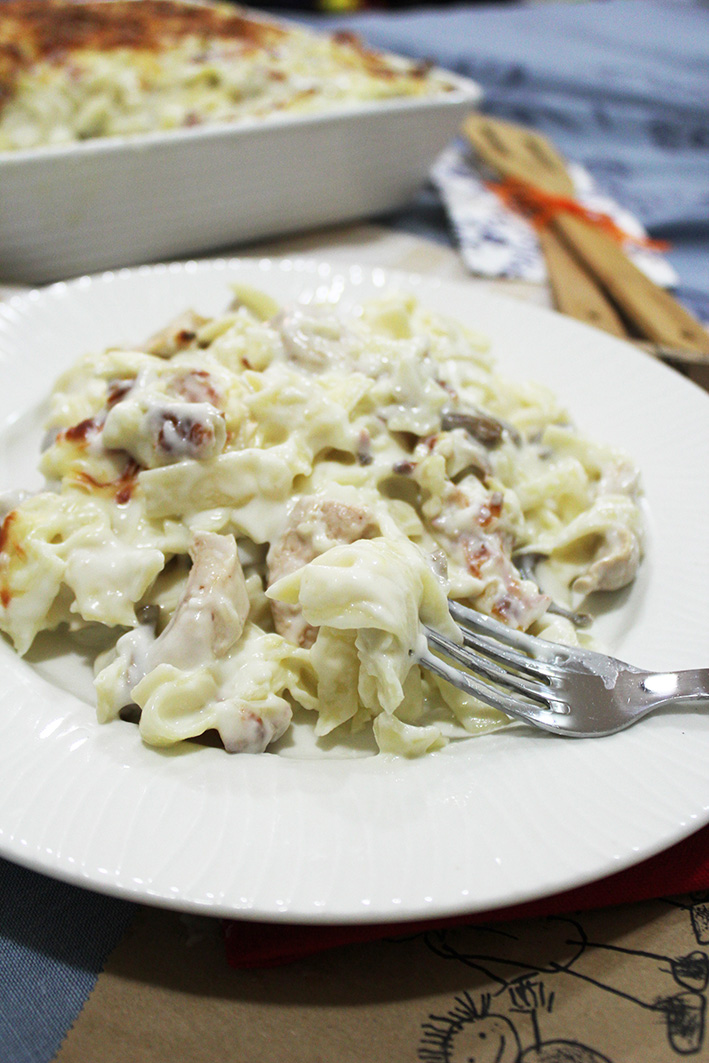
If you try to google “nouilles” without “lebanese” you will not find any recipe near to the one our mums cook. I don’t know why it’s called nouilles it’s not even an arabic word, but  you can call it in other words, creamy chicken tagliatelle.

nouilles

Very simple and easy recipe, but it takes time and care. When you savour it, you will know why it’s one of the favorite dishes for the majority of the lebanese.

nouilles

The nouilles as we know it: (yields 6-8 servings)

  • 500g tagliatelle
  • 200g ham cut in pieces (optional)
  • 100g parmesan or mozzarella
  • 1 kg chicken (boneless thighs or breast) cut in pieces
  • 1 tbsp butter
  • 1 cup sliced mushroom
  • 1 small onion chopped finely
  • 1/2 cup white wine
  • salt to taste

For the cream sauce:

  • 4 cups milk
  • 2 cups heavy cream
  • 6 tbsp flour
  • 100g butter
  • salt to taste
  • dash of nutmeg (optional)

nouilles

nouilles

Cook the tagliatelle as per pack instructions for al dente, it will continue cooking in the oven. Drain and keep aside.

Heat the butter and cook the onion and mushrooms until fragrant (3-4 minutes) then add the chicken and keep cooking until almost done. Add the wine (for a deeper flavor) and cook until half the liquid is evaporated.

To make the sauce, heat the butter until melted but not colored. Add the flour and cook for few minutes until light golden brown. Add the milk and cream one cup at a time and whisk continuously until smooth. Bring to boil then cook for 30 seconds before removing from heat. Season with salt and nutmeg (optional). If you are cheese lover, you can add a handful grated parmesan to the bechamel to give it rich flavor.

Stir in the chicken and ham (I mentioned that the ham is optional for the people who doesn’t like the taste) and pour over the tagliatelle and mix until all components are well incorporated.

Put the mix in a baking dish and sprinkle the cheese on top. Bake (on 180°C) for 15-20 minutes until golden brown.

nouilles

Enjoy the pleasure on a plate, indulge in rich flavors and sahtein a la libanaise!