Monthly Archives: September 2014

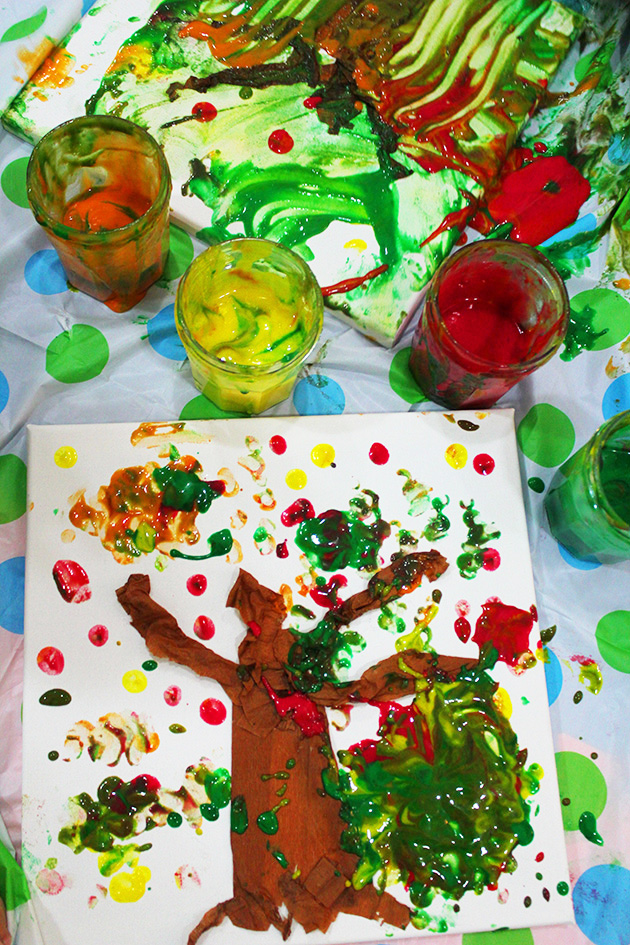
Tree with homemade fingerpaint


tree with homemade fingerpaint

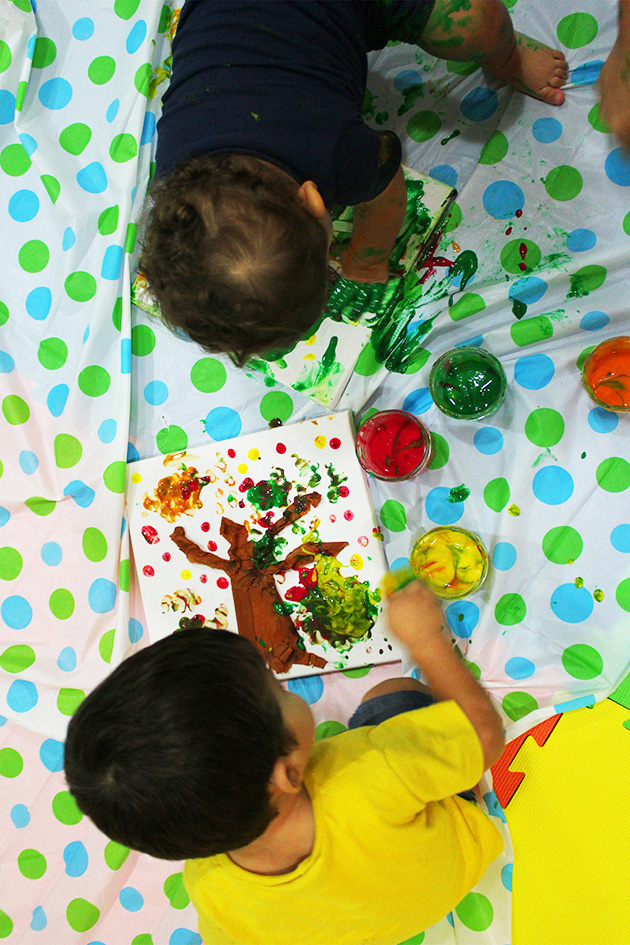
Today’s post is so colorful and fun, not just because of the art project, this time Nady is sharing it with his friend Fouad!
tree with homemade fingerpaint

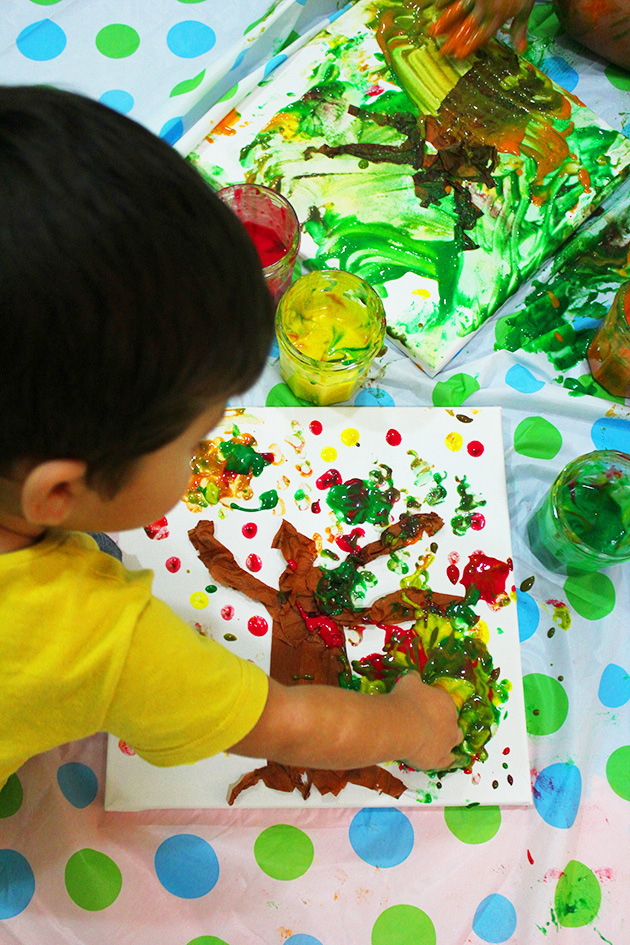
Two days ago Nady came from the nursery with a painting made of dots. I knew then they are exploring circles and dots. As i mentioned once, my son is my inspiration for the activities, so lets paint a tree practicing dots!

To prepare this easy recipe you need:

  • 1 cup flour
  • 1 tbsp salt
  • 2 1/2 cup water
  • food coloring

Mix water and salt in a pot. Set the heat on medium, slowly add the flour and mix with a whisk to not get lumps. Once it starts thickening, put down the heat and keep stirring until you get the right consistency, custard like.

Leave it to cool, then divide it in containers as many colors you want to have. Add your colors and mix well. And here is your homemade fingerpaint!

tree with homemade fingerpaint

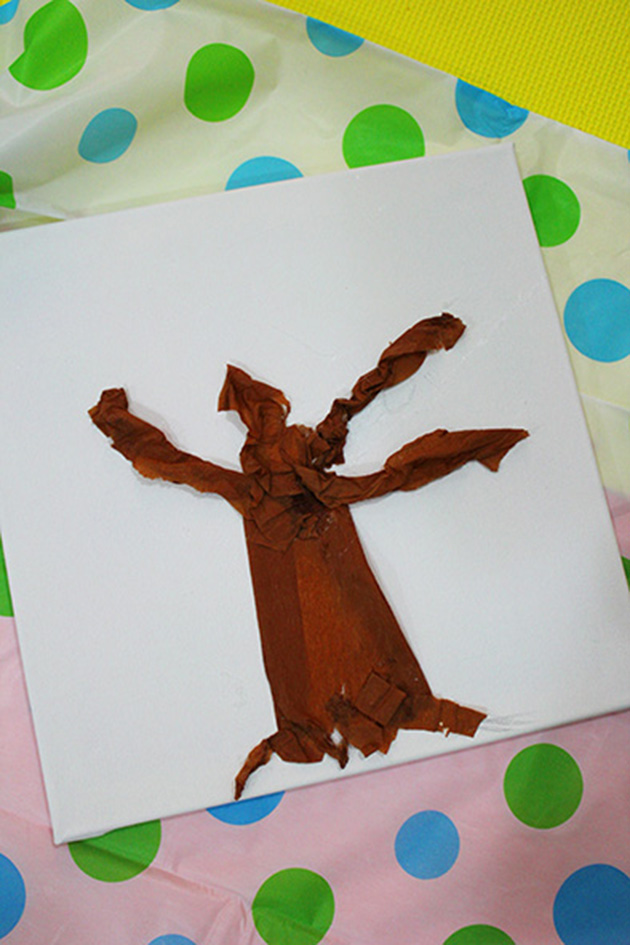
With a brown paper i made the cut out of the trunk shape to set the starting point.
tree with homemade fingerpaint

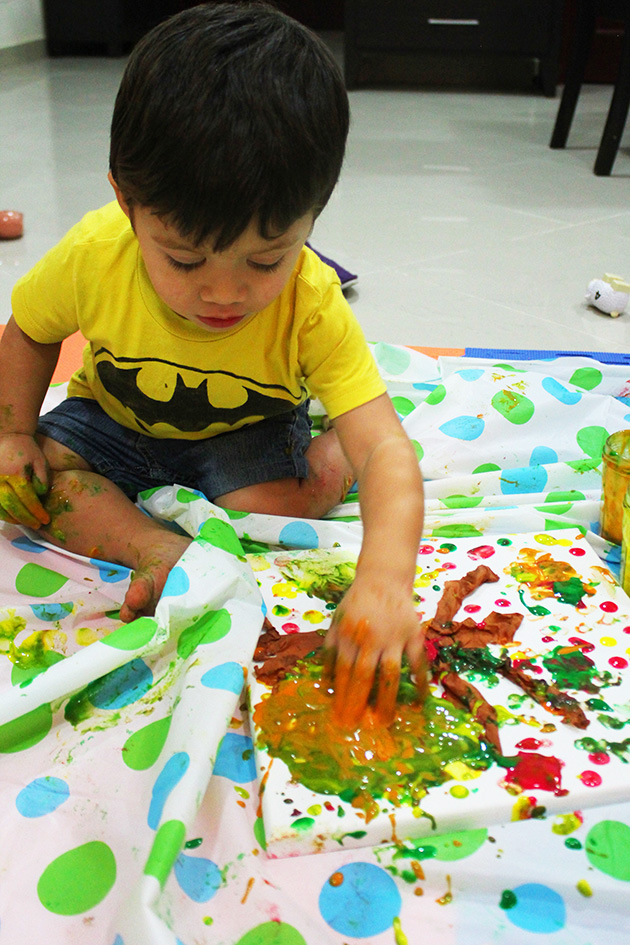
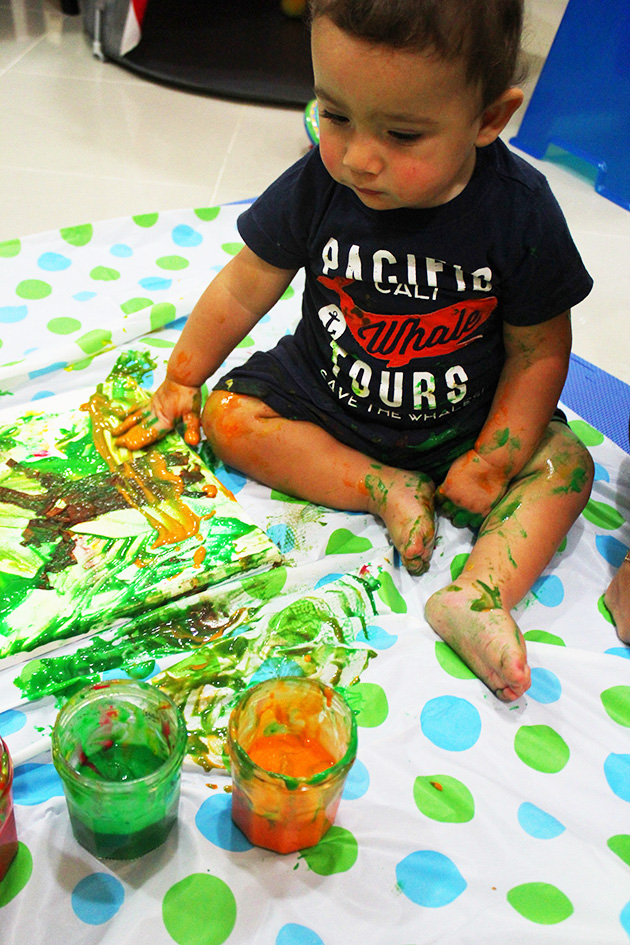
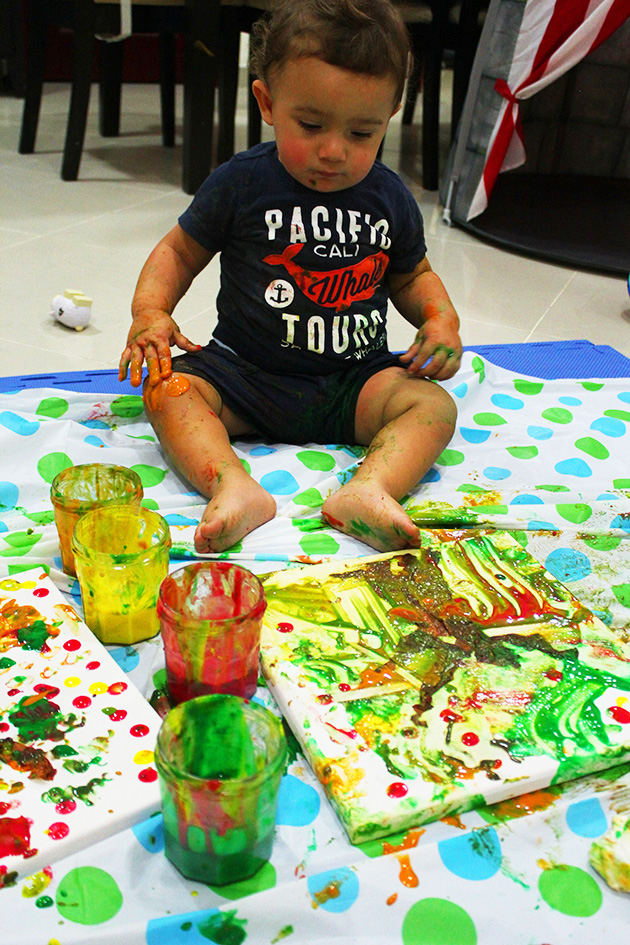
Nady, already familiar with this type of painting couldn’t wait to start, Fouad (should mention he is 7 months younger) was exploring this messy art for the first time, but all what mommy needed to do is dump those tiny fingers in the paint and let the fun begin!
tree with homemade fingerpaint

tree with homemade fingerpaint

There are plenty of activities you can do to encourage creative play at your home. Painting is so tempting, one of the creative plays that offers many skills to learn especially when freedom is left to explore.

Children love being creative if they are given the chance, such activities develop a love for the creative process, enlarge their brain and set them up as creative thinkers in all walks of life.

Don’t hesitate to do such messy activities at home, children love the paint! Try not to stress about the mess and let them enjoy being creative. Of course shouldn’t be a war zone as well, set the rules and boundaries and let them enjoy! Homemade recipes are always the safest and easiest to be cleaned with less risk of stains.

The physical, emotional and social benefits and skills gained from such activities are worth the mess!
tree with homemade fingerpaint

Painting develop fine motor skills in early age which in turn helps them to be writing ready as they are near school age.
tree with homemade fingerpaint

Even at young age, creative activities help to develop maths skills such as geometry (size and shape).

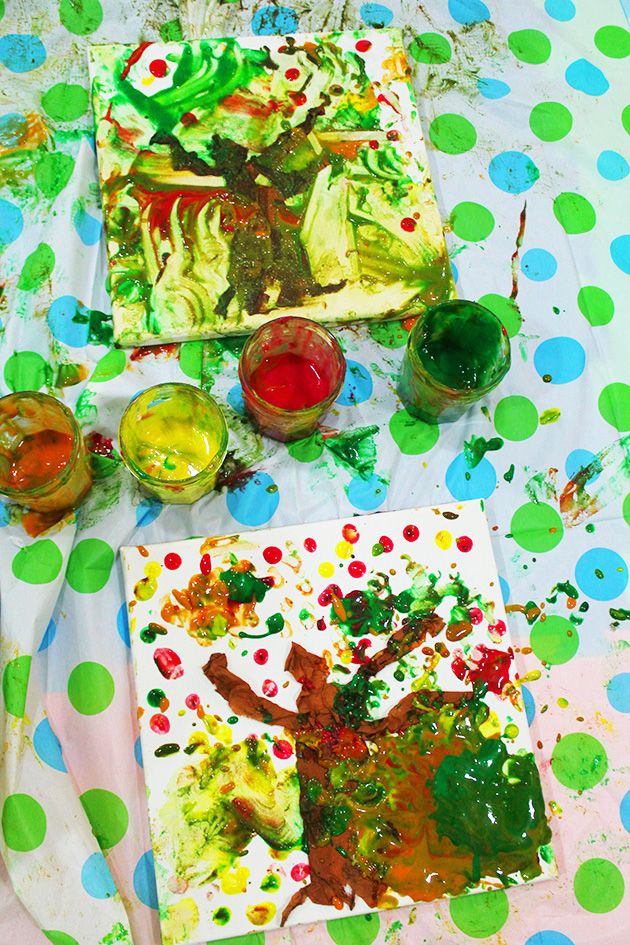
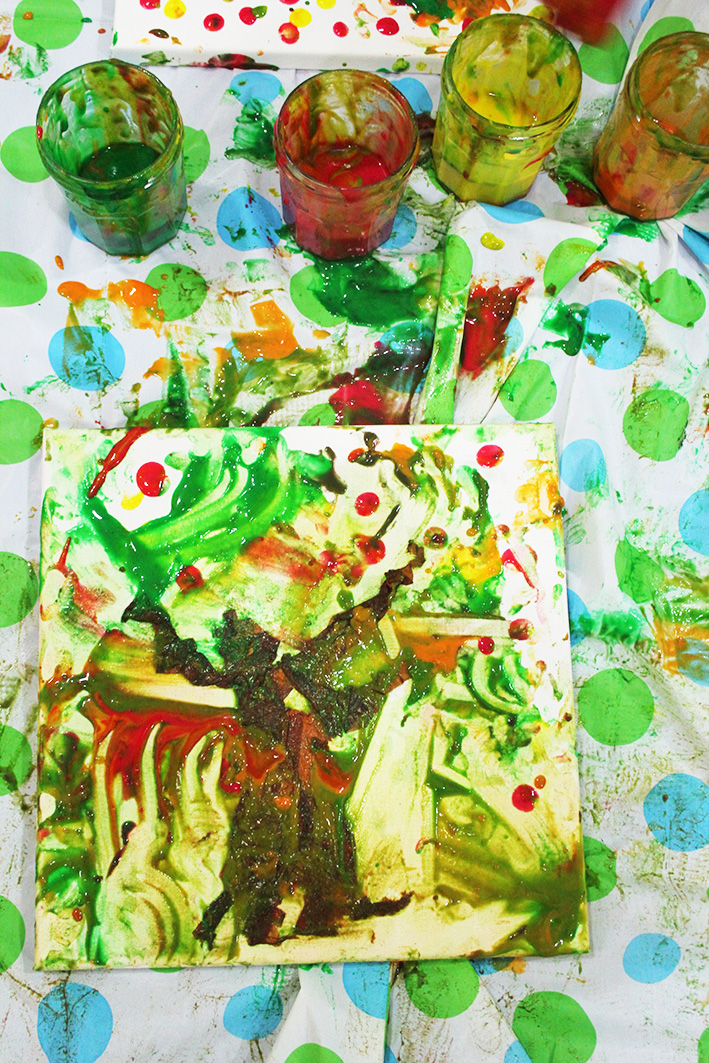
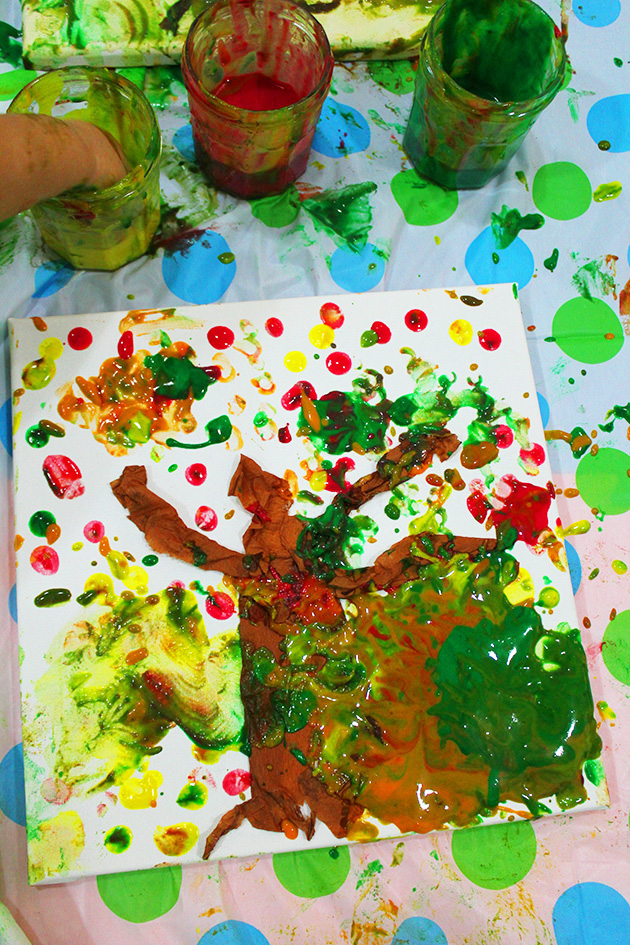
Look at the art pieces we got at the end:
tree with homemade fingerpaint

This is the chef d’oeuvre of Fouad, he didn’t just use his hands but his feet as well! i loved how he was exploring the paint!
tree with homemade fingerpaint

And this is the chef d’oeuvre of Nady, we framed it and add it to his wall of art!
tree with homemade fingerpaint

Aren’t they beautiful?

We spent a really fun creative afternoon! A refaire sans dire!

Baked fish in sesame ginger marinade


roast fish in sesame ginger marinade

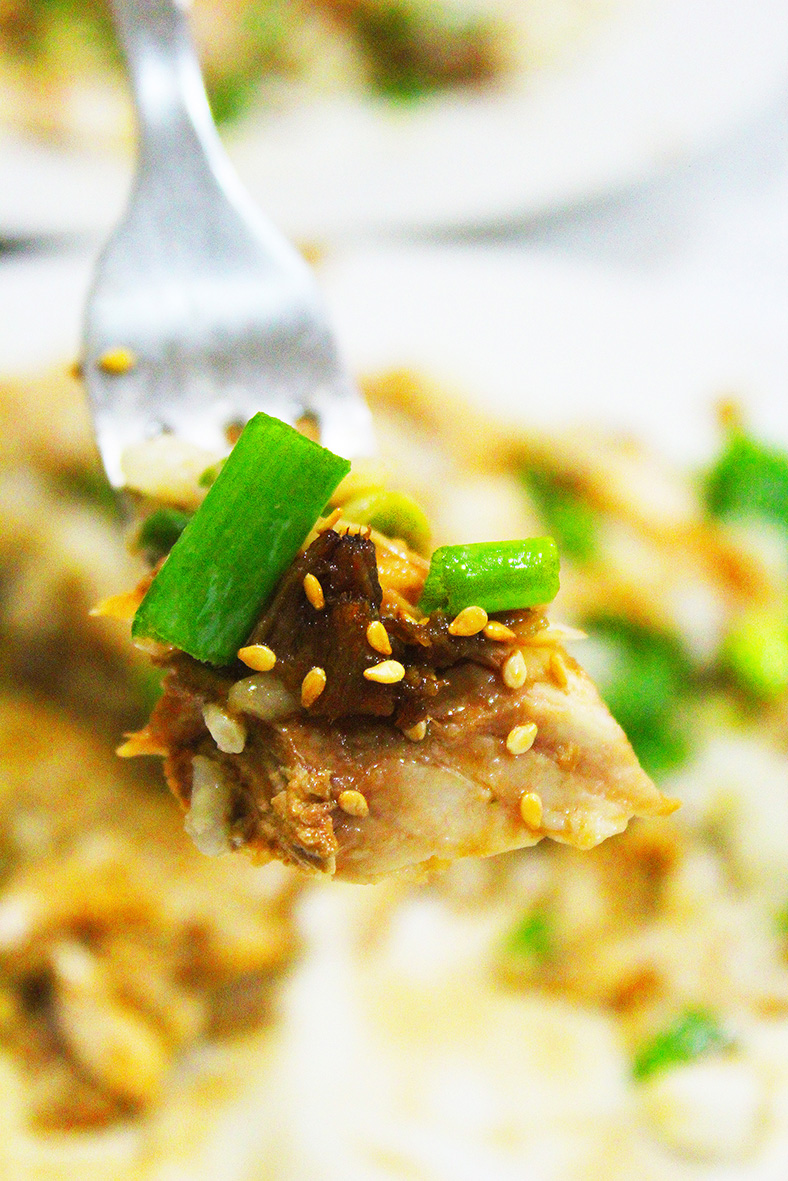
Smell does to discover and enjoy this dish as much as taste. The fragrance reaches the nose before the food reaches the mouth. An Asian inspired dish, rich with the ambrosial ginger, garlic, soy, wasabi, sesame seeds and scallions.

Get ready for a taste of heaven! you will need

  • 1 kg whole fish (800g fish fillet)
  • 1/2 cup soy sauce
  • 1/4 cup balsamic vinegar
  • 2 tbsp brown sugar
  • 1 tbsp wasabi
  • 1/2 cup olive oil
  • 2 grated garlic cloves
  • 1 1/2 tbsp freshly grated ginger
  • 2 tbsp toasted sesame seeds
  • 3 sliced scallions

Whisk together soy, vinegar, brown sugar, wasabi, garlic, ginger and oil.

Make diagonal cuts on both sides of the fish to allow more moisture to be absorbed. When roasting a whole fish always ensure the skin is on.

Line your pan with aluminum foil and greaseproof sheet. Place the fish on the baking sheet and coat it with the marinade then close the edges of the sheet.

roast fish in sesame ginger marinade

Having the baking sheet on aluminum foil will preserve the  marination and the fish will stay moist.

Preheat your oven (220°C). Bake for 20 mns. Transfer to a serving plate. Don’t get rid of the juice, drizzle it on the fish and garnish with the sesame seeds and scallions. Serve it alone or with some rice.

roast fish in sesame ginger marinade

Ginger sesame rice to go with this dish.

  • 1 1/4 cup rice
  • 1 tbsp minced ginger
  • 1/2 tbsp minced garlic
  • 1 tbsp olive oil
  • 1 1/2 tsp toasted sesame seeds
  • 2 1/2 cup water

Heat olive oil in sauce pan. Add ginger and garlic and cook until fragrant for 3-4 minutes.

Add rice and water and bring to boil. Cover with a lid, reduce heat to low and let it simmer for 20 minutes.

Remove from heat, cover the pan with a towel and let it sit for 15 minutes. Remove the lid and fluff the rice with a fork. Toss in the sesame seeds and taste to check if it needs salt.

roast fish in sesame ginger marinade

Dishes with diversified colors and aromatic flavors can usually greatly arouse people’s appetite. It’s hard to describe the amazing taste, you need to try it!

roast fish in sesame ginger marinade

DIY vintage charcuterie board


DIY vintage charcuterie board

Small adds up revive your charcuterie board and create a style of its own. Not necessary for just charcuterie, could be for bread and cheese or even a serving tray!

By adding drawer pulls, any simple cutting board turns to a wonderful piece in your kitchen.

Choose a cutting board of your choice. I wanted it to look antique but i didn’t find one where i live, so i had to do the effect by myself (with acrylic). In a previous post for cheese board DIY i explained how to choose your non toxic paint.

DIY vintage charcuterie board

Very easy and simple DIY. If you are handy with drilling, it takes more time to describe how to make this cutting board than it takes to actually make it. Just mark where you want to fix the pulls and drill holes.

DIY vintage charcuterie board

I love everything rustic and vintage, hence i chose these pulls.

DIY vintage charcuterie board

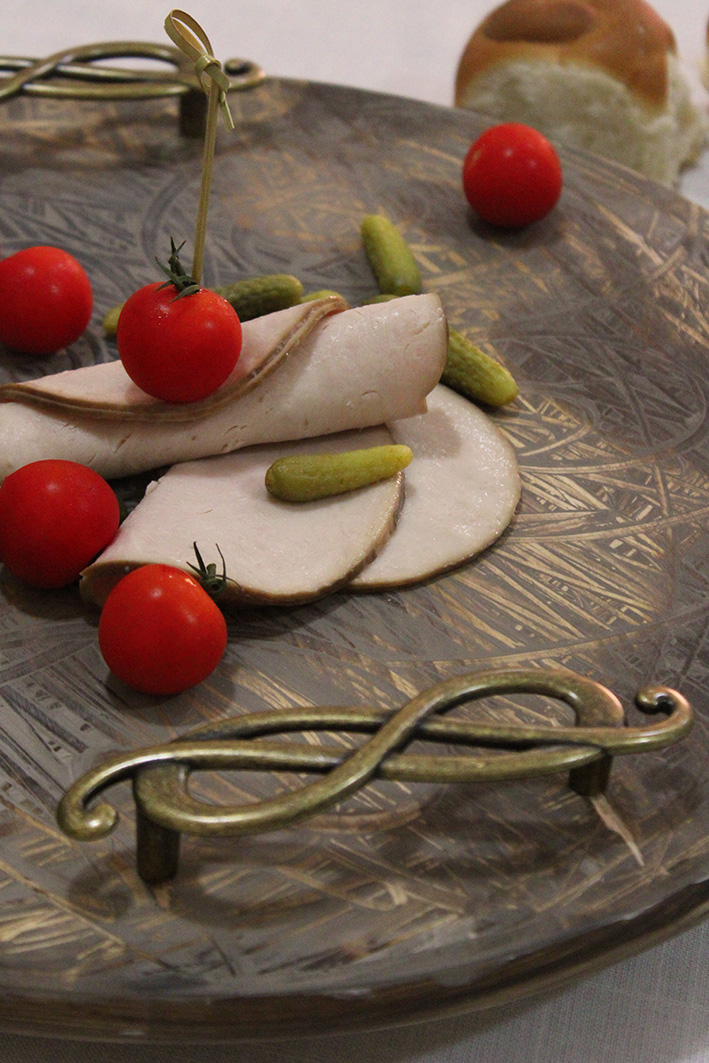
And here is my vintage charcuterie board.

DIY vintage charcuterie board

With those handles it’s easy to use it as a serving tray as well! It’s an open ended craft, you can create endless colors or shapes to embellish your kitchen and wow your guests. It’s even a beautiful personalized gift for friends and family.

DIY vintage charcuterie board

If you like this post and you want to see more of interesting things, follow this blog and like marmite et ponpon facebook page.

I am thrilled to see your suggestions and comments!

clothespin airplanes – kids crafts


clothpins airplanes

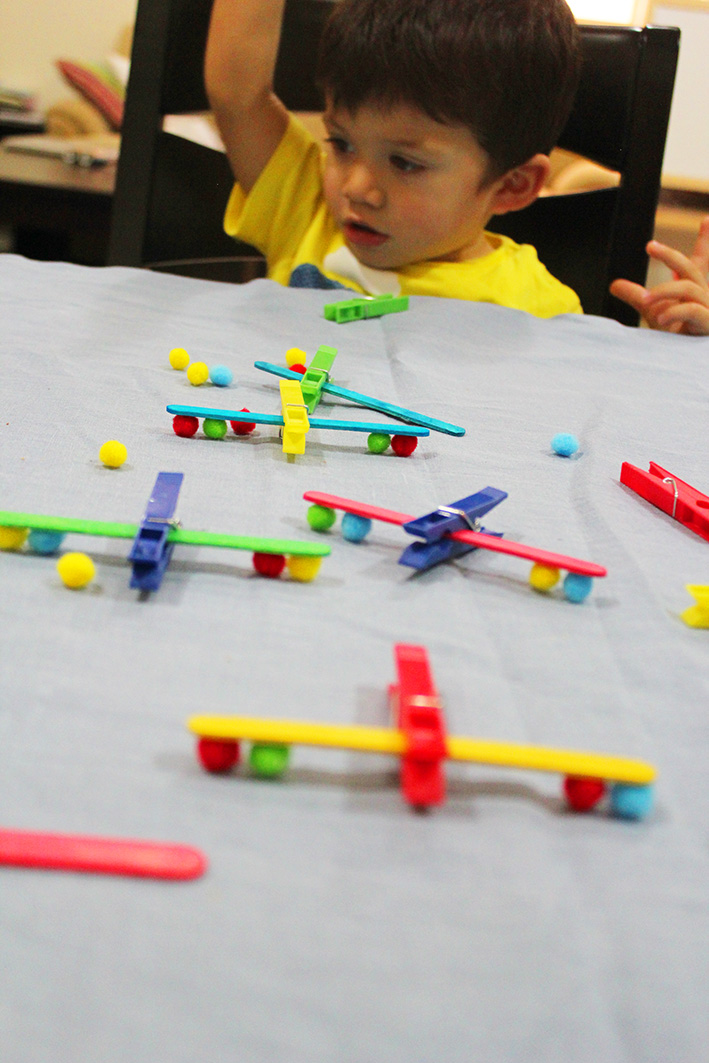
We travel a lot, therefor airplanes became familiar to my son who is very enthusiastic for. Today we decided to travel somewhere in our imagination using clothespin, popsicles sticks and pompoms.

clothespin airplanes

Simple and easy activity (doesn’t need too much preparation) to strengthen his motor skills, enrich his vocabulary and widen his imagination.

We were bored at home, and i wanted to create a last minute simple activity to make him busy. But i didn’t want the fun to end fast. So we started by sorting the colors by naming them and the objects we are using before we create the planes. Very simple way to teach your kid the colors and adding new words to his vocab.

clothespin airplanes

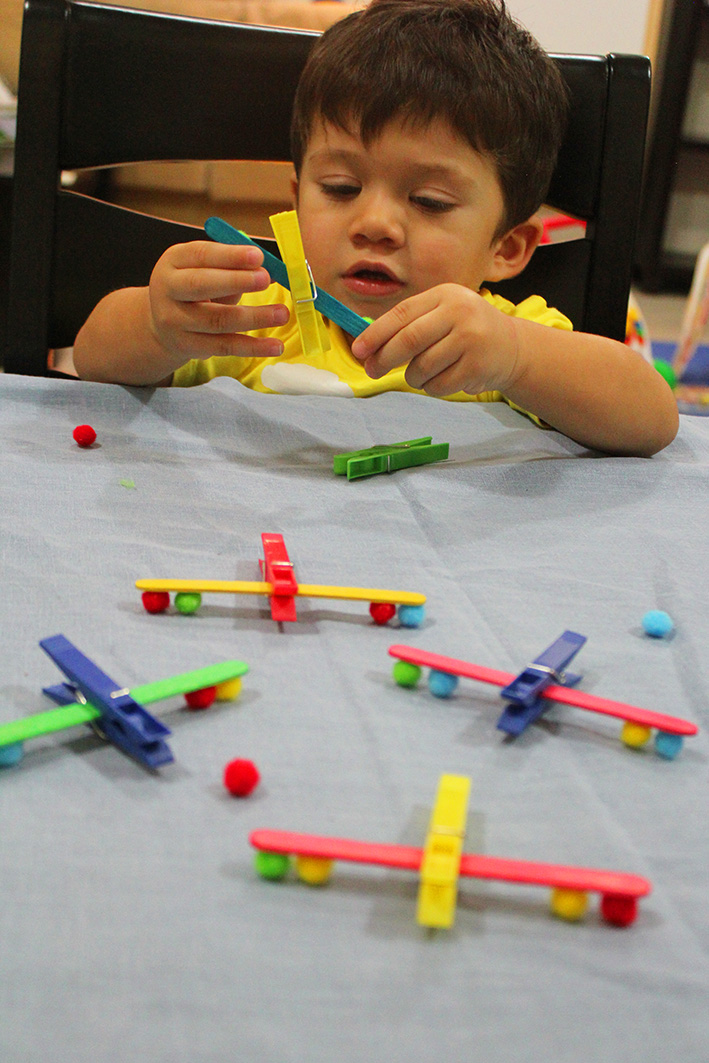
Putting a popsicle stick inside the clothespin might seem easy, but for small hands and tiny muscles it needs fine motricity to pinch the clothespin. With a little help from mommy, here are the wings!

clothespin airplanes

clothespin airplanes

To make it more realistic, stick pompoms on each side of the pretending wings. Sticking is an interesting activity to nady. We kept on sticking and removing the pompoms for a while.

clothespin airplanes

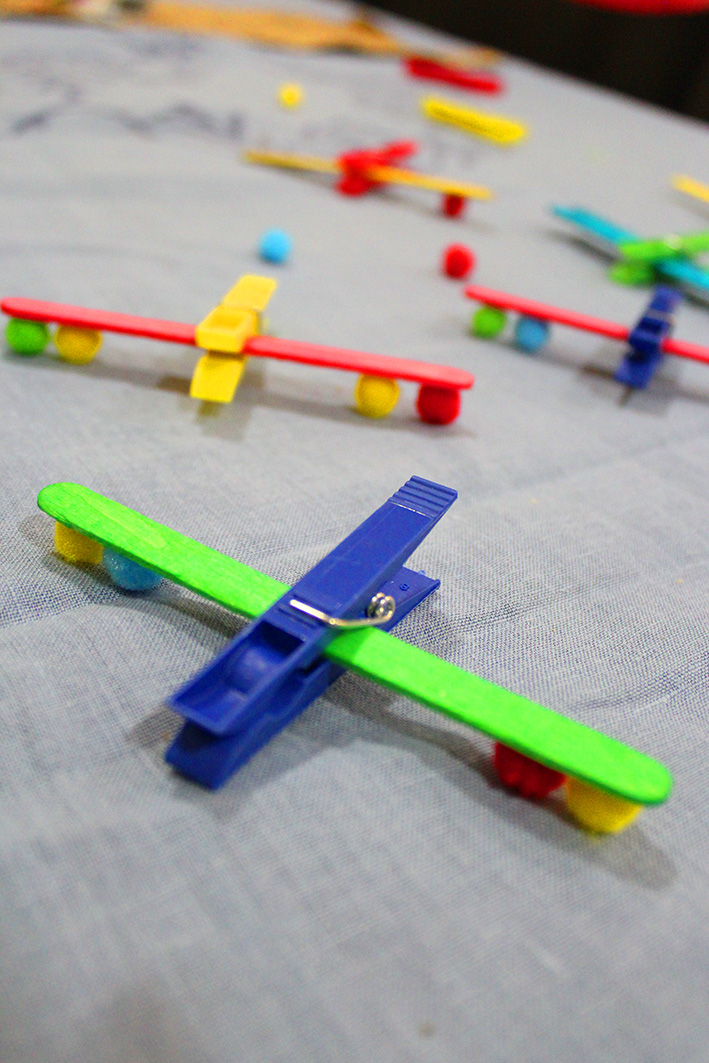
Here are our lovely colorful planes!

clothespin airplanes

clothespin airplanes

Actually Nady enjoyed crafting the planes, but he didn’t want to pretend traveling in them. He was pointing at the sky for real planes. Well i don’t blame him 🙂


batata soufflé


potato soufflé a la libanaise

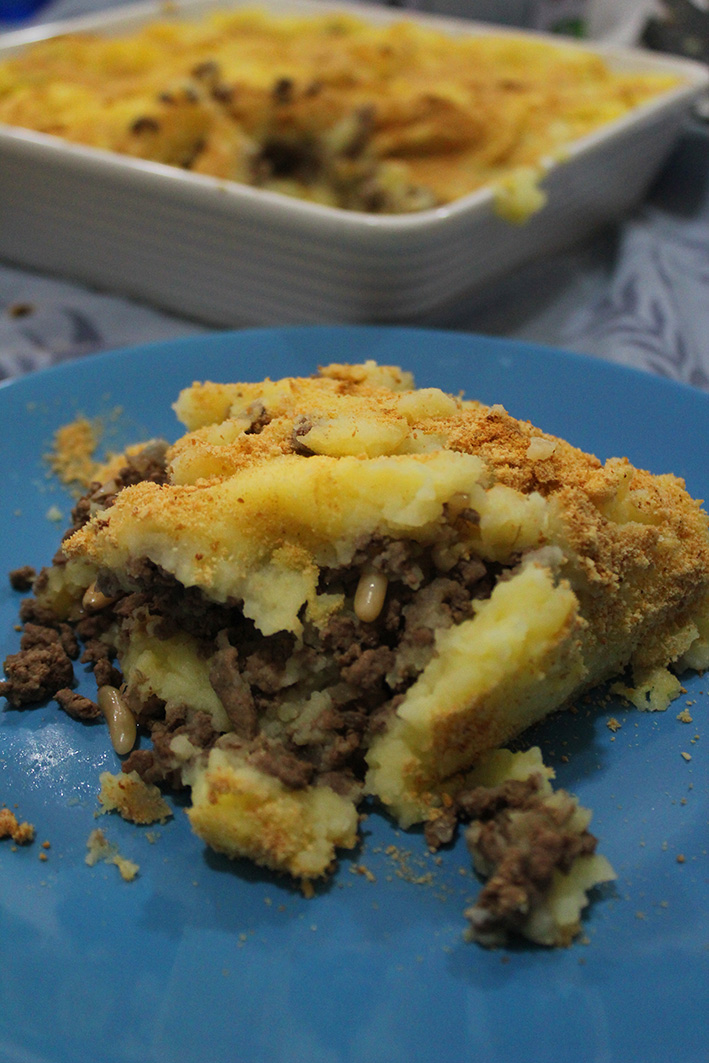
Batata soufflé is the lebanese variation of the french dish “hachis parmentier” and the british dish “shepherd pie”.

Batata soufflé is a meat pie with mashed potato crust. It’s done like a sandwich; the ground beef and pine nuts are pressed between two layers of mashed potatoes.

batata soufflé

For 10×10″ baking dish you will need: (yields 4-6 portions)

Mashed potatoes:

  • 1kg potato
  • 1 cup milk
  • 1 tbsp butter
  • salt to taste
  • bread crumbs

Meat stuffing:

  • 400g ground beef
  • 2 medium onions diced finely
  • 80g pine seeds
  • 2 tbsp olive oil
  • salt and pepper to taste

Heat olive oil, add the onion and fry until tender and fragrant.

Add the ground beef and cook until brown then toss in the pine seeds, salt and pepper and keep cooking until well done. Turn off the heat and keep it aside to prepare the mashed potatoes.

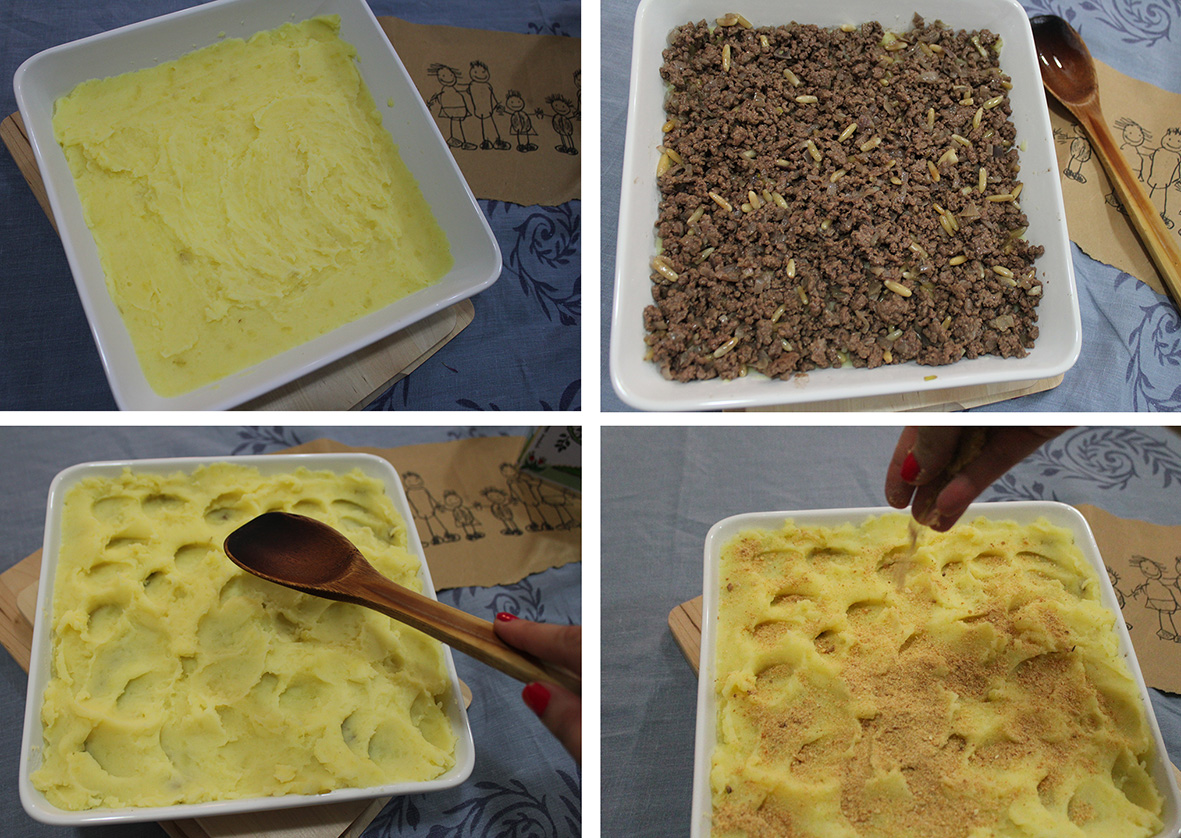
Cook the potatoes in a saucepan of salted boiling water until tender. Drain well. Return to the pan with the butter. Use a potato masher or fork to mash until smooth. Add milk and stir until combined. Taste and season with salt.

batata soufflé

Divide the mashed potatoes in half. In the baking dish, make the first layer of potato with one part. Spread evenly the ground beef over it and top it with another layer of the remaining mashed potatoes.

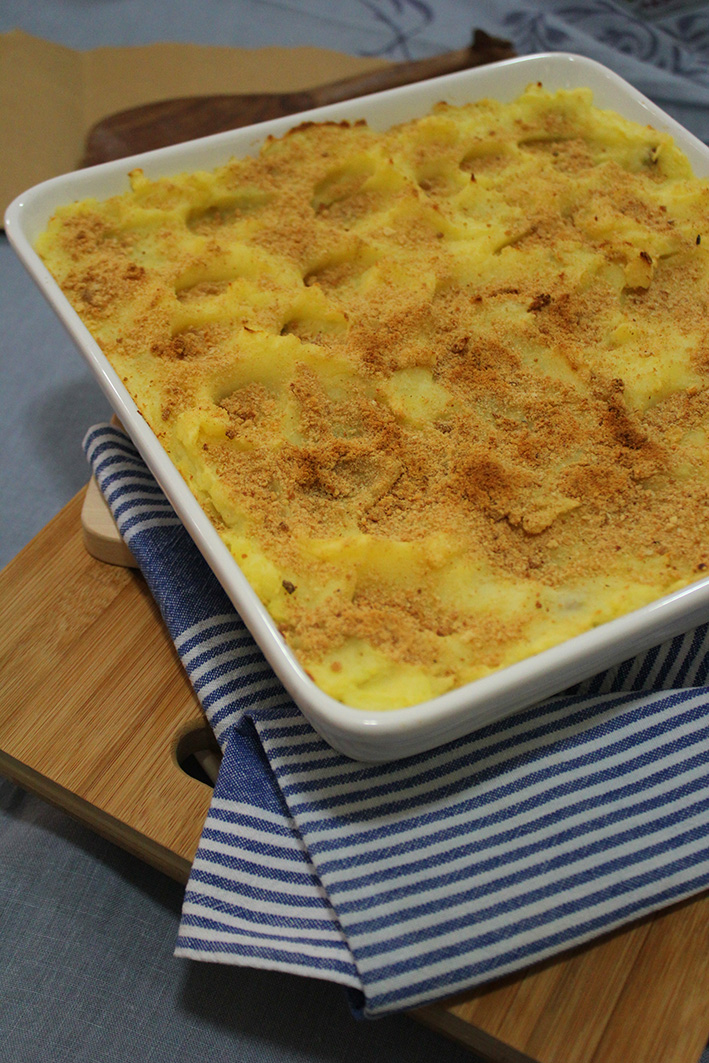
Sprinkle bread crumbs, enough to cover it with a thin layer, and bake it until top is golden brown (180°C) about 15 minutes.

batata soufflé

Let it rest for 10-15 minutes before serving, the cutting will be easier. It’s one of the classic lebanese dishes and one of my favorite. I like to eat it with a side salad of lettuce and moutarde a l’ancienne. This how mum used to serve it when we were kids.

batata soufflé

batata soufflé