Category Archives: ponpon

DIY classic Palm Sunday candle – olive branch


how to decorate the palm sunday candle – DIY – step by step

Today we celebrate palm friday (instead of palm sunday) in Doha. Strange no?!

Anyways, nothing will affect our happiness, teta and jeddo (grandmother and grandfather in arabic) are here to celebrate the holiday season with Nady.

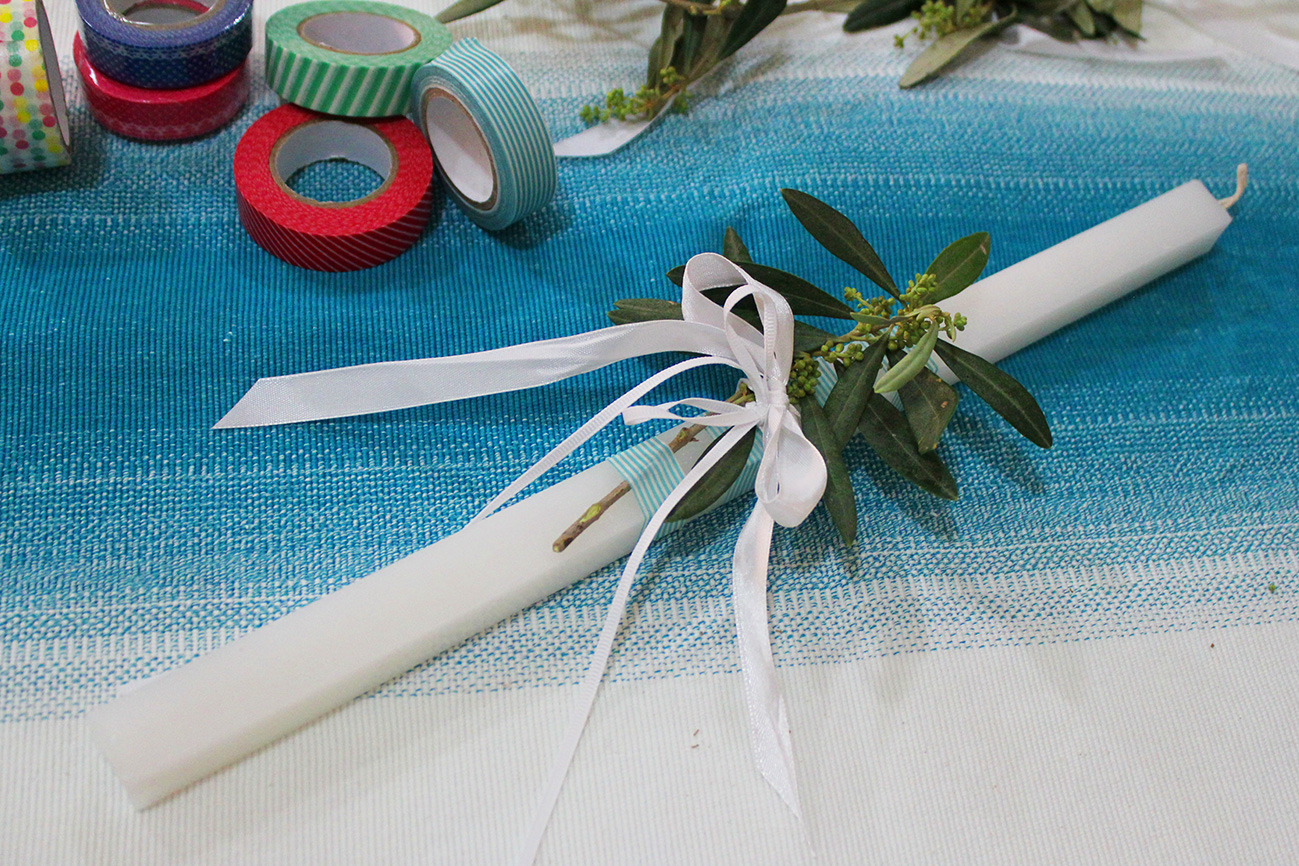
They got olive branches from Lebanon, so i wanted this year to make the classic candle like old days.

Very easy and fast, could be the last minute candle. But in my opinion the most beautiful one with the olive branch symbol of peace.

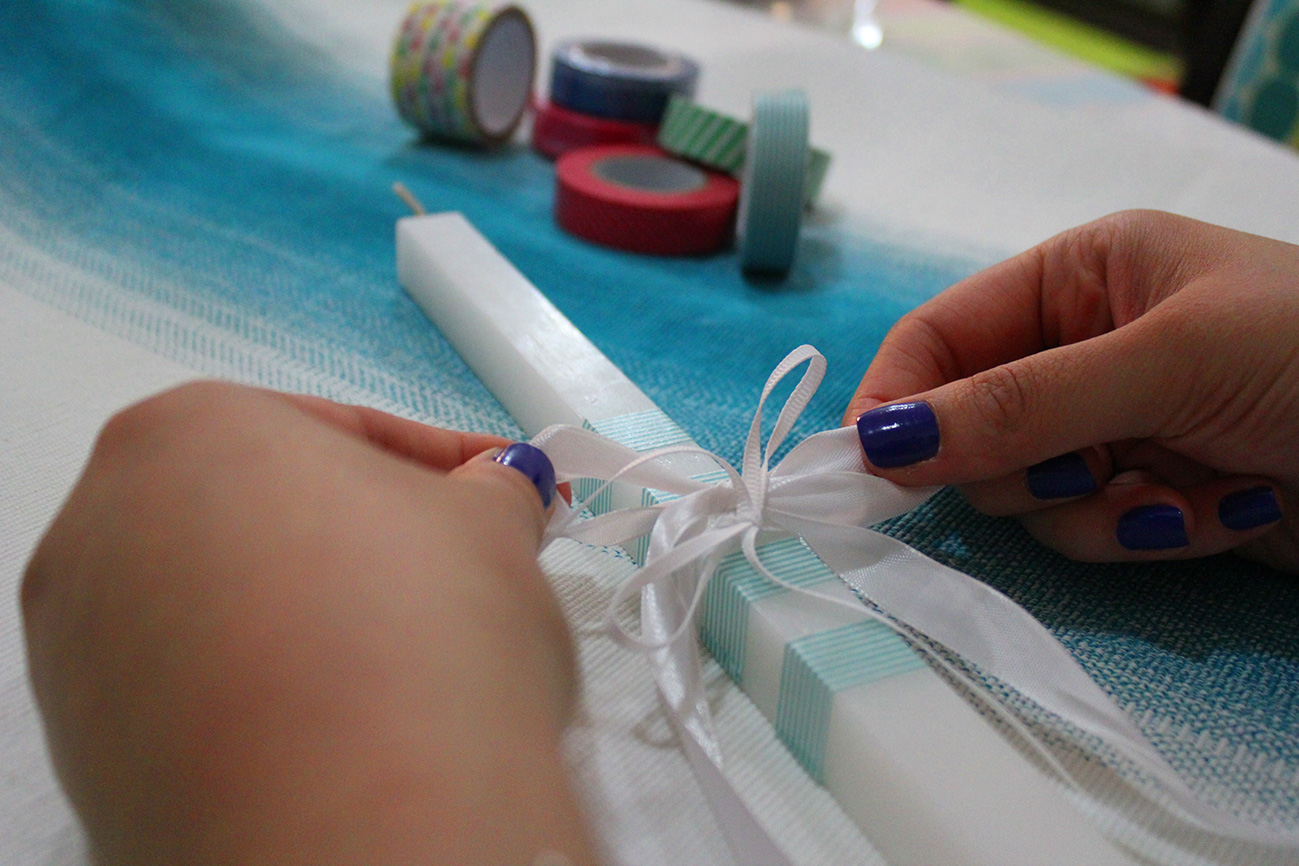
All you need is washi paper and white ribbon. Make four parallel strips:

how to decorate the palm sunday candle – DIY – step by step

how to decorate the palm sunday candle – DIY – step by step

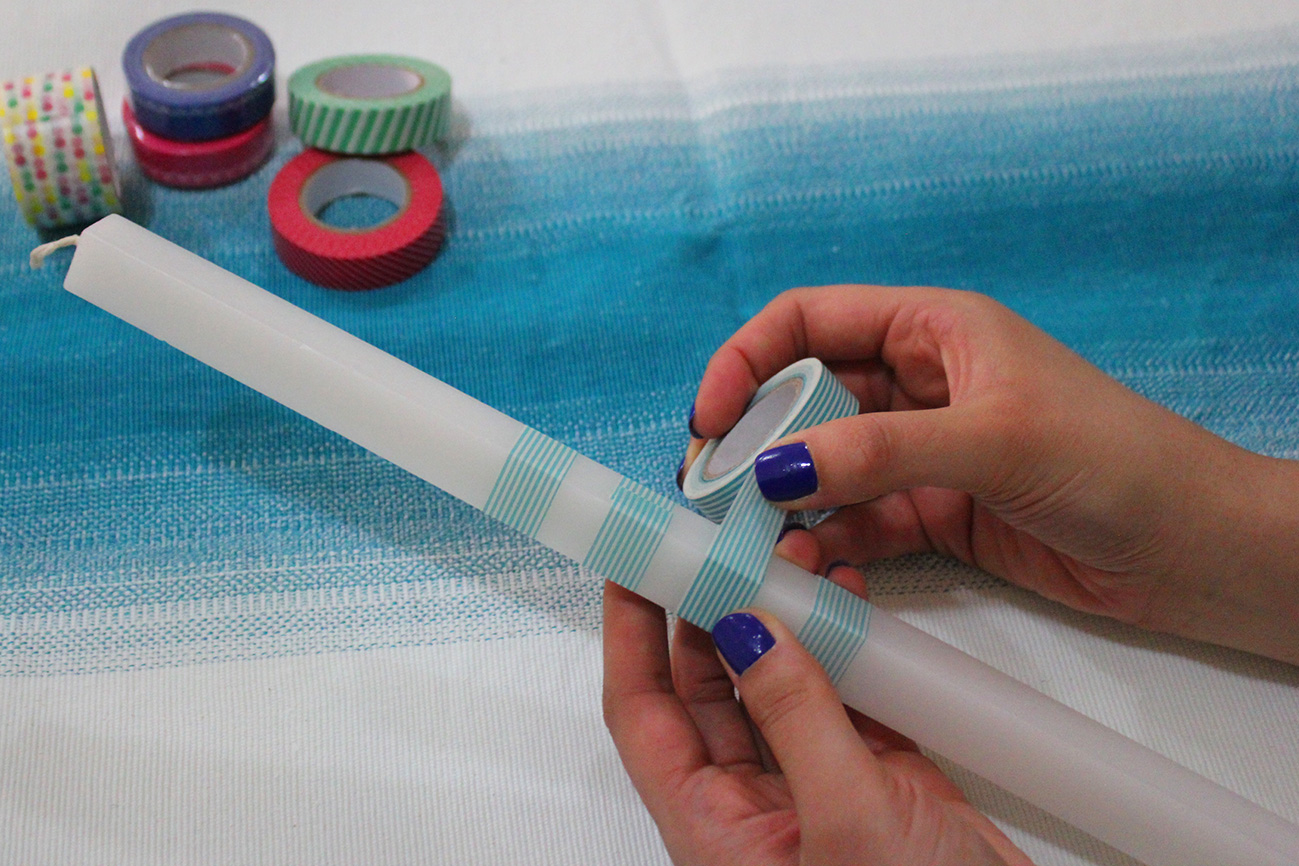
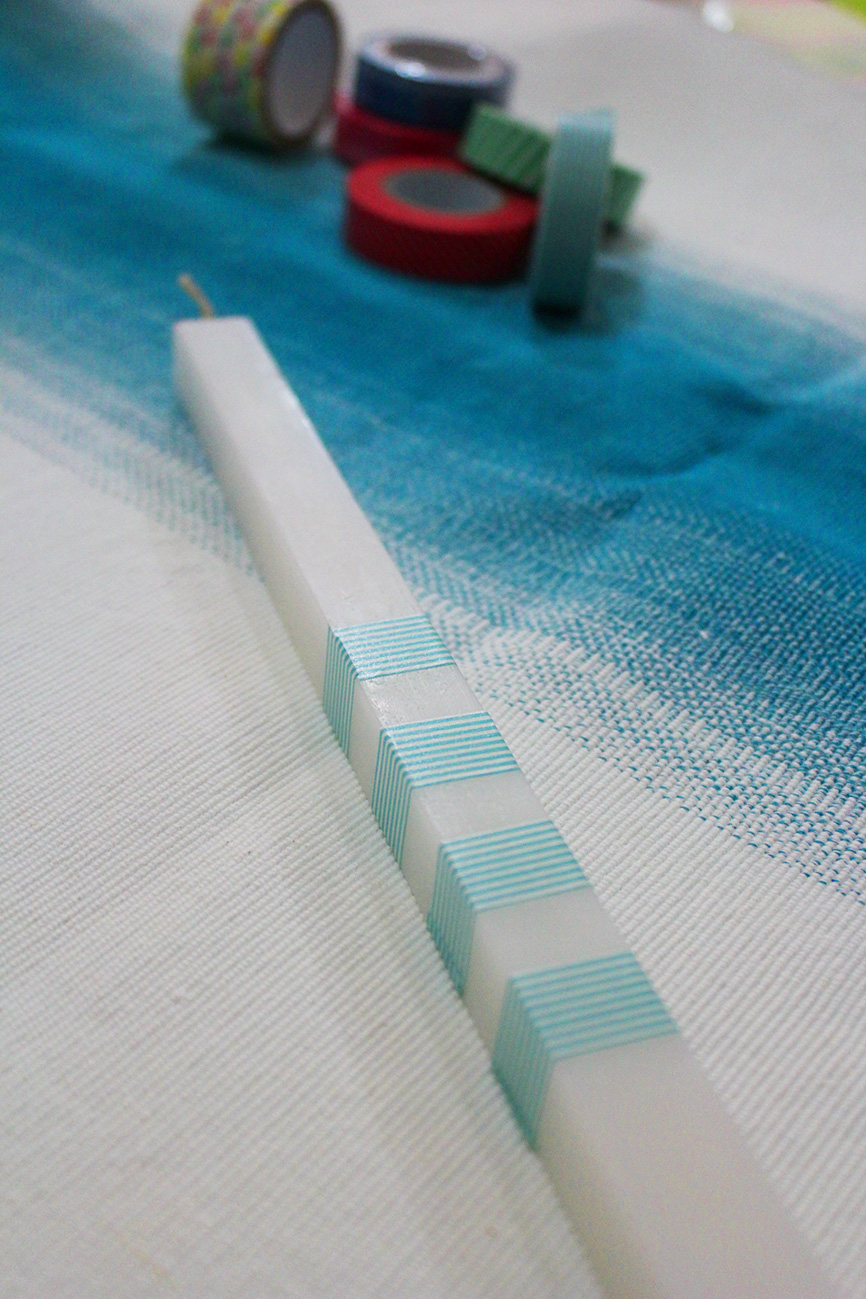
Baby blue washi tape to go with the green of the olive branch.

Then tie a thin white ribbon as a bow in the middle between the lines.

how to decorate the palm sunday candle – DIY – step by step

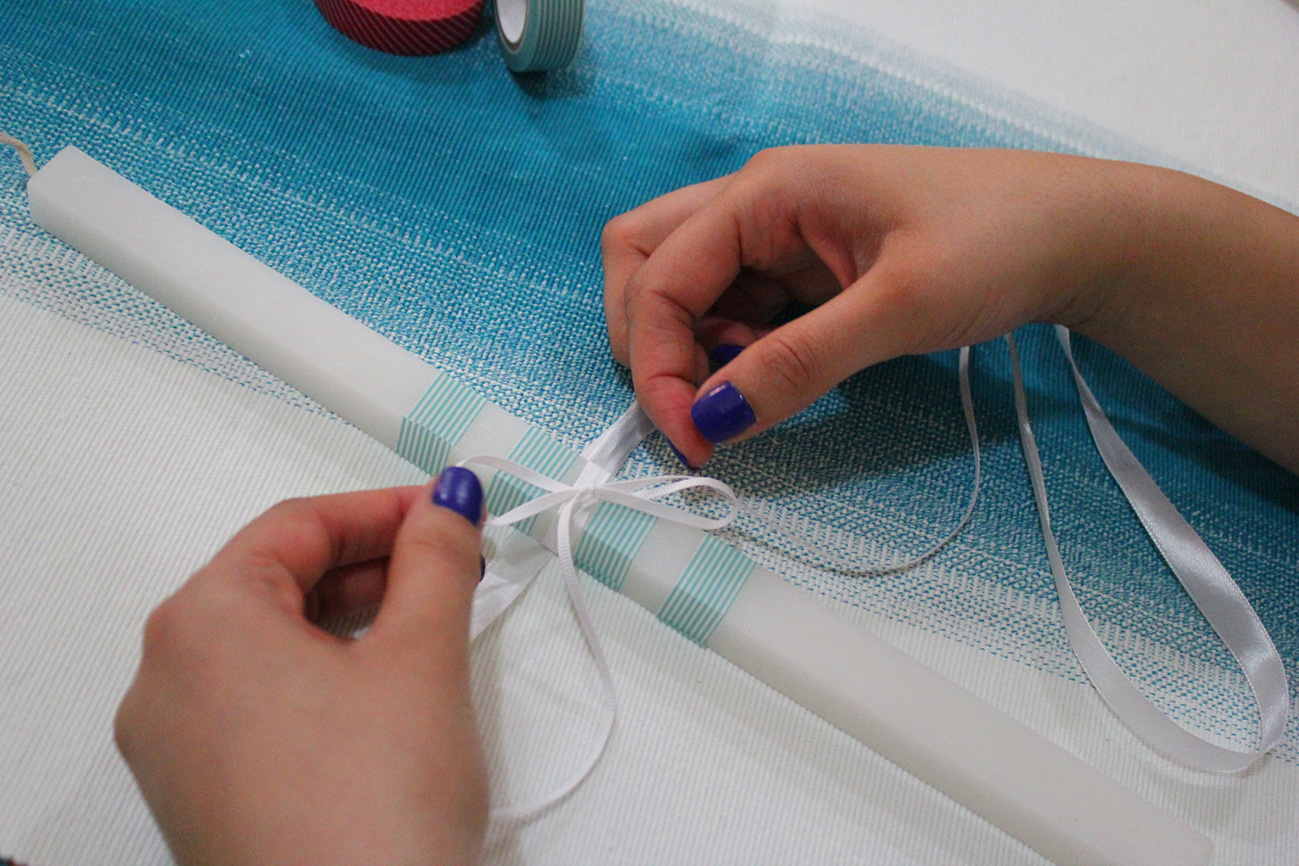
And a thicker satin one.

how to decorate the palm sunday candle – DIY – step by step

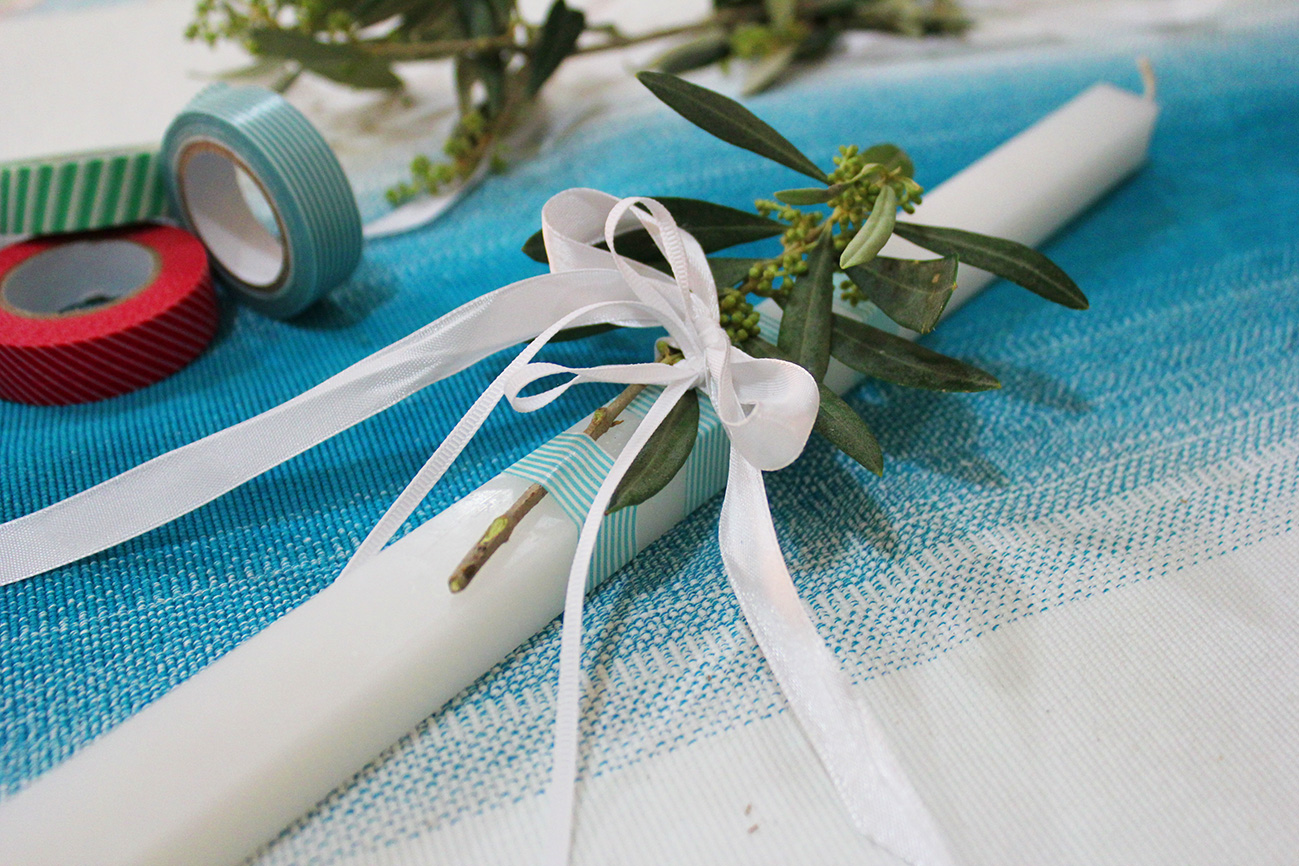
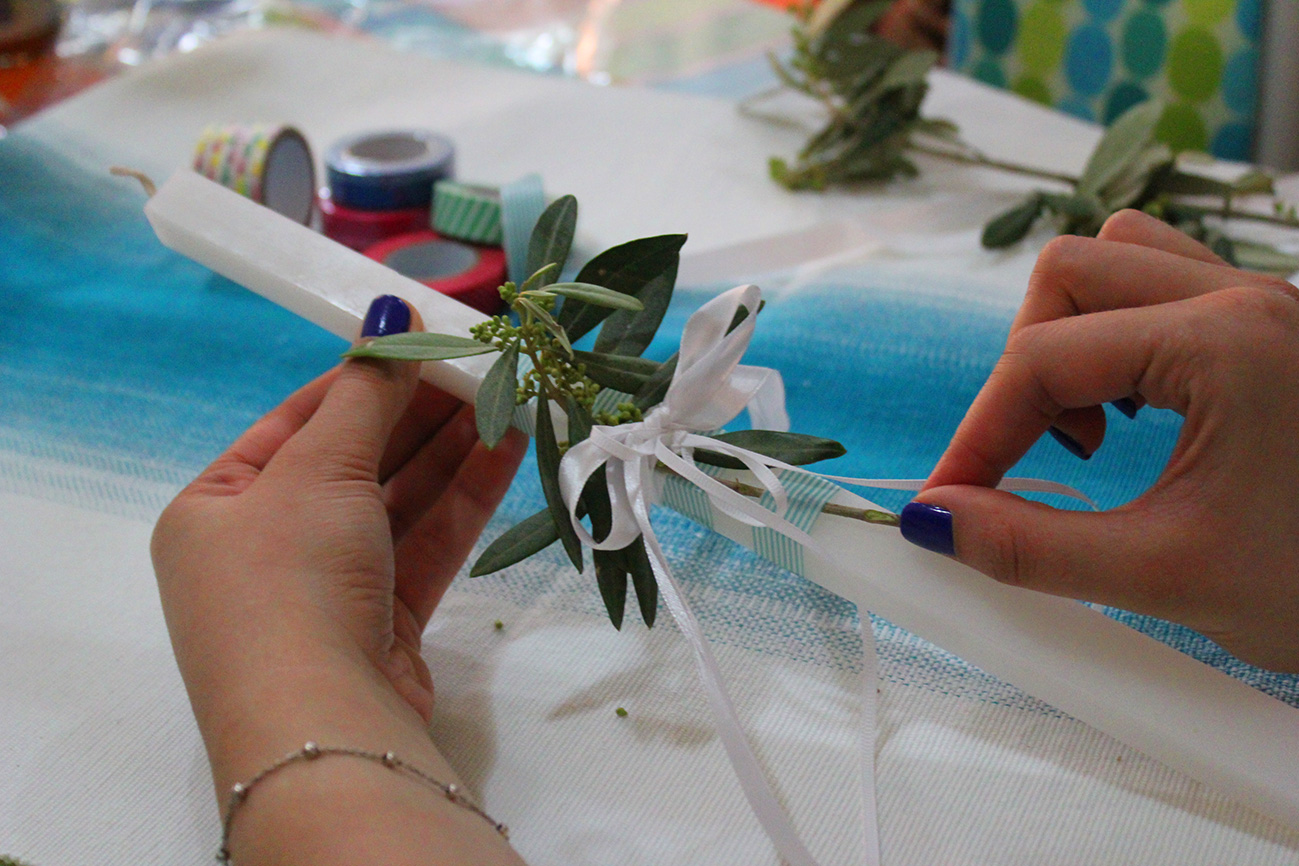
Insert the olive branch between the ribbon and stick the stem under the last washi tape line.

how to decorate the palm sunday candle – DIY – step by step

how to decorate the palm sunday candle – DIY – step by step

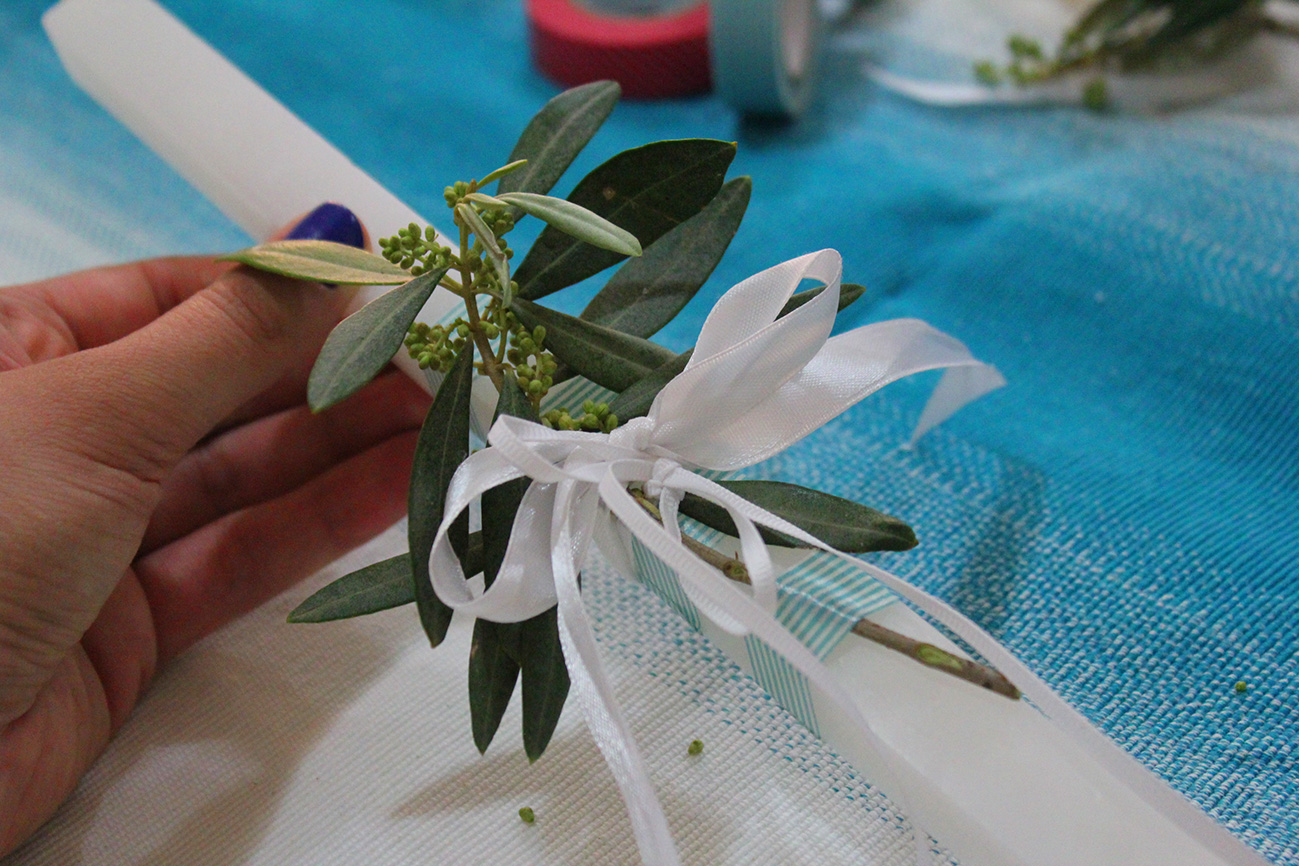
Et Voila! a beautiful classic candle that holds lot of meanings.

how to decorate the palm sunday candle – DIY – step by step

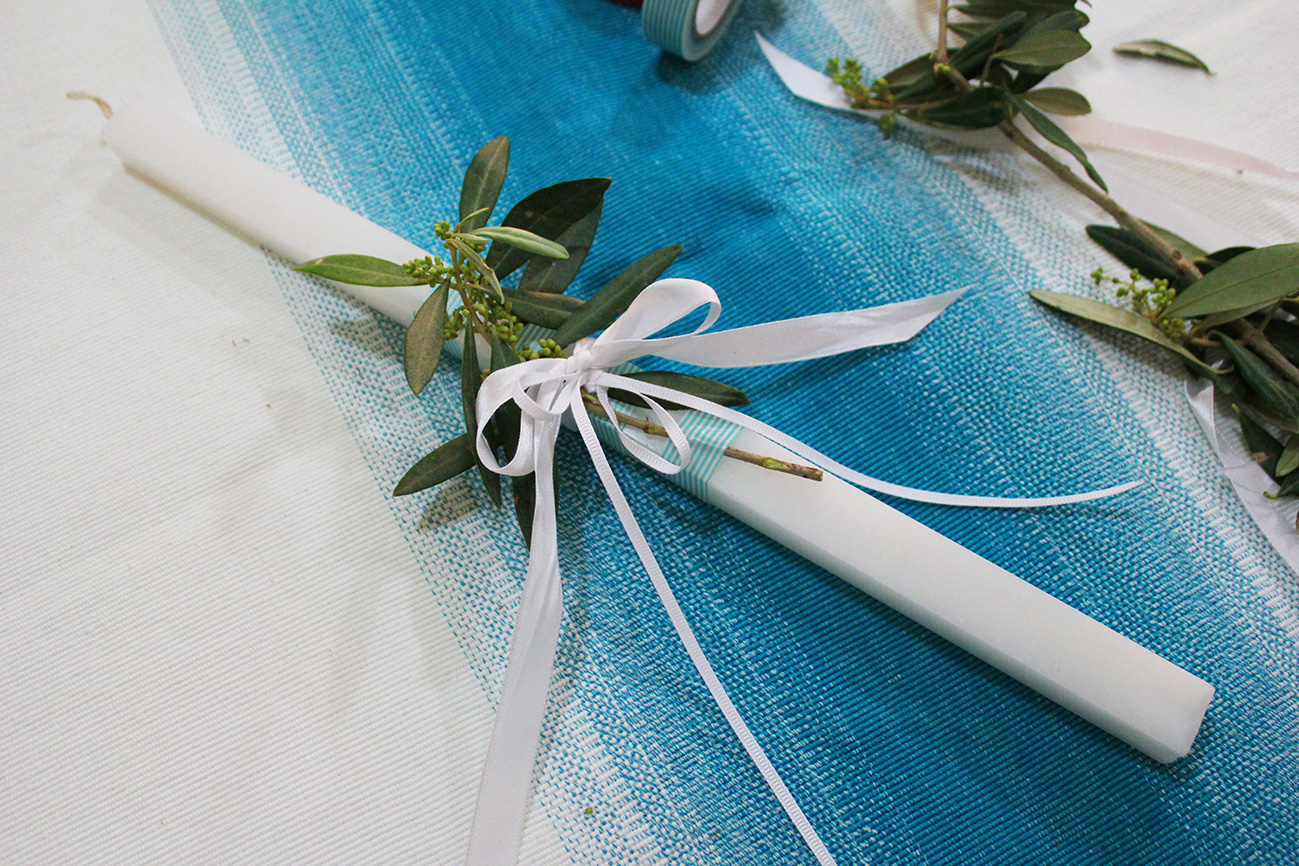
We are ready to go to the church!

how to decorate the palm sunday candle – DIY – step by step

Happy Palm Friday/Sunday to everyone 🙂

If you like this post give it many likes and shares to spread the joy. Don’t forget to like marmite et ponpon facebook page and follow on twitter. More interesting posts are yet to come.

DIY Palm Sunday candle – flowers


how to decorate palm sunday candleThere are many ways to decorate the palm sunday candle at home. If your precious is a girl and you want to make something simple and girly, you will like this one.

Colors are very subjective depending on your girl cloths, her favourite colors or even yours!

how to decorate the palm sunday candle

In a previous post i showed you how to make these beautiful flowers. Check spring flowers for tutorials, but this time you will need ribbons and buttons for the carpel.

2ribbons

Start by wrapping two intertwined ribbons on the 1/3 third of the candle to keep space for the little hand to hold it.

flowers

If you noticed they are 3 sizes flowers. Glue the big and medium one on the wrapped ribbons and the small on one of the hanging ribbons as shown.

palm sunday candle

And it’s ready 🙂 Simple, easy and beautiful.

If you like this post give it some likes and shares to spread the joy. Don’t forget to like marmite et ponpon facebook page and follow on twitter. More posts yet to come, stay tuned!

palm sunday candle DIY

Marine Palm Sunday candle – DIY


Palm sunday is in less than a week time. If you still didn’t buy your kid’s candle and you would like to make a special unique one, here is a step by step tutorial for a marine theme.

On a white candle, wrap two different colors of ribbon, almost at the 1/3, so it’s above your kid hand grip.

ribbon wrap

Create with a third color ribbon, a kind of bow as shown below and stick it in the middle between the two ribbons.

bow

Stick the motifs either with UHU glue or wax gun. Click here to download a high resolution file of the drawing. Print it on a card board and let the printing house cut it out with laser if you are not good with the exacto.

motifUse a thread to attach the wheel and anchor, and let them dangle.

palm sunday candle

You can use any color related to the marine theme, not necessarily those specific ones. Depending on what you find in the shop.

palm sunday candle - DIY

Boy or girl can enjoy this candle. Happy palm sunday!

If you like this post give it some likes and shares to spread the joy. Don’t forget to like marmite et ponpon facebook page and follow on twitter. More posts yet to come, stay tuned!

palm sunday candle DIY

kids spring/Easter crafts, yellow flowers (DIY- step by step)


bouquet

The color festival is still on! Celebrate the spring and pre-easter season with your kids. Develop their fine motor skills, and teach them colors.

My boy is learning the spring season and the yellow color at the nursery. I thought of DIY yellow paper flowers. Why not? It could be the table centerpiece at Easter. Lets have fun!

First we need a vase. Empty cheese jar was an excellent idea. We decorated it with colorful japanese washi tape.

kiri cheese pot

The minute I set down the material on the table, Nady showed an unbelievable excitement.

You will be surprised how much you can do with just papers; Pinwheel daffodil, marigold, daisy, tulip and geranium, for this time.

Follow me step by step on how we do the pinwheel daffodil.

how we do dafodil pinwheel


pinwheel

Marigold:

how to do marigold

marigold

Daisy, tulip and geranium. Click on flowers cut outs for a high resolution file.

flower cut outs

daisy, tulip and geranium

Green straws for the stems.

stick on straw Et voila!

all flowers designs

Simply gorgeous! Nady was so happy, contemplating the beauty of the flowers.

spring flowers DIY

spring flowers DIY 2

spring flowers DIY 3

So excited, he started to collect the flowers to make a bouquet.

spring flowers DIY 4

spring flowers DIY 5

Nady’s reaction to this activity was unexpected. I was extremely happy from his response. Crafting today was extremely beautiful and fun. He grabbed the vase and started to fill it with the flowers.

spring flowers DIY 6

spring flowers DIY 7

spring flowers DIY 8Busy boy 🙂 So proud of himself.

spring flowers DIY 8

Easter and spring crafts for kids- beautiful bunny garland


Two weeks ago we kicked off Easter spirit because we wanted this year decoration to be done by us. Usually this festive season coincides with the spring. Hello to the colorful crafting season!

Crafting should be fun, entertaining and instructive at the same time. My son loves everything hanging and dangling, so we decided to do a colorful bunny garland to decorate his play area.

To start with, you need to cut out bunny shape in different colors. Click on bunny to download a high resolution file of the cut out.

bunny cut out 1

bunny cut out 2

bunny cut out 3

To make the activity more fun, adding pompom tail and eyes to the bunnies was a great idea. This way it is not just learning the colors.

bunny tails 1

Nothing worth the look on your baby’s face when they are excited about something. It’s priceless!

bunny tails 2

bunny tails 3

How soft a bunny tail is!

bunny tail 4Now we need to stick eyes for the bunny to be able to see the carrots. Bunnies love carrots.

bunny eyes 1

Papa is participating as well. I love when we do things as a family.

bunny eyes 2

garland craftingWhen the bunnies are ready, stick them on a thread next to each other to have a beautiful colorful garland.

Isn’t it?

There are plenty of choices for the garland. You can do it with eggs, flowers or chicks….

garland 1

garland