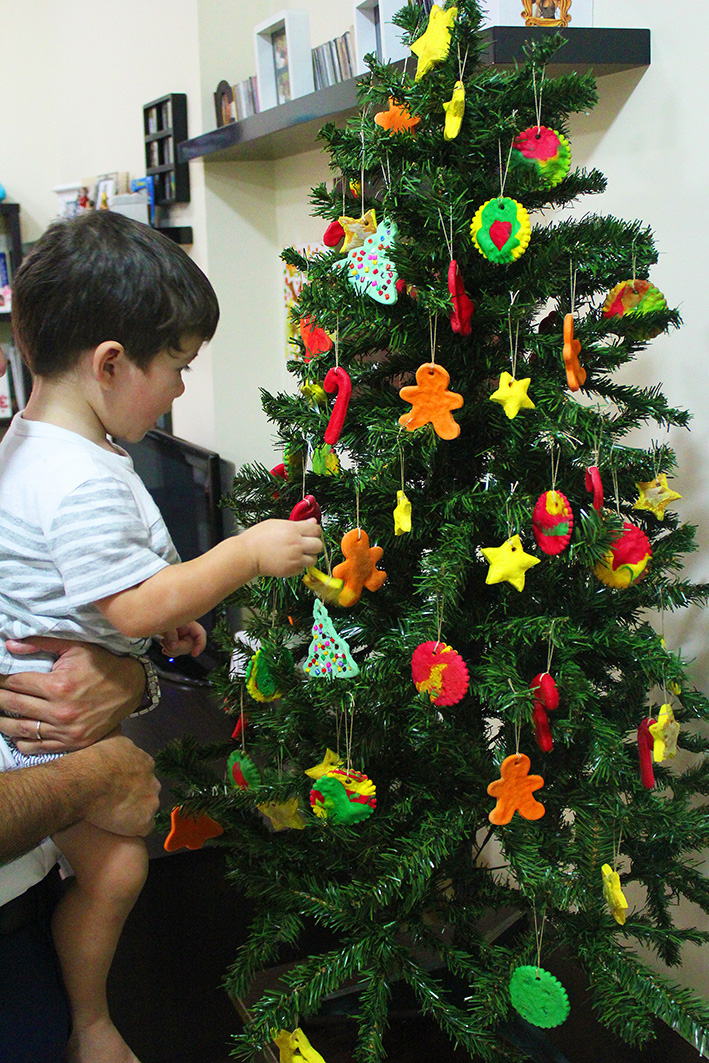
 Christmas is my favorite holiday; so joyful, festive and special for what it represents. When you say Christmas you immediately think of the decorated trees, shopping for gifts, lights, beautiful decorations, happy family gatherings, jingle bells, yummy food, midnight mass, visiting friends and family, kids waiting for Santa… and by the way my husband proposed to me on the Christmas eve! I always thought it can’t get better until my love Nady was born, he became the Christmas and the joy of the family! I admit that kids take Christmas to another level of feelings to discover that happiness is a small word to what you actually feel. He changed the whole concept and added more magic and excitement to this season. This year, we are decorating the house together, and specifically the tree. Handmade ornaments with salt dough! I love when he is involved in the crafts, it’s a quality and fun time together! Mon amour d’artiste!

 Very simple craft, doesn’t require a lot of ingredients and the outcome is wow! With just flour, salt and water you can do these beautiful ornaments! Mix:
- 1 cup flour
- 1/2 cup salt
- 1/2 cup water
and knead until smooth. If your dough is still crumbly you can add more water, or if it’s sticky you can add flour, you can always correct flour and water to get the consistency you want. Add coloring gel to the dough or paint it later if your kids are old enough to create designs on them. I love working with this dough, it’s so versatile; you can bake it for 15-20 mns on 200ºC or leave it to air dry for 2 days, if you are using decorations that can’t be baked. If you are leaving it to air dry i suggest to flip it after one day. For instance, we used colorful plastic pieces to decorate the tree shape ornament, and kept it to dry without baking.  Nady was so happy rolling the dough, cutting, and poking the colored plastic bits. Grand garcon (big boy). He got so excited, he sat on the table!
  This is how they look on the tree after they dry!
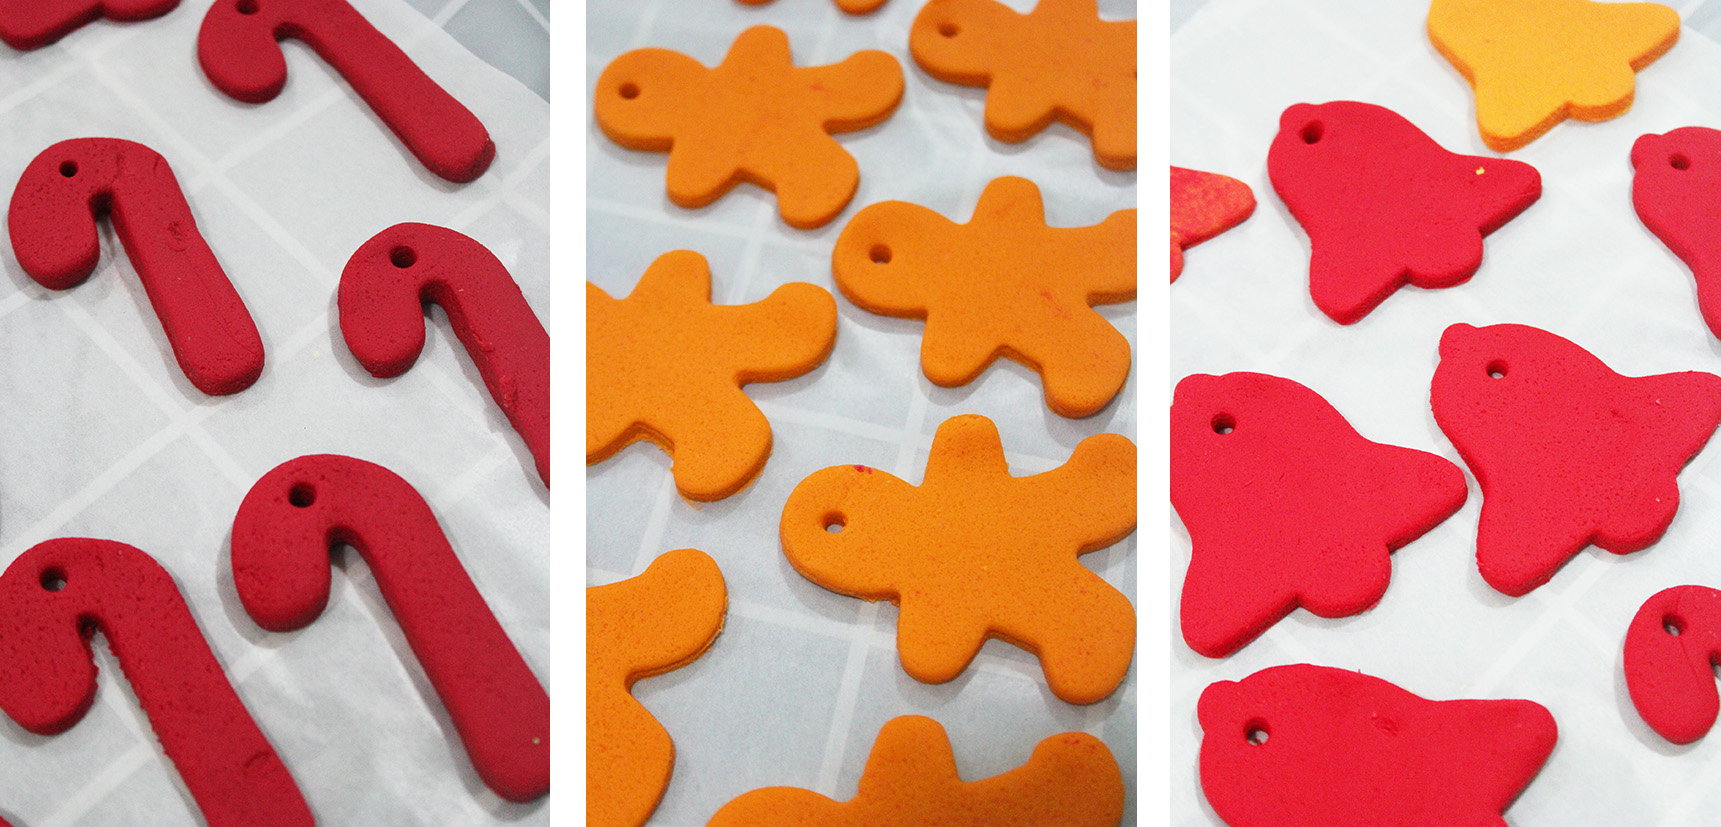
  The sky is the limit, you can do any Christmas related shape you want!
  We used a straw to make the small hole, where we inserted a golden thread to be able to hang it on the tree.
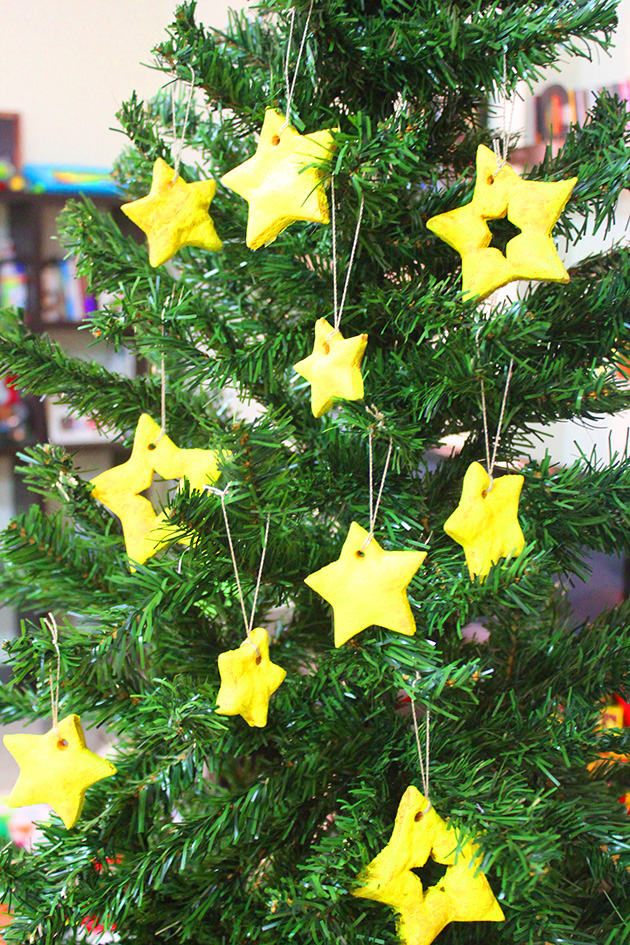
 After baking these stars, i brushed them with little oil for a shiny look! We used the whole set of Christmas cookies cutters, so we did many shapes!


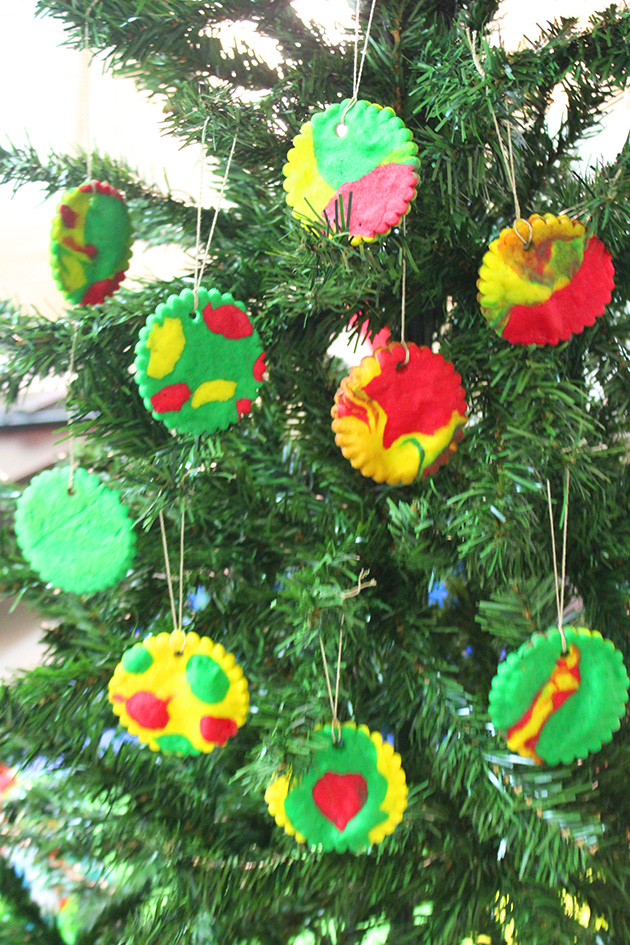
 And finally the colorful Christmas balls! I loved the outcome, the color blend makes you happy 🙂
  You can be as much creative as you want, all depending on the material you have and the age of your kids. You can paint, use glitter, beads, pompoms……Let them unleash the artist inside them!
 These ornaments last for years if well stored in a dry container and not exposed to moisture in any way. Et voila our beautiful Christmas tree for the year 2014, done by Nady and the help of maman. 3a2bel kel seneh! This is how we wish you (in arabic) a long life to celebrate more christmases in the coming years.
  One month until Christmas, it’s never early to start celebrating, We did! What about you, did we put you in the mood?! If you like this post give it some likes and shares to spread the joy. Don’t forget to like marmite et ponpon facebook page. More posts yet to come, stay tuned!

 Christmas eve dinner with the family is one of the traditions! Since we got married we managed (so far) to celebrate Christmas eve with both families together back home. This is what i call joy comes in a bundle!
 Or you can add an ornament on top, could be a star, bell or Santa hat like i did!


 with vegetables and gravy")


|marmite et ponpon")


 and cheese straws|marmite et ponpon")


