Tag Archives: spring

Easter/spring burlap door wreath


IMG_4525
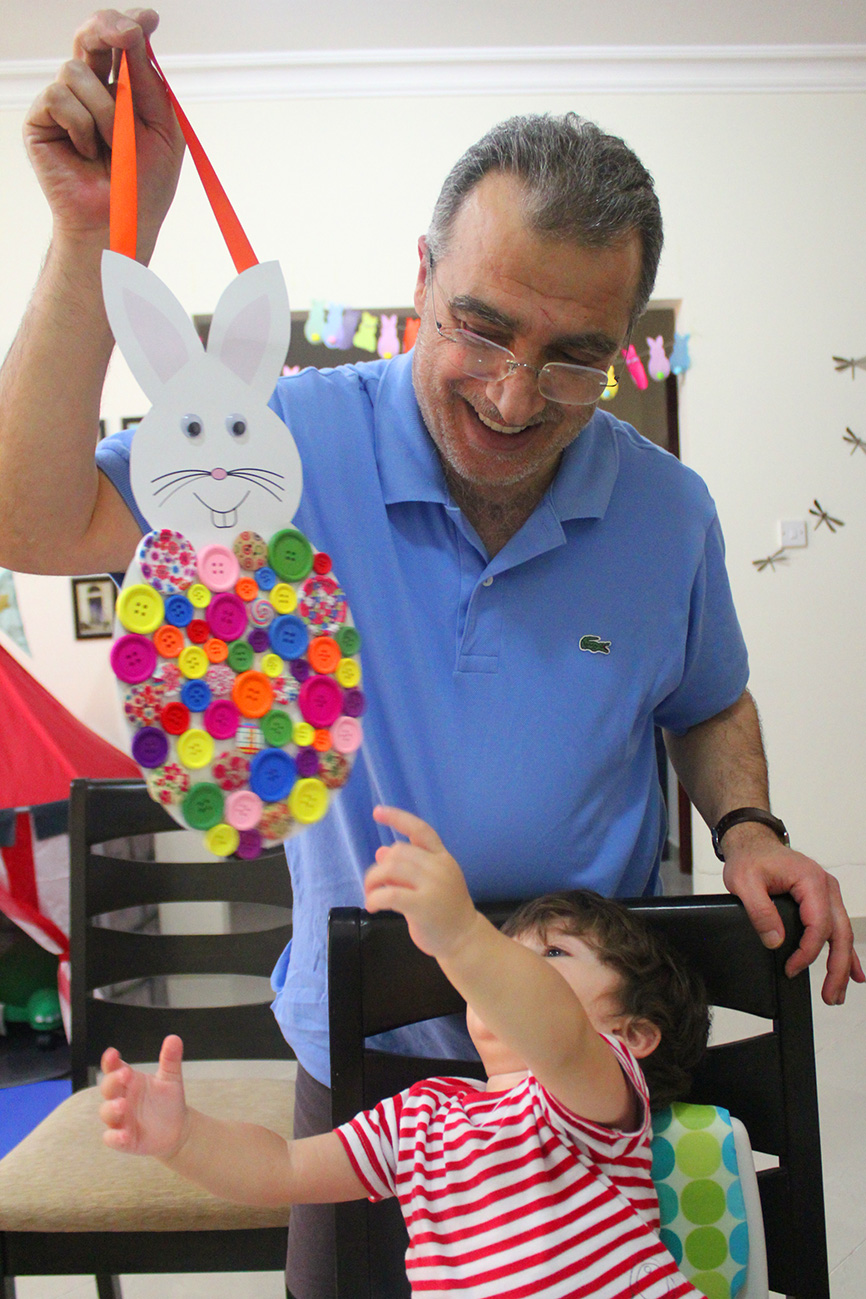
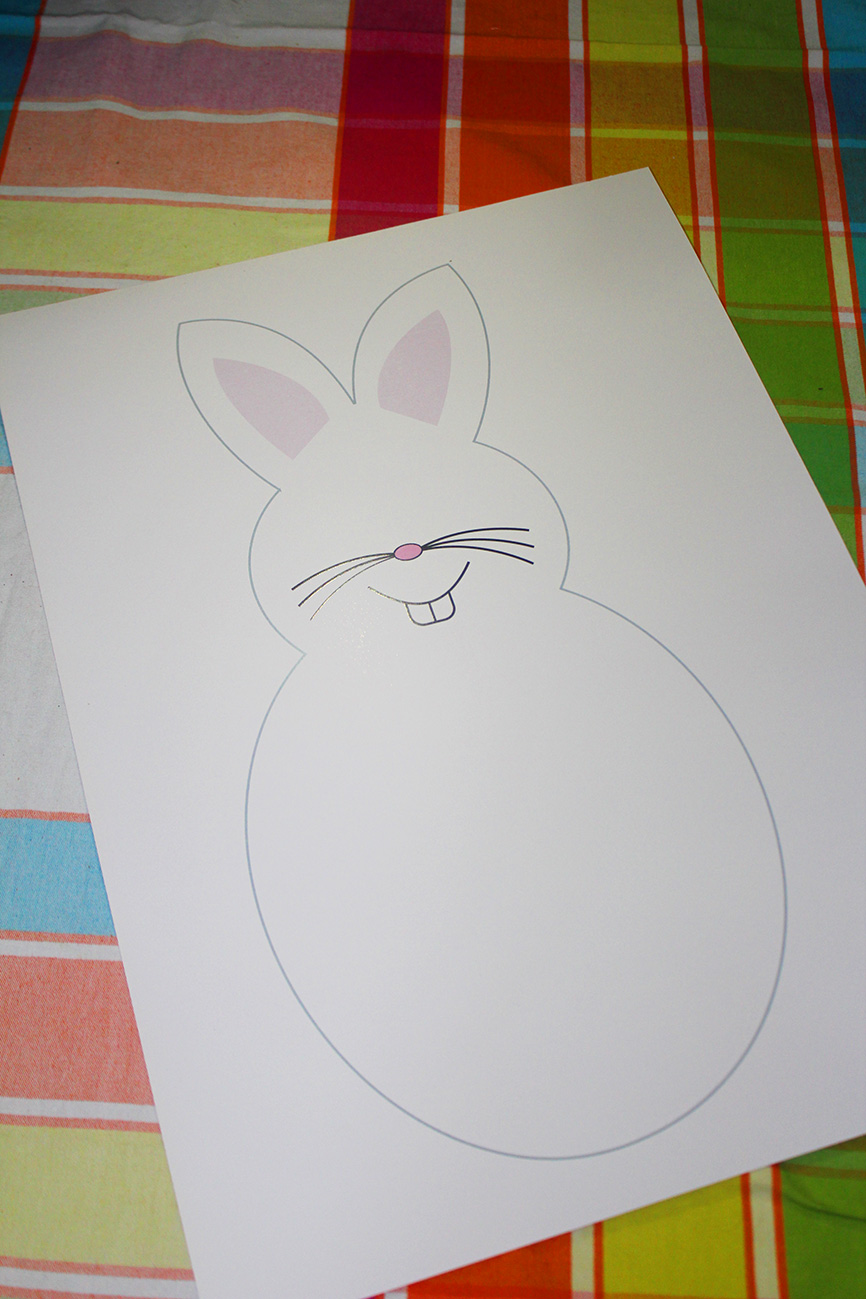
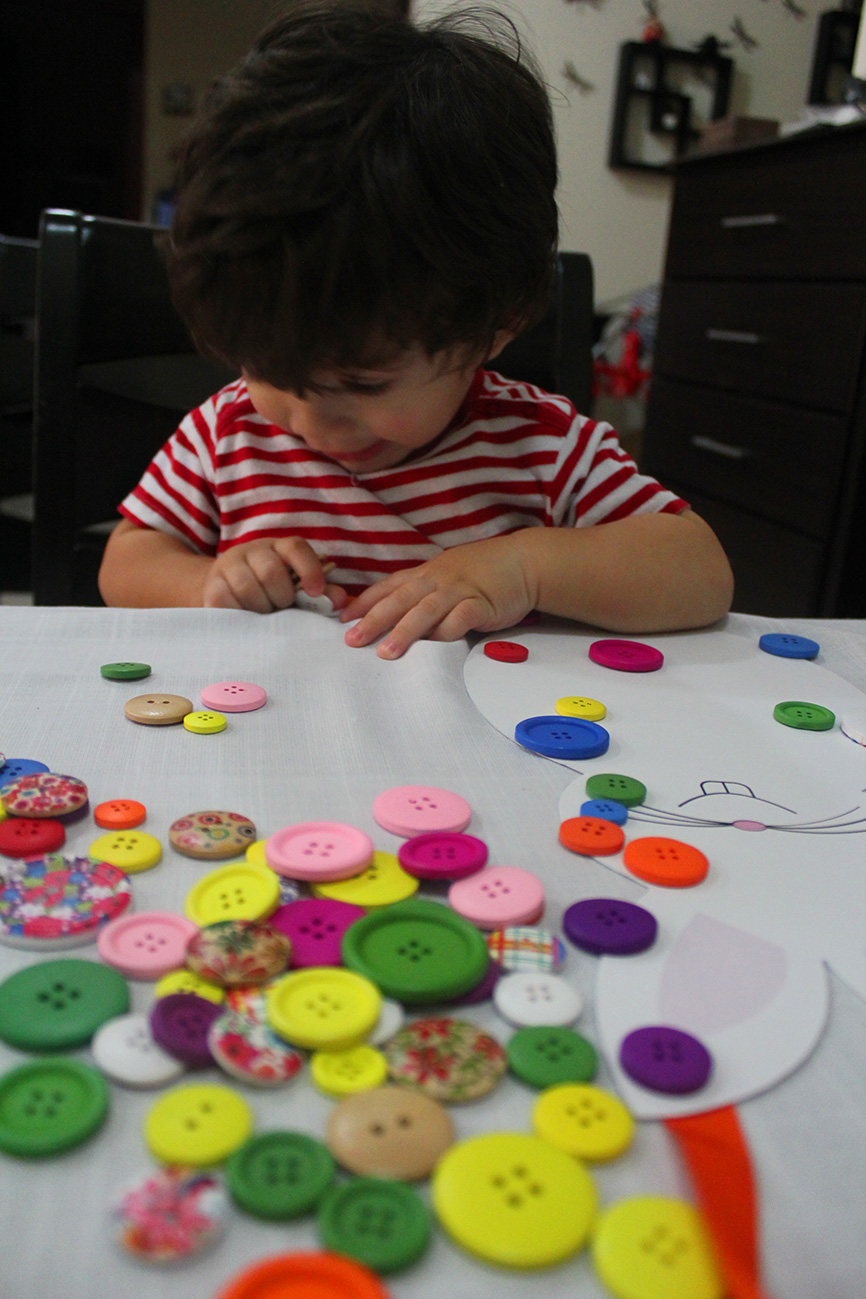
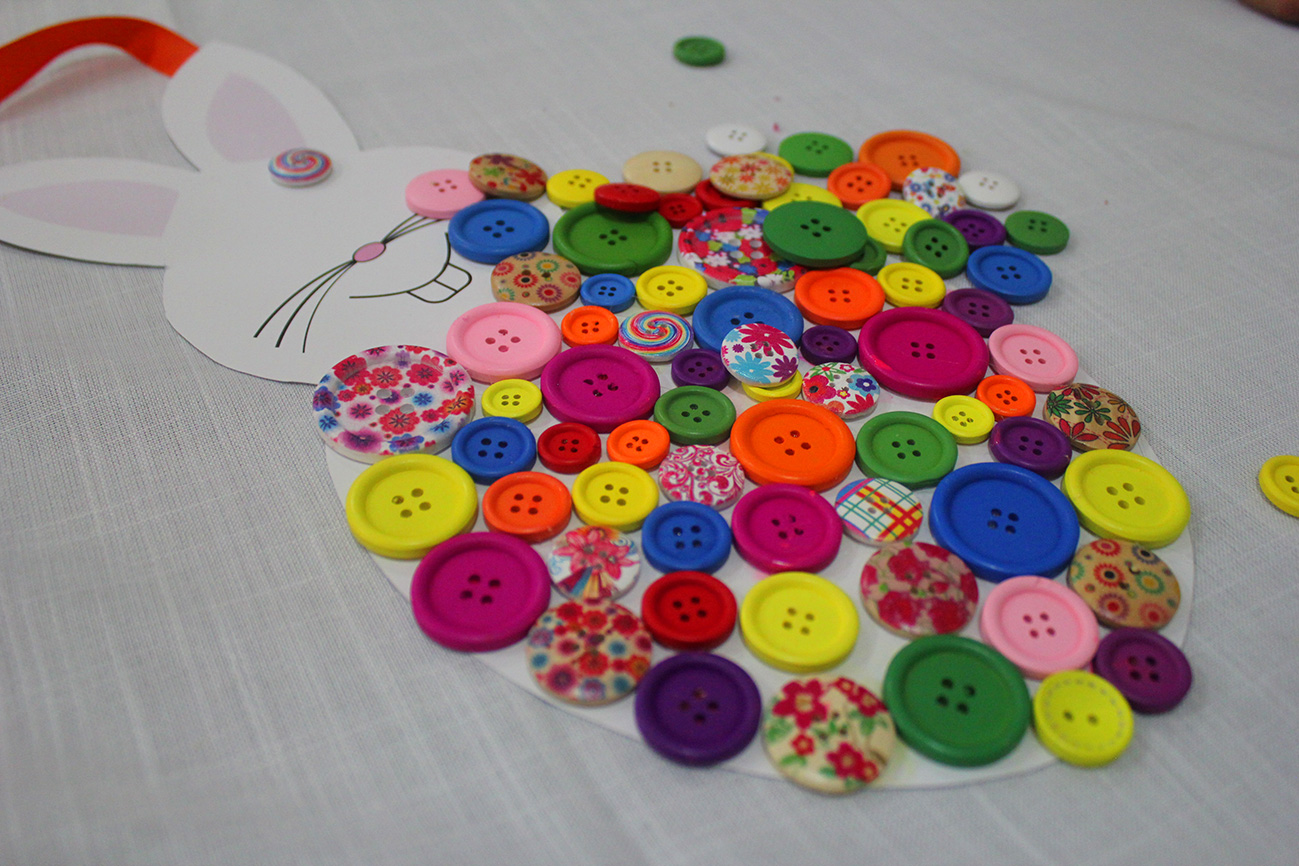
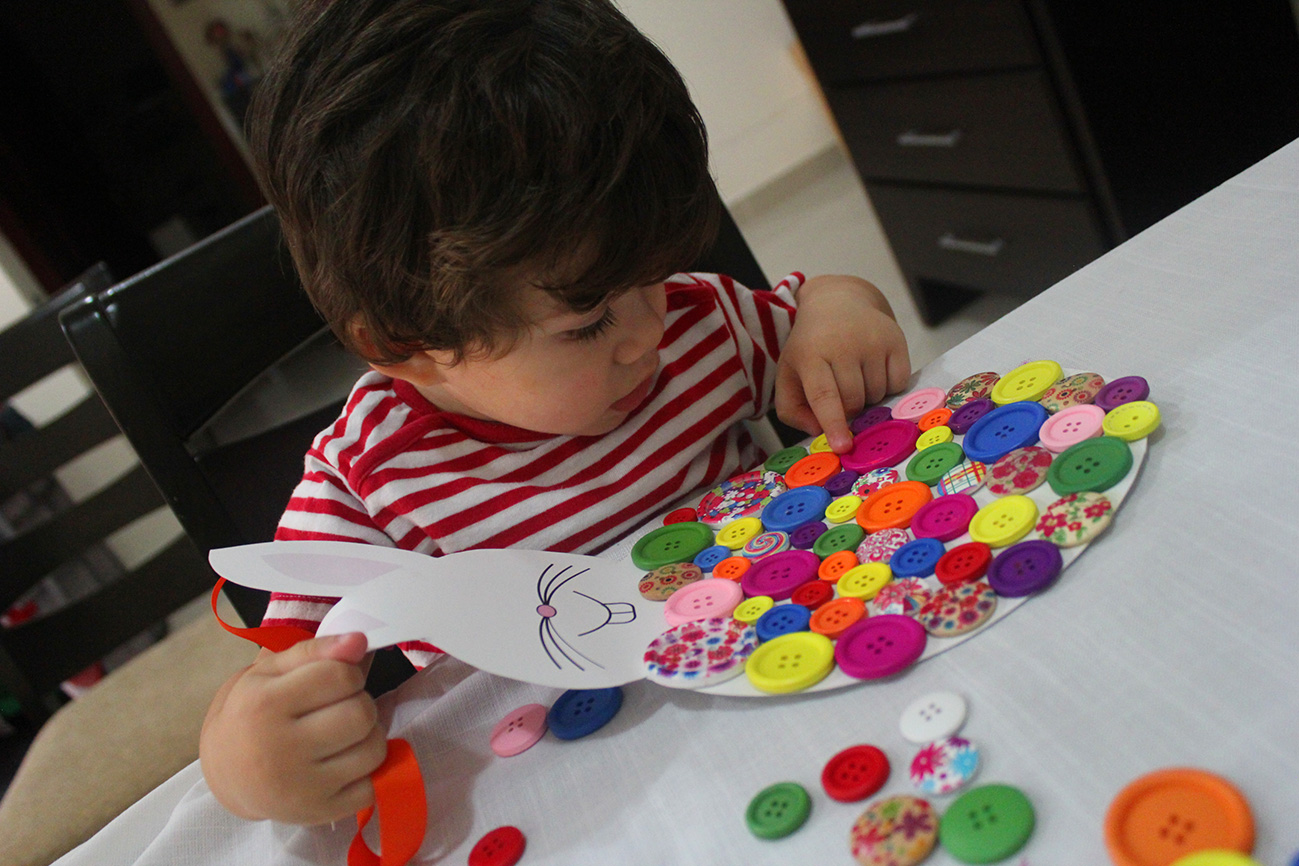
The second item falling in the burlap decoration series, a colorful door wreath! Last year we did buttons made bunny, we had to remove it after Easter which made Nady a bit disappointed. This year our door decoration is more springy to keep it longer!

Cut a big circle of styrofoam then a smaller one within to make it look like a hoop. Wrap it with burlap and here it is, ready to decorate with pinwheels and flowers done with your sweetheart’s tiny hands with so much enthusiasm and love!

All you need is felt and burlap cut in squares and glued back to back. This is how we do pinwheels, step by step.

how to do a pinwheel flowerDepending on the size, you decide how many pinwheels to do. We made 3 different sizes and colors, as per Nady choice. He was the leader of the craft and i was following his instructions.

spring wreathInitially i prepared for only pinwheels, but he asked to add flowers, specifically green, yellow and purple 🙂

Click on flowers to download a high resolution file to help you trace them before cutting.

IMG_4521

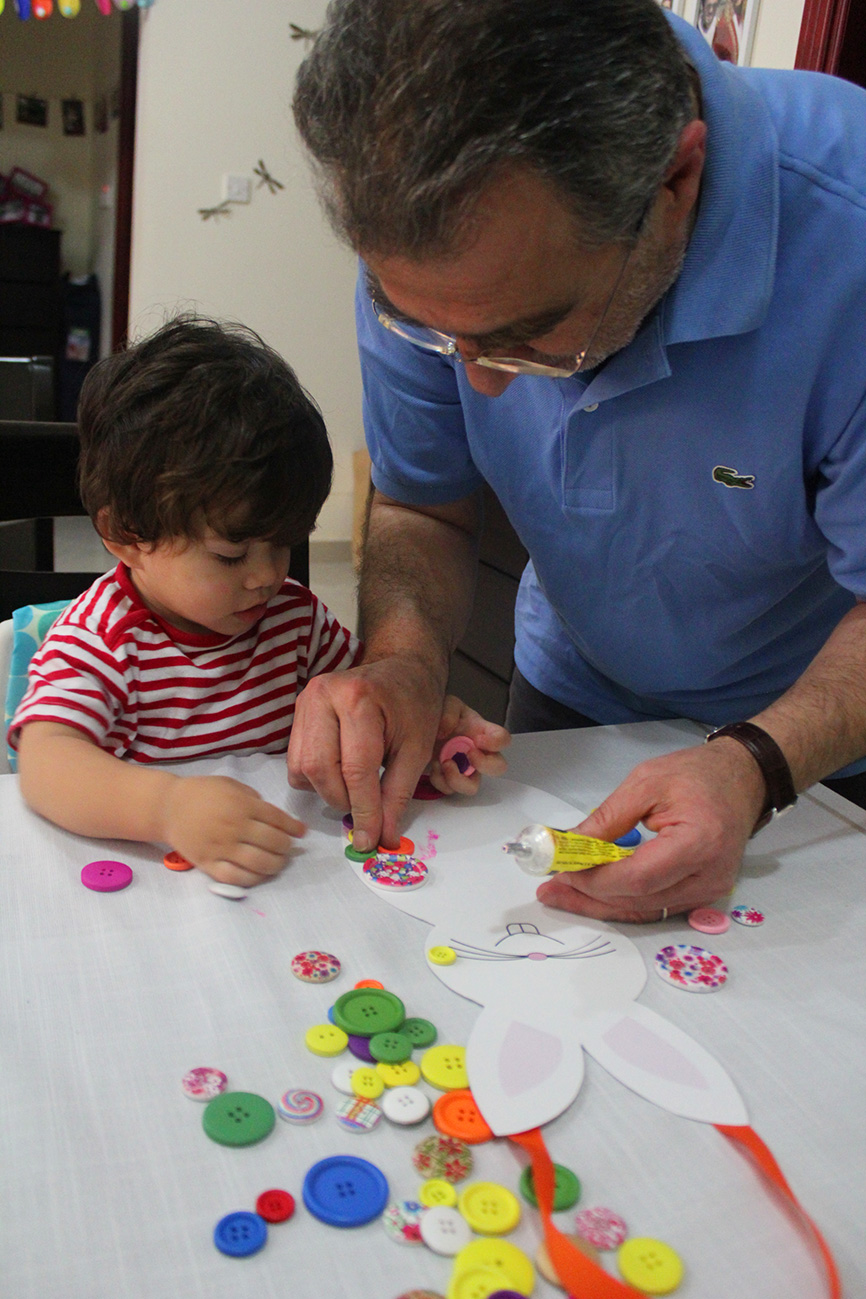
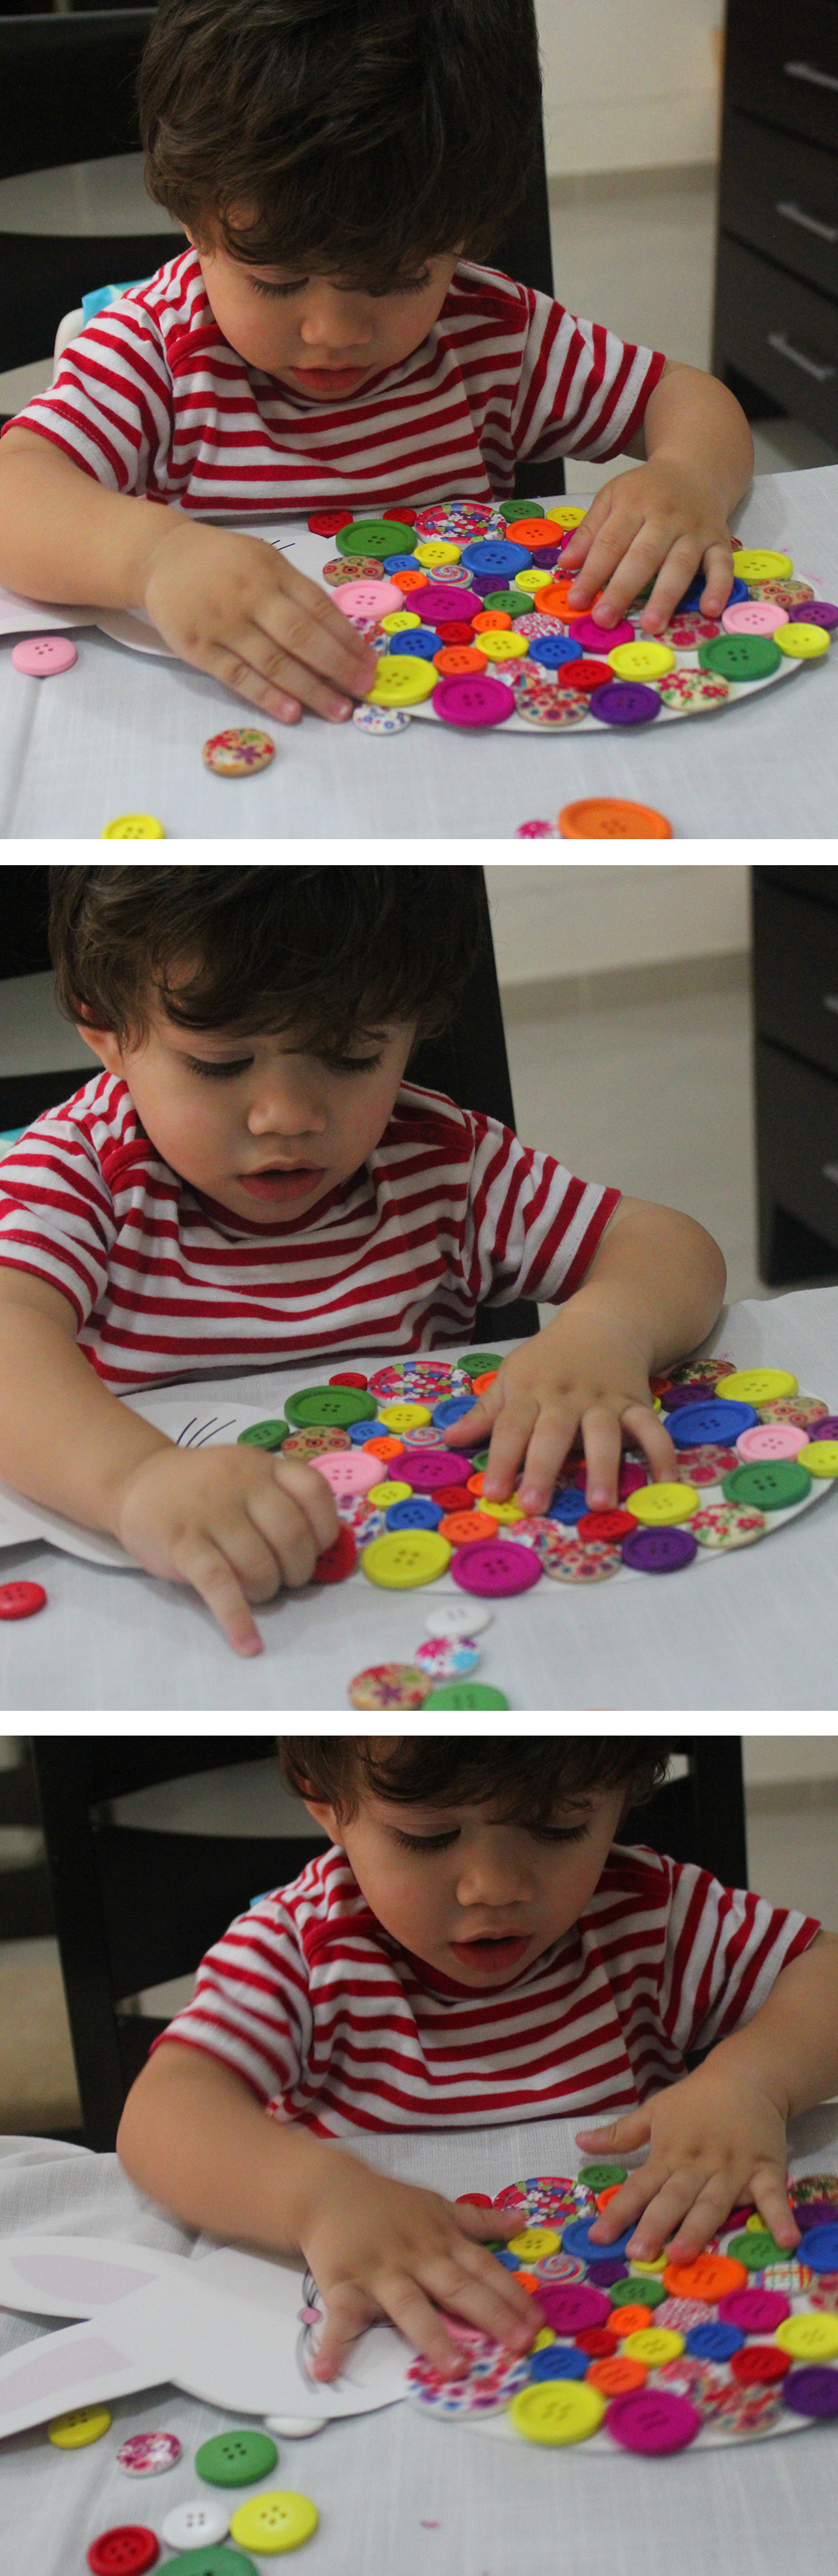
Such activities develop your child’s motor skills while having fun cutting, pasting, folding, drawing, tracing, and coloring. . .  These are big skills for tiny hands. It’s beautiful to see your children growing and being proud of their achievements!

“i can paste”! don’t undermine this sentence. Motor skills enable your child to perform important everyday tasks, and when combined with hand – eye coordination also open new doors to exploration, learning, and creative expression.

Researches show that emphasis on purely intellectual activities such as memorization of letters and numbers… is far less useful at this stage than encouraging fine motor abilities and hand-eye coordination. These skills lay the foundation for academic learning in later years. In order to learn to write or draw, for example, a child’s hand must be strong enough to hold a pencil steady for a long period of time.

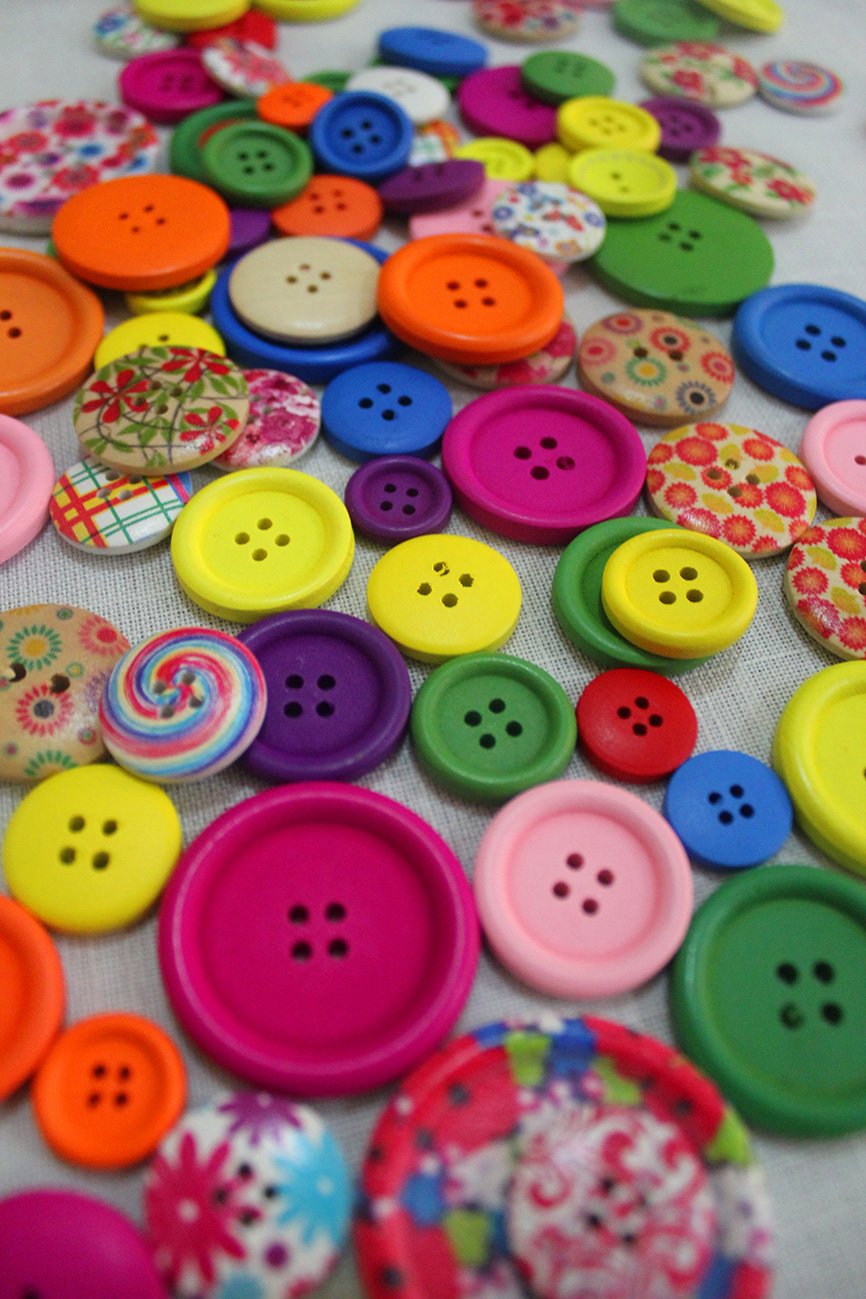
The best way for you to help promote motor skills is to provide your child with a good choice of materials (blocks, crayons, nontoxic and washable markers and paints, paste, glue, modeling clay, safety scissors…) to manipulate as his imagination dictates.

IMG_4524
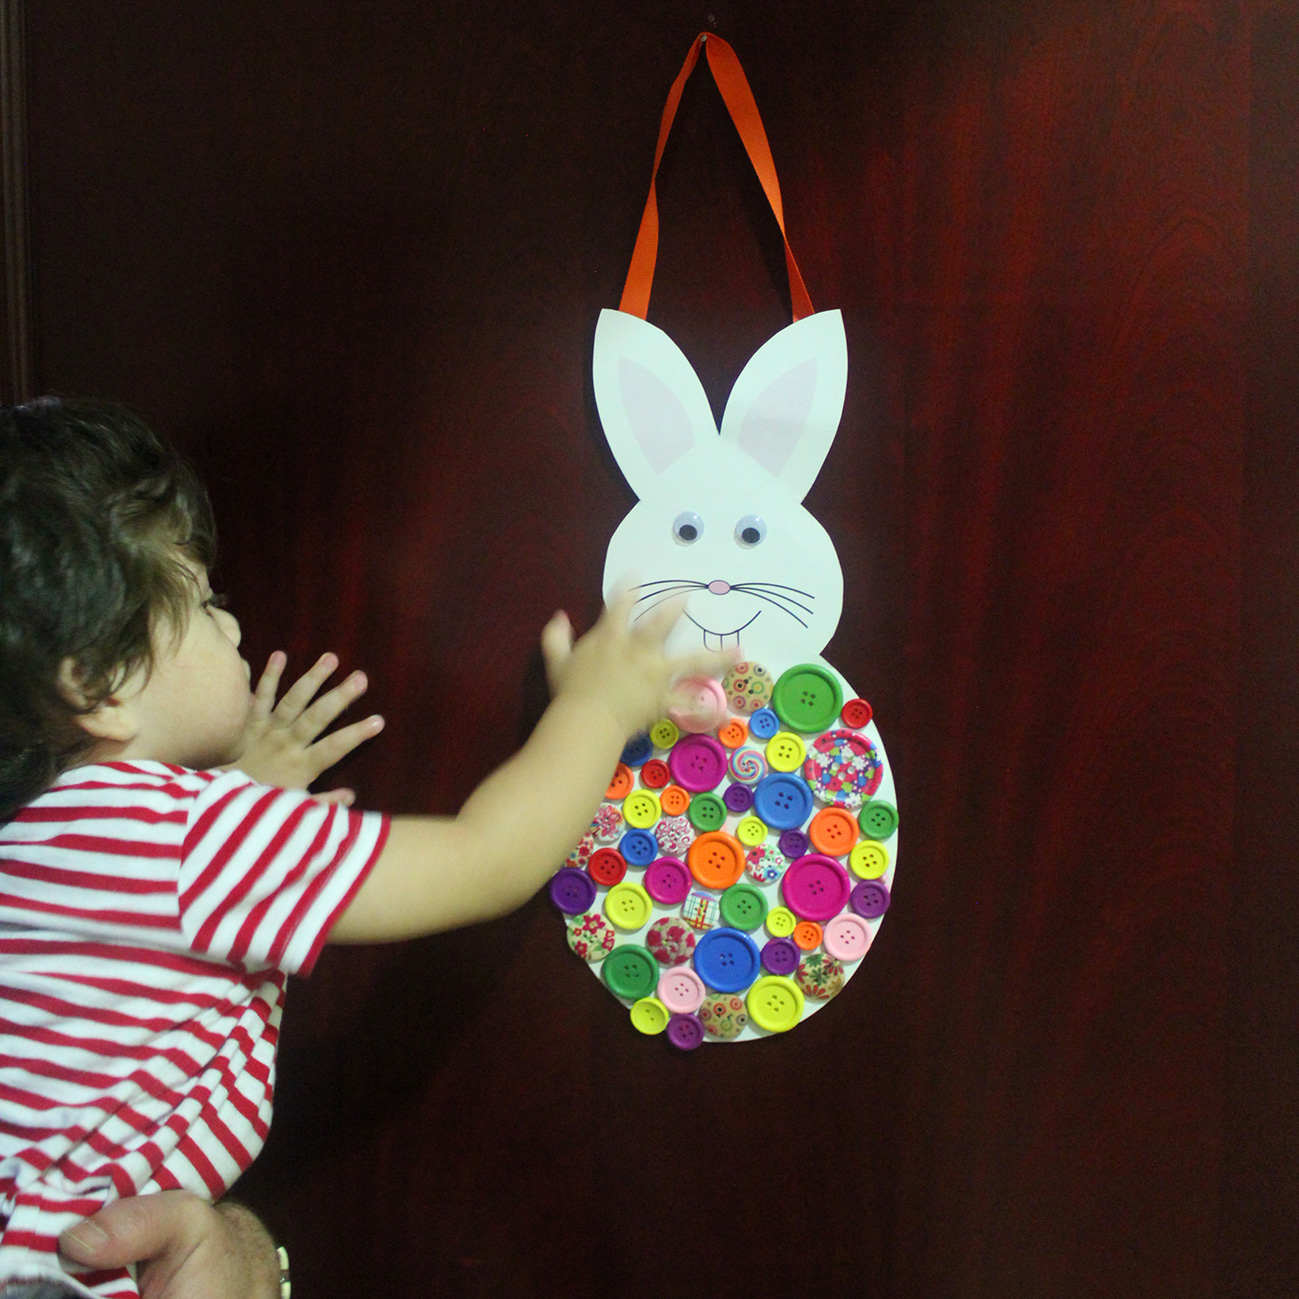
We played a bit with the wreath before mounting it on the door. That was the best part; my precious is exploring the different usages of it 🙂

IMG_4527IMG_4531

This is what i call a way to play! If you like this post give it some likes and shares to spread the joy. Don’t forget to like marmite et ponpon facebook page and follow on twitter. More posts yet to come, stay tuned!

Peach rose tartlets celebrating spring


IMG_4649A beautiful and elegant tart, ideal to welcome the spring season and embellish your Easter tabel. Very refreshing and fall in the wow category of desserts, and what makes them even better they are very easy to do.

IMG_4657

For these bright tarts you need to prepare Crème pâtissière (pastry cream). Check the link of the recipe posted earlier.

To make the crust you need: (yields 12 small-medium tarts)

  • 100g butter
  • 1 1/2 cup flower
  • 1 egg
  • 1/2 cup sugar
  • 1 tsp vanilla

Combine all together and knead until the dough is smooth. Let it rest couple of hours or better overnight before rolling it in small tart molds.

Bake for 6-8 minutes on 180°C, Keep on checking, when the edges start to turn to golden, it’s time to remove, you don’t want them to get brown.

IMG_4645Remove form oven and let it cool. Take out the pastry cream already prepared and stored in the fridge, spread a rich layer of the cream before adding the peach slices.

IMG_4647If you are hosting a lunch or even afternoon tea, prepare them an hour ahead and keep them in the fridge. The best served cold, soooo refreshing!

If you are not fan of peach, you could substitute the peach with strawberry or pineapple and still deliver the same WOWness!

IMG_4663As festive as flavorful, these tarts are to be considered on your to do list for this season. You would love to close your eyes when eating to involve all your senses.

IMG_4667

IMG_4659If you like this post give it some likes and shares to spread the joy. Don’t forget to like marmite et ponpon facebook page and follow on twitter. More posts yet to come, stay tuned!

Easter bunny burlap bunting – Crafts for little hands


Easter bunny burlap buntingSpring has officially started so now let’s hop in Easter mood! Meaning it’s time to start our DIY home decoration. This year i am using burlap (jute) as a main element.

Crafting with my son is becoming even more fun as he grows up. He shows more interest and skills which makes me happy and proud. Not just that, he has an opinion too!

We started with a colorful bunting. First you need to cut out burlap triangles. Cut as much as you need and the convenient size, so when attached together, it makes the bunting length you want. Nady chose blue and green paint to make dots on the triangles with his tiny finger. You can use textile paint or acrylic paint.

IMG_4443My little man is becoming so independent, he refused any assistance! I was just sitting, watching and taking pictures!

burlap dottingWhen all done, leave them couple of hours to dry. In our case we left them overnight to extend more the fun!

IMG_4449Next step we used different colors of felt to cut bunny shapes. If you don’t have felt, choose any textile available. Crafts should be fun and entertaining not energy consuming. Enjoy this precious time with your little ones and make the most of it to be instructive too.

burlap rabbit buntingStick on each triangle a bunny. Click on bunny to download a high resolution file, you can adjust the size of the bunny depending on how big you want it.

Now bunnies need tails. The favorite part for nady. He loves pompoms! you can find pompoms everywhere in our house, even in the fridge! Yes in the fridge near the yogurt his favorite snack!

IMG_4464He was so excited using the glue alone without my help! The most phrase i heard in this craft was “tout seul maman”! (all alone maman). I remember last year when we did a bunny garland i was introducing a lot of new words that i was hearing this time gracefully. Kids grow up fast!

IMG_4466We had so much fun and it was a good exercise developing the fine motor skills and improving his vocabulary.

Use a thread or ribbon to attach the triangles next to each other.  Hang the bunting and enjoy 🙂

burlap easter buntingIf you like this post give it some likes and shares to spread the joy. Don’t forget to like marmite et ponpon facebook page and follow on twitter. More posts yet to come, stay tuned!

Bird nest cupcake- happy Easter!


bird nest cupcake

Christ is risen! Happy Easter to all of you.

May all your days be full of blessings, health and joy.

Lets celebrate with these bird nest cupcakes with cream cheese frosting.

Very easy to do, just follow me step by step:

Cupcake recipe (10 pieces)

  • 170g butter
  • 170g sugar
  • 170g flour
  • 3 eggs
  • 1tsp vanilla

Combine the butter and sugar, then add the eggs one by one and mix well. Add vanilla and flour.

Spoon the batter in cupcake tray already prepared with the paper cases, until 2/3 full

Bake on 170ºC for 20 mns, and leave it to cool before frosting.

Cream cheese frosting:

  • 250g mascarpone cheese
  • 250g cream
  • 1/2 cup icing sugar

Beat all for 5-7 minutes until you get the consistency you need.

If you like to color the cream add wilton icing gel, the quantity depends on the color hue you want to get.

Put in the fridge for half an hour before starting to frost the cupcakes

bird nest cupcakePipe the cream using wilton 2A tip to create the nest.

Use cadbury chocolate mini eggs.

bird nest cupcake

bird nest cupcake


bird nest cupcake

I love how fresh it looks, celebrating the spring!

bird nest cupcake

Happy Easter sunday, enjoy your day 🙂

bird nest cupcake

buttons made Easter bunny – DIY door hanger


buttons bunny - DIY easter door hanger

Easter fun is still on! Crafting with jeddo (grandfather) Maurice! A bunny made with colorful buttons to decorate the front door. We are enjoying every minute with my parents.

Very easy DIY door hanger for easter. All you need is a bunny cut out and buttons. Click here to download a high resolution file.

bunny

buttons

All you need to do is to fill the bunny tummy with buttons of different sizes and colors. Stick two eyes and a ribbon behind the ears for hanging.

buttons bunny - DIY easter door hanger

buttons bunny - DIY easter door hanger

buttons bunny - DIY easter door hanger

Isn’t it attractive? Nady was fascinated with the colors. I love Easter, a happy and colorful holiday always coinciding with the spring season.

buttons bunny - DIY easter door hanger

If your baby is still discovering with his mouth, avoid small buttons. Nady tasted all of them 🙂

buttons bunny - DIY easter door hangerIt’s a fun way to teach the colors to your kid.

buttons bunny - DIY easter door hangerGuess who was more happy?!

buttons bunny - DIY easter door hanger

The door hanger is ready! Easter decoration is almost done, we still have to decorate the eggs on saturday. Don’t miss this year’s special eggs. Wait for the post 🙂