Tag Archives: marmite et ponpon

Customize your plates with baked sharpie – DIY


sharpie plates

Baked sharpie are permanent! yes they are. I couldn’t believe it until i tried myself.

Write with a sharpie (permanent marker) on a plate that’s oven safe, bake for 30 mns (180°C) and that’s it! Your design is permanent and safe!

sharpie plates

This is how my plates looked before going in the oven.

sharpie plates

In the design stage and before baking, if you made a mistake while writing or you wish to clean off sharpie, just use rubbing alcohol and it’s gone!

After 30 mns baking,  I turned off the oven and kept them to cool. Then I washed them to use. The writing didn’t go off and this is how it looked! Beautiful result.

sharpie plate

Being crazy about personalized items, now i found the way to do it, expect me writing and drawing on all my dinner ware and creating gifts for family and friends with this fun new technique.

baked sharpie

So simple and affordable. Design a unique mug for your husband, or plates for your children… Let this DIY be a token of affection to your loved ones.

sharpie plates

Love my plates! expect to see them more often in the pictures!


If you have 5 minutes lets DIY! Irresistible goat cheese appetizer


goat cheese & rosemary

With less than five minutes, you can make this beautiful appetizer from scratch.

All you need is spring roll pastry and cupcake mold to make the base shell. Very simple technique:

shell crust

Cut square shapes. Place them in the cupcake mold and adjust the edges in a way to have like a cup. Leave a space between each one so they don’t touch. Bake them on 180°C for 3-4 minutes or until golden brown.

appetizer shell

crust shell

As you see it’s like a cup, you can fill it with any food of your choice. For instance, i used goat cheese (my favorite) and rosemary. Et Voila it is ready to serve.

goat cheese & rosemary

Wouldn’t you just love to have one of these beautiful appetizer? Small tips turn a simple food to a decorative one, giving you pleasure to the eyes and butterflies in your stomach.

Happiness is in details! If you want to see more of interesting things,  follow this blog and like marmite et ponpon facebook page. Happy day to all of you!

To “nouilles” lovers – (creamy chicken tagliatelle)


nouilles

If you try to google “nouilles” without “lebanese” you will not find any recipe near to the one our mums cook. I don’t know why it’s called nouilles it’s not even an arabic word, but  you can call it in other words, creamy chicken tagliatelle.

nouilles

Very simple and easy recipe, but it takes time and care. When you savour it, you will know why it’s one of the favorite dishes for the majority of the lebanese.

nouilles

The nouilles as we know it: (yields 6-8 servings)

  • 500g tagliatelle
  • 200g ham cut in pieces (optional)
  • 100g parmesan or mozzarella
  • 1 kg chicken (boneless thighs or breast) cut in pieces
  • 1 tbsp butter
  • 1 cup sliced mushroom
  • 1 small onion chopped finely
  • 1/2 cup white wine
  • salt to taste

For the cream sauce:

  • 4 cups milk
  • 2 cups heavy cream
  • 6 tbsp flour
  • 100g butter
  • salt to taste
  • dash of nutmeg (optional)

nouilles

nouilles

Cook the tagliatelle as per pack instructions for al dente, it will continue cooking in the oven. Drain and keep aside.

Heat the butter and cook the onion and mushrooms until fragrant (3-4 minutes) then add the chicken and keep cooking until almost done. Add the wine (for a deeper flavor) and cook until half the liquid is evaporated.

To make the sauce, heat the butter until melted but not colored. Add the flour and cook for few minutes until light golden brown. Add the milk and cream one cup at a time and whisk continuously until smooth. Bring to boil then cook for 30 seconds before removing from heat. Season with salt and nutmeg (optional). If you are cheese lover, you can add a handful grated parmesan to the bechamel to give it rich flavor.

Stir in the chicken and ham (I mentioned that the ham is optional for the people who doesn’t like the taste) and pour over the tagliatelle and mix until all components are well incorporated.

Put the mix in a baking dish and sprinkle the cheese on top. Bake (on 180°C) for 15-20 minutes until golden brown.

nouilles

Enjoy the pleasure on a plate, indulge in rich flavors and sahtein a la libanaise!

How to jazz up your drink with floral ice cubes – DIY-


floral ice cubes

Freezing edible flowers in ice cubes liven up your drink. It’s a cool way to celebrate the flowers charm. If you have a special guests or you just want to spoil your family and friends, it is a must do. You will wow them for sure, and they will talk about this festive presentation for sometime!

floral ice cubes

Very simple to do, taking into consideration some small tips;

  • for clear ice, use distilled water that has been boiled and then cooled. This avoids impurities and air bubbles, which make ice cloudy.

floral ice cubes

floral ice cubes

  • make sure to use edible flowers such as: rose, lavender, lilac, violet, tulip, orchid, pansy, jasmine, orange blossom, lemon blossom, marigold, chrysanthemum, hibiscus, chamomile, gardenia, sunflower, thyme, rosemary, mint, marjoram, hibiscus, fennel, dill, coriander, chives, chicory, basil and sage.

floral ice cubes

  • if you don’t want the flowers to float to the top of the water, fill the water half way up, add the flowers, freeze, then cover the flowers with more water and freeze again. This will ensure they are completely within the ice cube. But i still like the flowers poking out from the cube!

floral ice cubes

floral ice cubes

  • Use an ice tray that makes large cubes so the ice will last longer and the flowers are more visible.

Even a simple glass of water would look cheerful with these attractive ice cubes! Beat the heat with fun and simple ideas (especially Doha heat, almost 45°C now with high humidity).

floral ice cubes

People used to dry meaningful flowers to save them, now you can freeze them to be used in drinks. By the way these are the flowers from our wedding anniversary bouquet!

Join me to the fun and see more of interesting things. Follow this blog and like marmite et ponpon facebook page. Happy day to all of you!

Eat like an Emilian! classic lasagne alla bolognese


lasagne alla bolognese

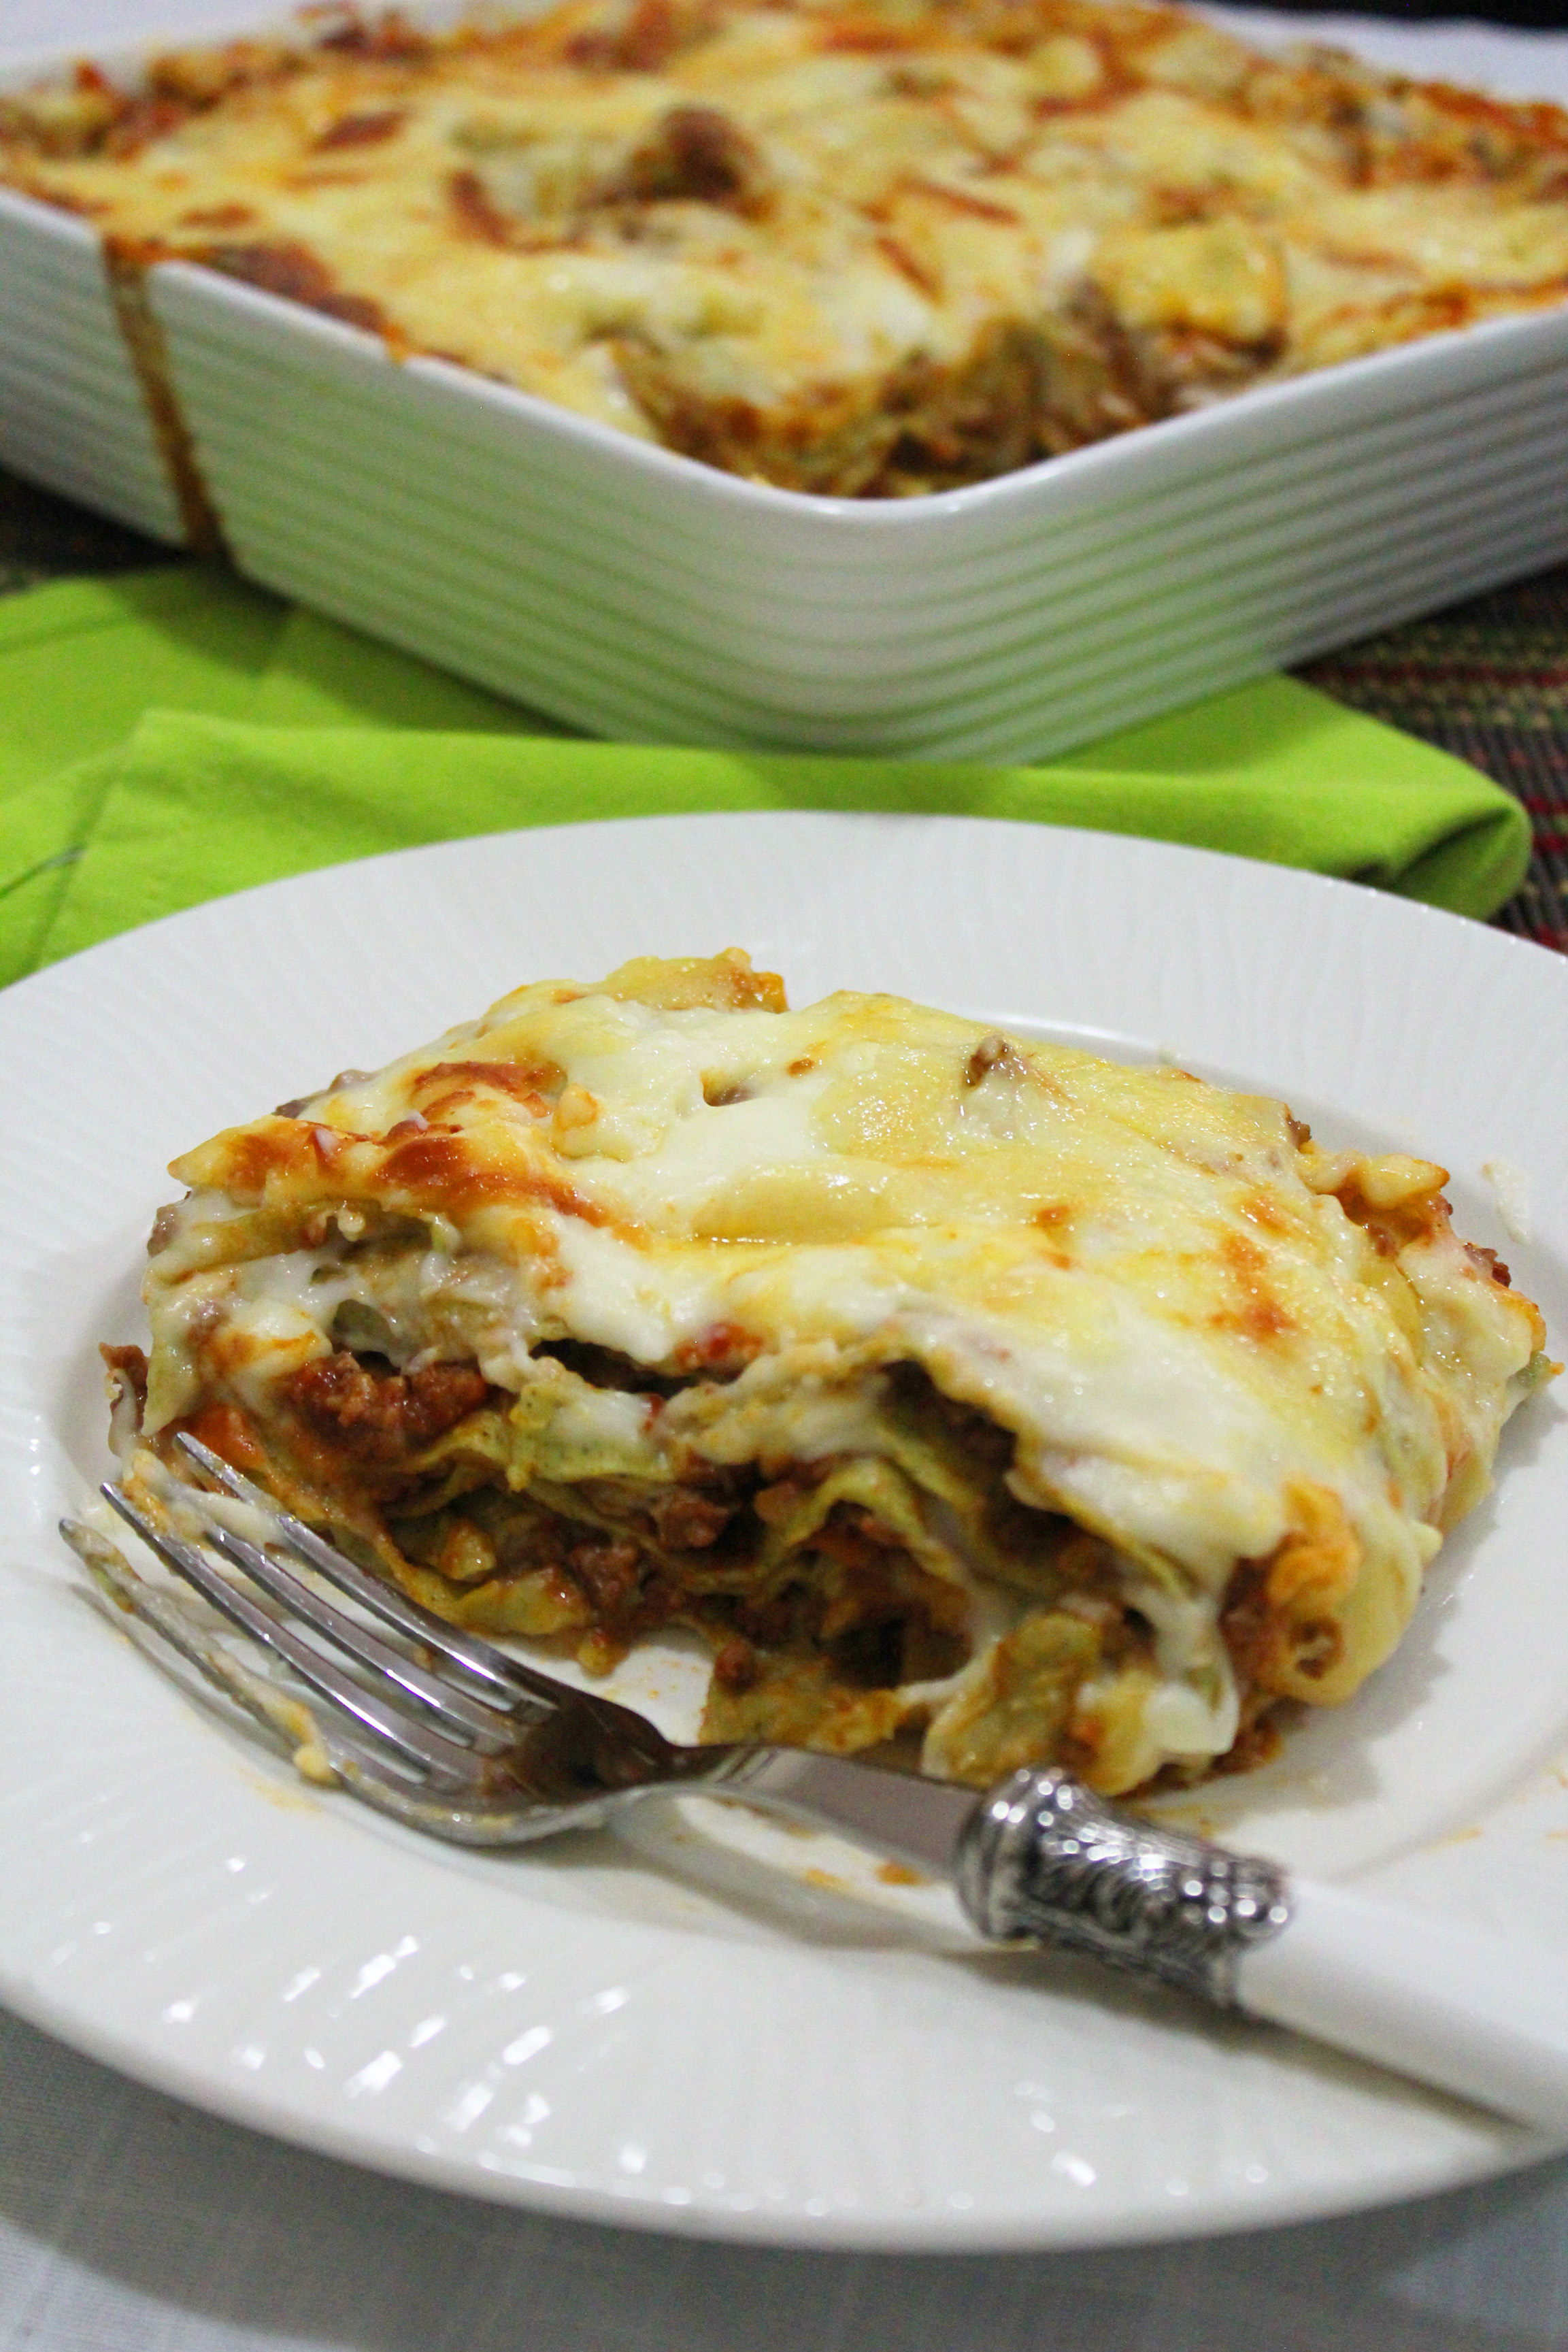
A hearty dish, considered one of the staples of the Italian cuisine. Often made for family gatherings and special occasions like Christmas. Served in many variations representing the region’s classic ingredients. It used to be called pasticcio means mess!

This dish is something to truly relish, served to satisfy and comfort. I don’t promise you a quick dish, it needs time and care but not difficult!

lasagne alla bolognese

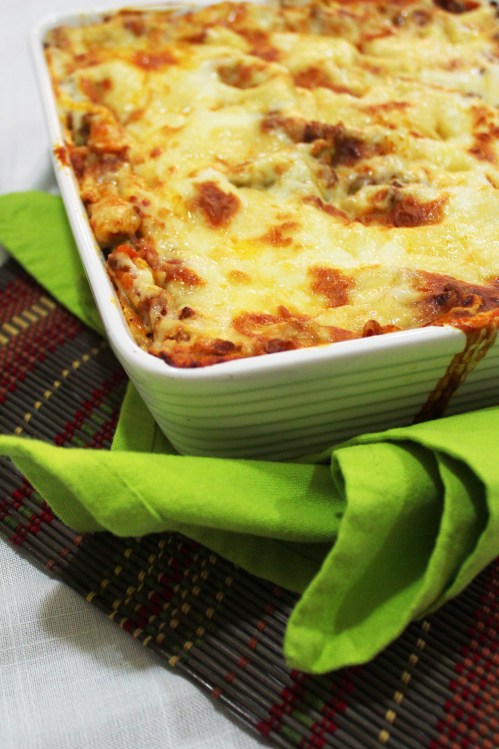
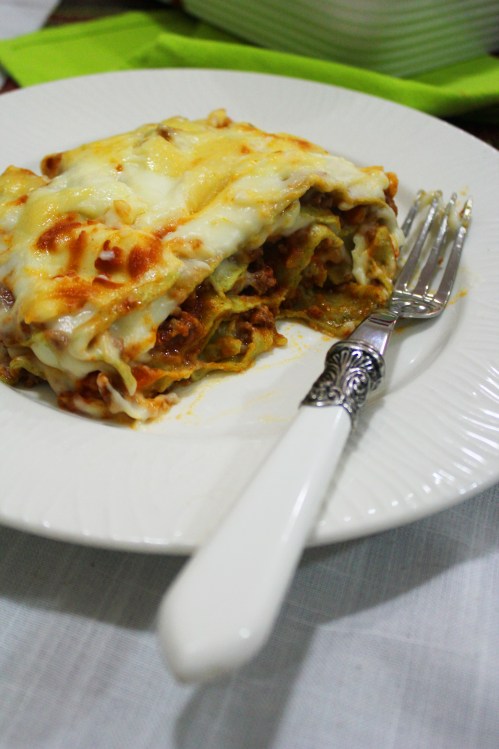
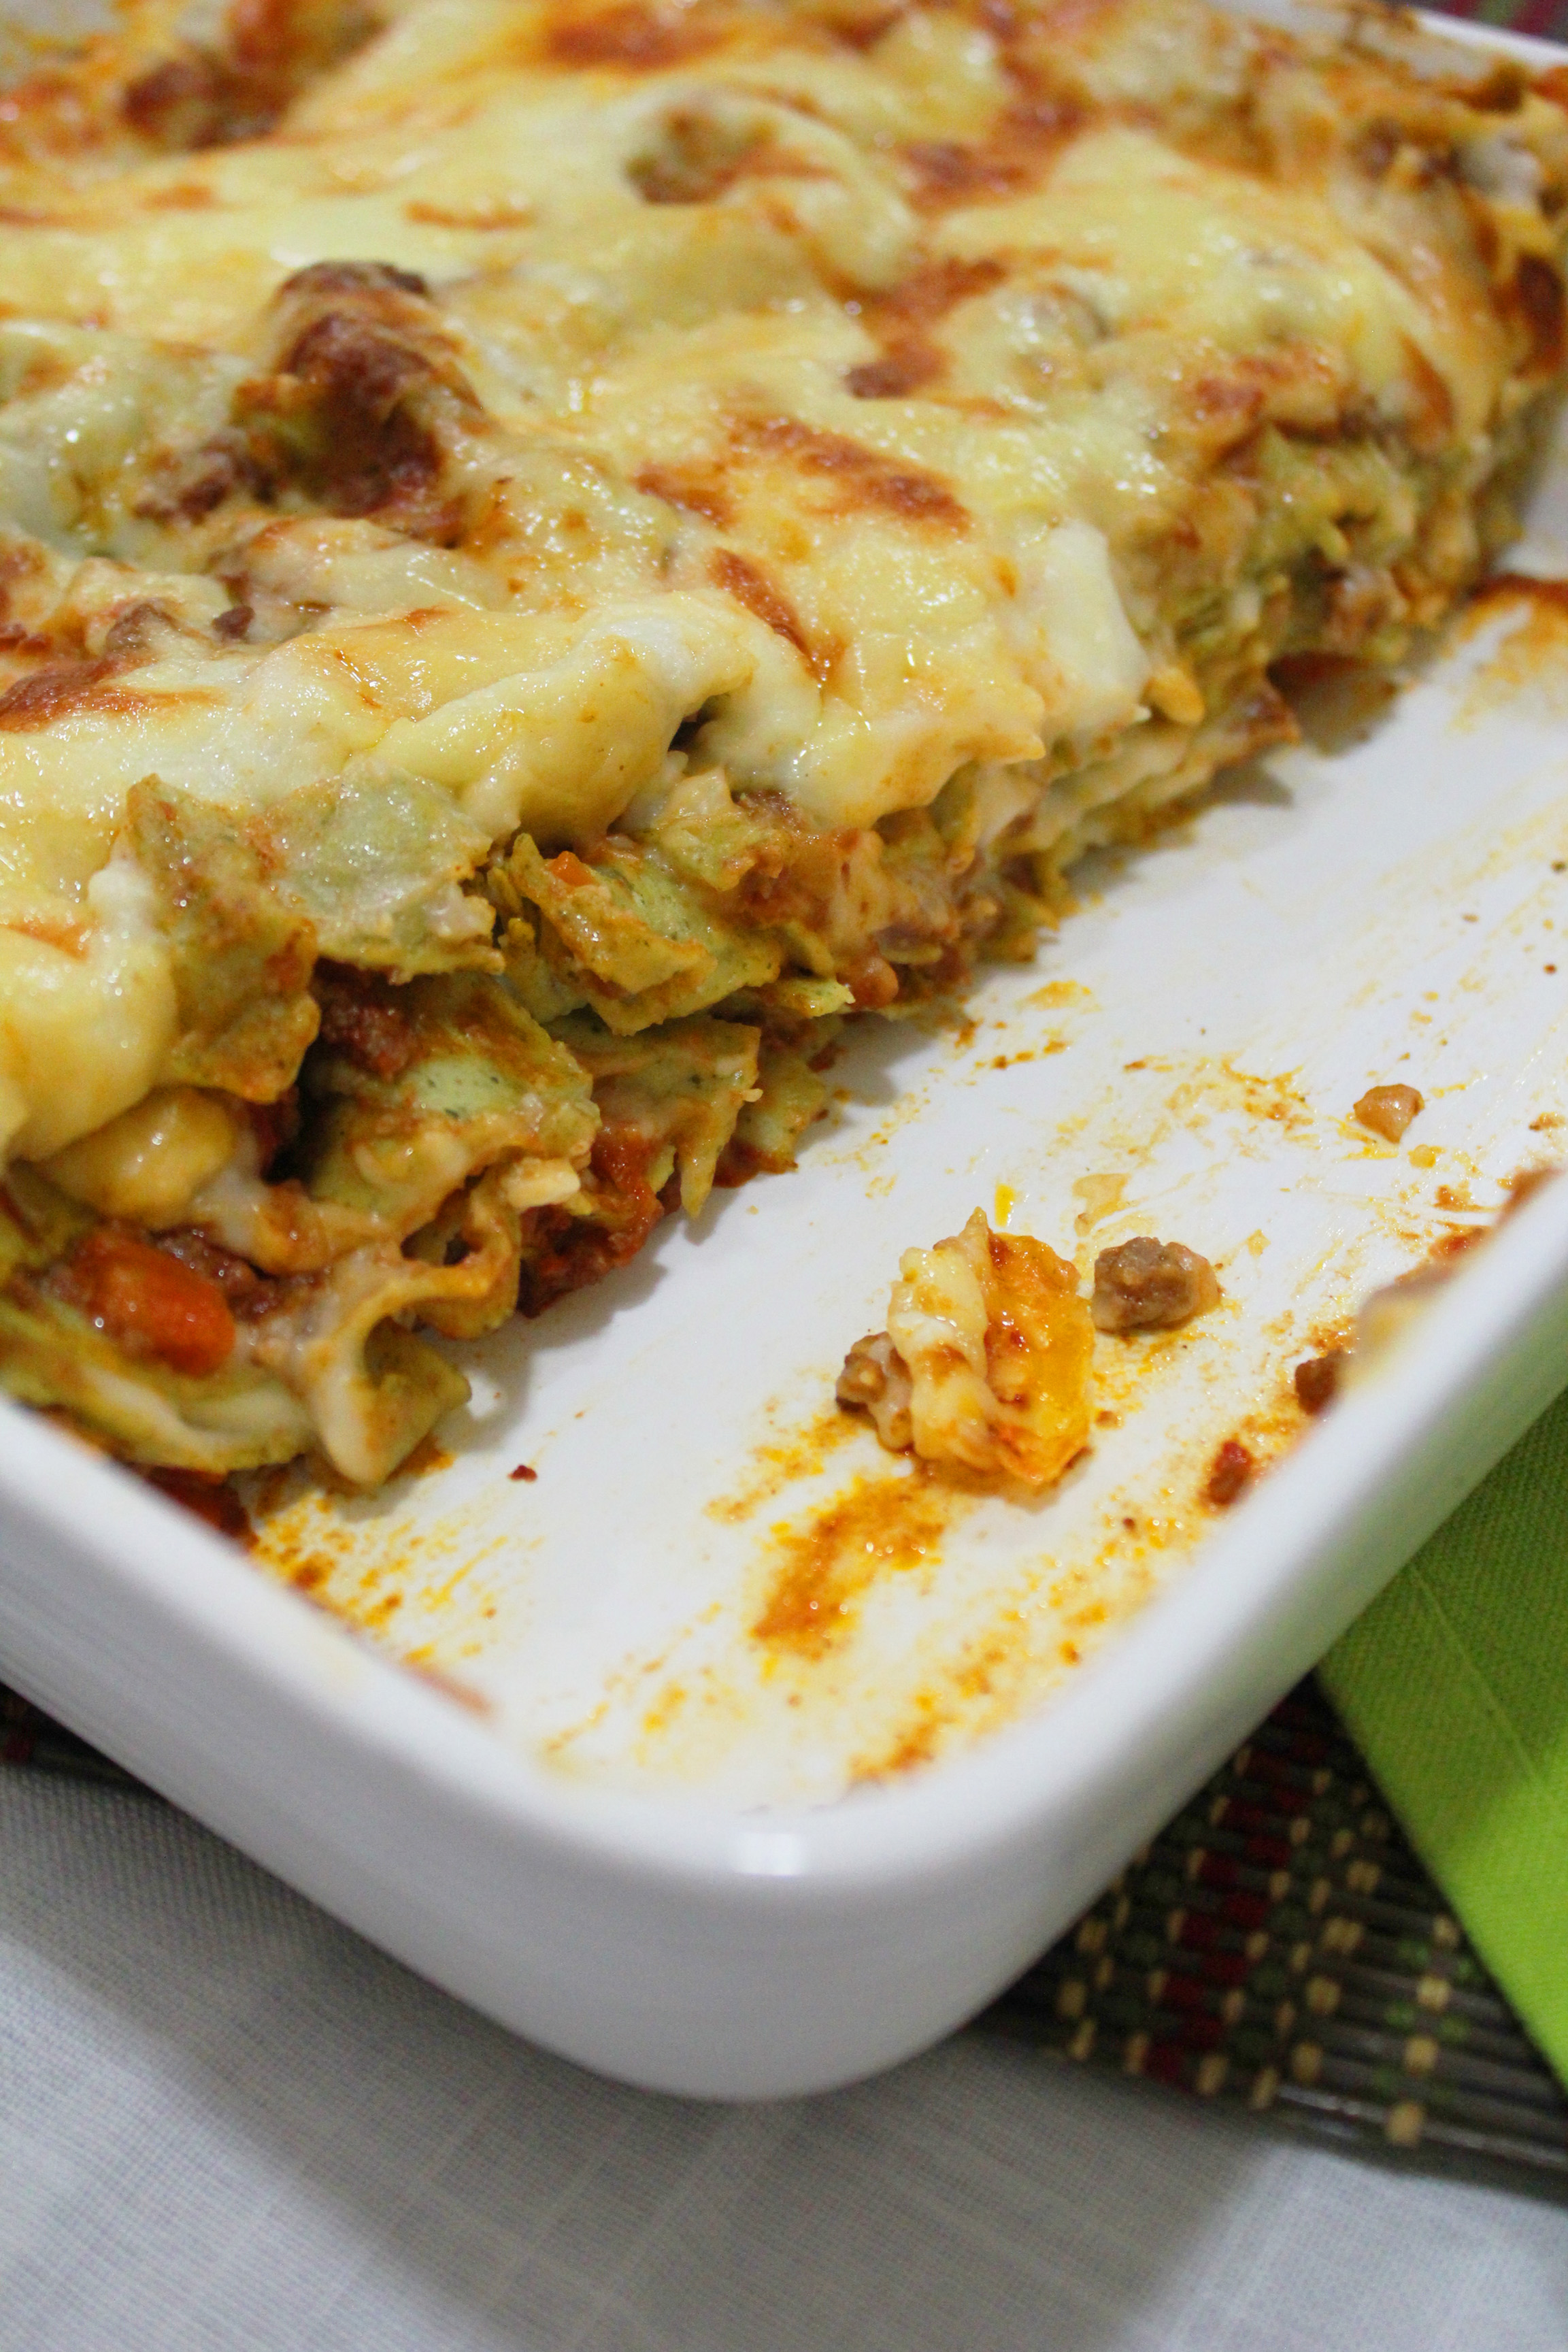
My favorite so far, is the classic lasagne alla bolognese where meat sauce (ragu) and bechamel (Besciamella) are the major play. It’s called classic Emilian lasagne coming from Emilia region.

lasagne alla bolognese

For the ragu you will need:

  • 500g ground beef
  • 1/4 cup olive oil
  • large onion chopped finely
  • half cup carrots diced finely
  • 1 cup white wine
  • 1 cup tomato puree
  • 1/2 cup tomato diced
  • salt to taste
  • 1 tsp dried oregano (optional)

Heat the oil and cook the onion and carrot until fragrant and soft. Add the meat and cook to brown.

Pour the wine and continue to cook over medium heat until almost all the liquid is evaporated. Add the tomato puree and simmer. The longer the better (italians take it up to 2 hours), but i guess one hour is ok!

For the besciamella you will need:

  • 75g butter
  • 4 tbsp flour
  • 3 cups milk
  • 2 tsp salt
  • dash of nutmeg (optional)

Heat the butter until melted but not colored. Add the flour and cook for few minutes until light golden brown. Add the milk one cup at a time and whisk continuously until smooth. Bring to boil then cook for 30 seconds before removing from heat. It should be just a little looser than usual for lasagne. Season with salt and nutmeg (optional). If you are cheese lover, you can add a handful grated parmesan to the bechamel to give it rich flavor.

lasagne alla bolognese

To assemble you will need:

  • grated mozzarella to taste (enough to add between layers and to end up), I use almost 200g and 50g of parmesan (optional)
  • 500g dried pasta (i use lasagne verdi, made with spinach)

Use a rectangular or square casserole dish, keeping in mind that a larger one will produce less layers and a smaller one will produce more.

For the dried pasta (that doesn’t need pre-boiling), allow me to suggest Barilla, amazing for lasagne, I use lasagne verdi, made with spinach (con spinaci bolognesi).

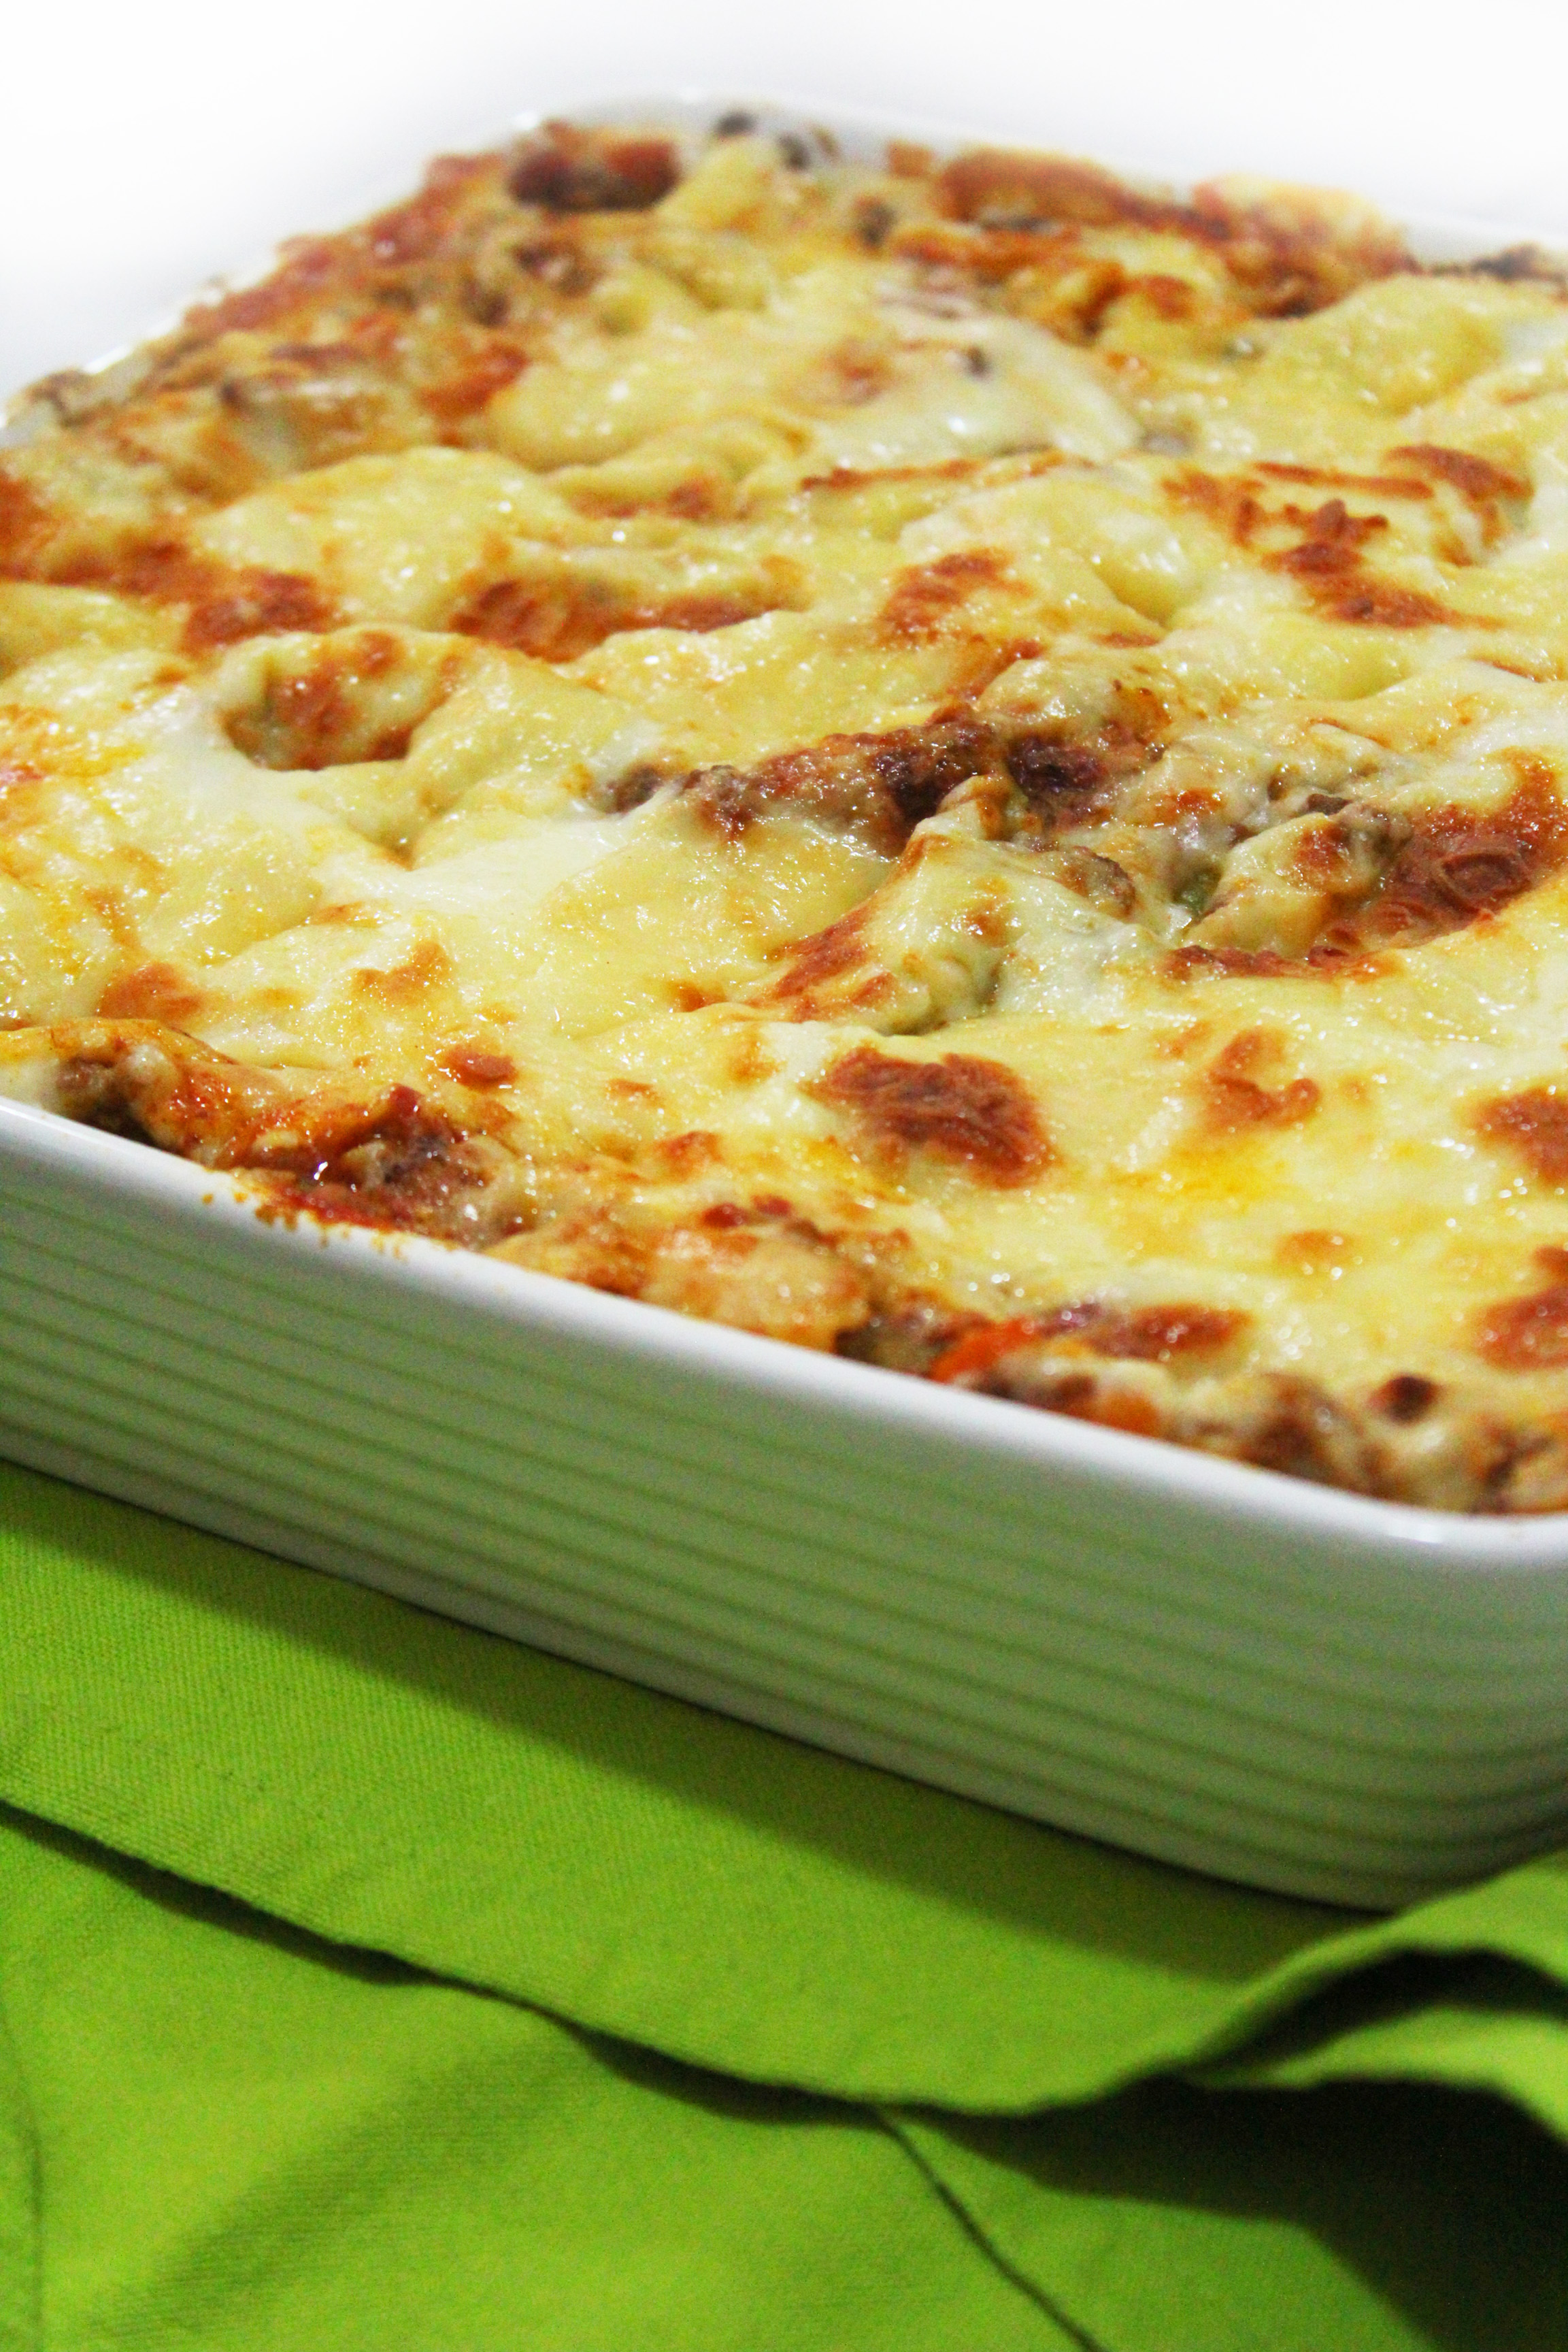
Start with a layer of ragu, lay down pasta sheets, add another layer of ragu to cover followed by bechamel and a sprinkle of mozzarella. Repeat (pasta – ragu – bechamel – mozzarella) until you finish by a layer of ragu, bechamel and heavier layer of mozzarella ( mixed with parmesan or emmental for a deeper flavor).

Bake at 180°C for about 30-45 minutes, depending on the thickness, depth and size of your lasagne. It should be golden brown on top and the sauce bubbling.

lasagne alla bolognese

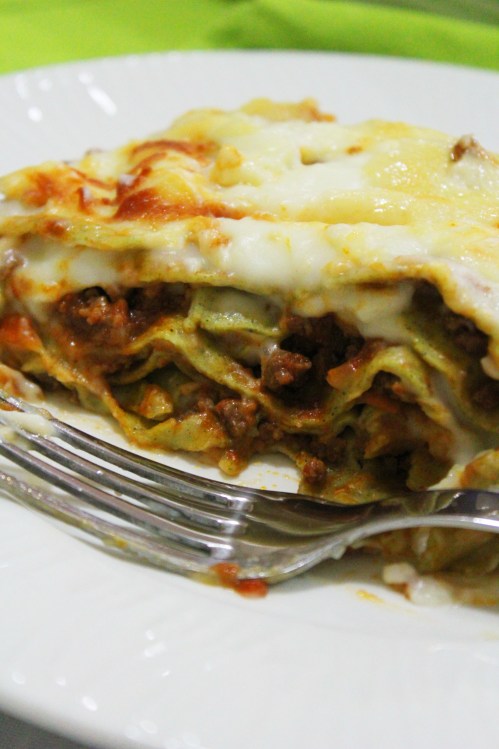
A tip: let the lasagne rest for 10-15 minutes after you take it out from the oven. This way the cutting will be easier. This quantity yields 4 generous portions. But i don’t know if it will make 4 with my husband. Antoun is a lasagne lover, he can live on it.

lasagne alla bolognese

This recipe was a special request from my dearest aunt liliane, I hope you will like it. Buon appetito!
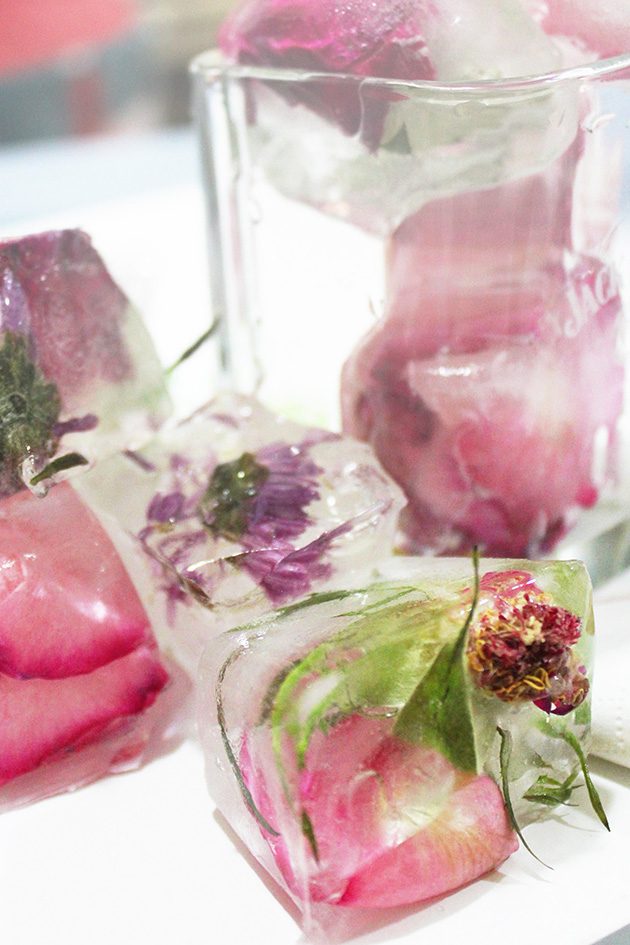
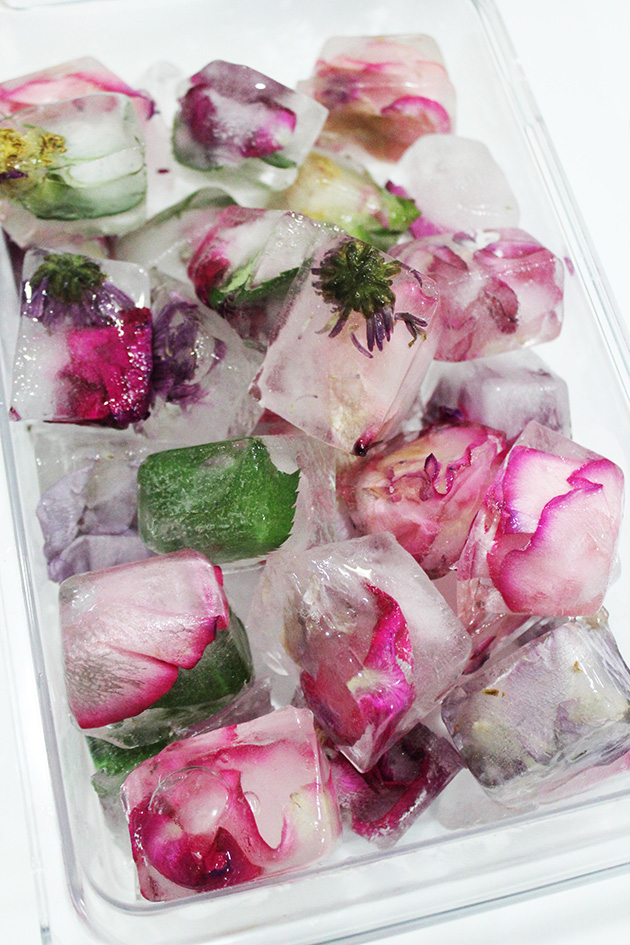
lasagne alla bolognese