Tag Archives: little scientist

Balloon science – My Little Scientist


balloon science |marmite et ponpon

Outside the temperature hits the 50°C (Doha) , it’s ramadan (the daily fast from dawn until sunset during this month of the Muslim calendar) and nowhere to go during the day. School is over and the entertainment challenge is back until we travel home (Lebanon)for the summer vacations.

The challenge of non stop playtime is to keep it interesting and captivating. So nothing is better than the magical science experiments.

balloon science|marmite et ponpon

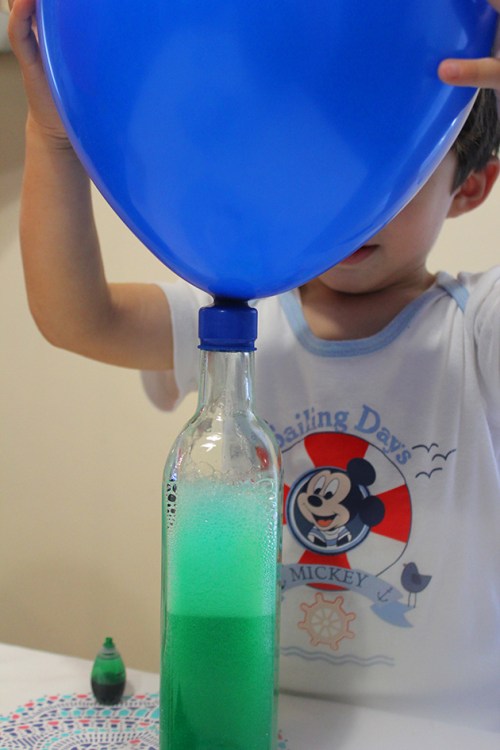
The magic: blowing up balloons with the bubbles of baking soda and vinegar.

The science: chemical reaction when you mix baking soda and vinegar can be used to blow up a balloon due to gas released.

balloon science | marmite et ponpon

It’s a fun learning activity for all ages. All you need is empty bottles, white vinegar, balloons, baking soda and food coloring (optional).

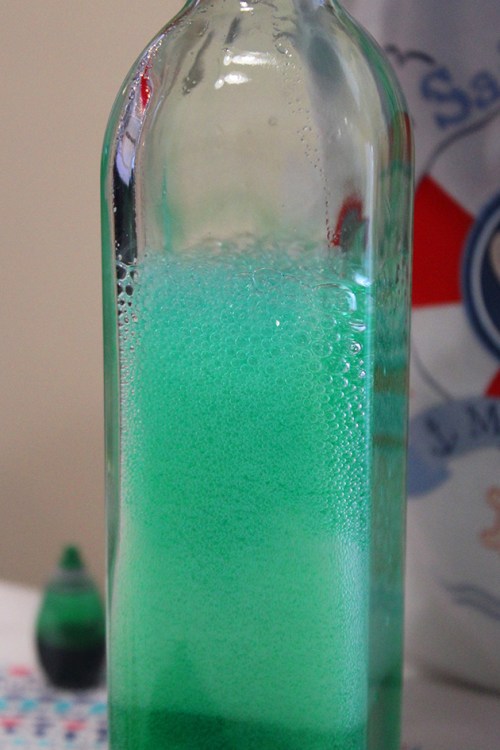
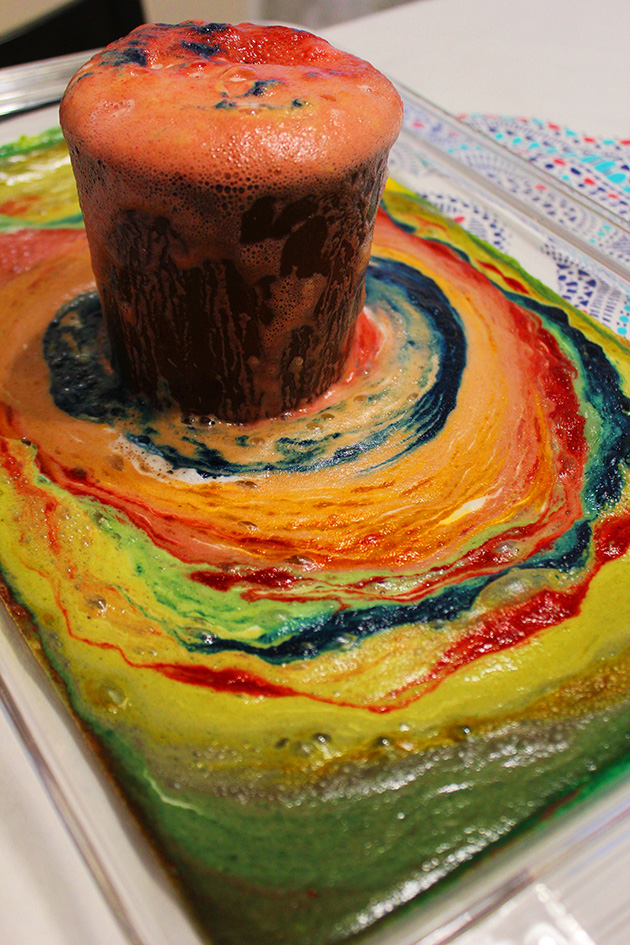
Fill half the balloons with baking soda and 1/3 to half the bottles with vinegar (the more you put the stronger the chemical reaction is). You can put food coloring in the vinegar for more fun, you can see better the reaction (bubbles).

Attach the balloon to the bottle, but don’t let the baking soda pour out just yet.

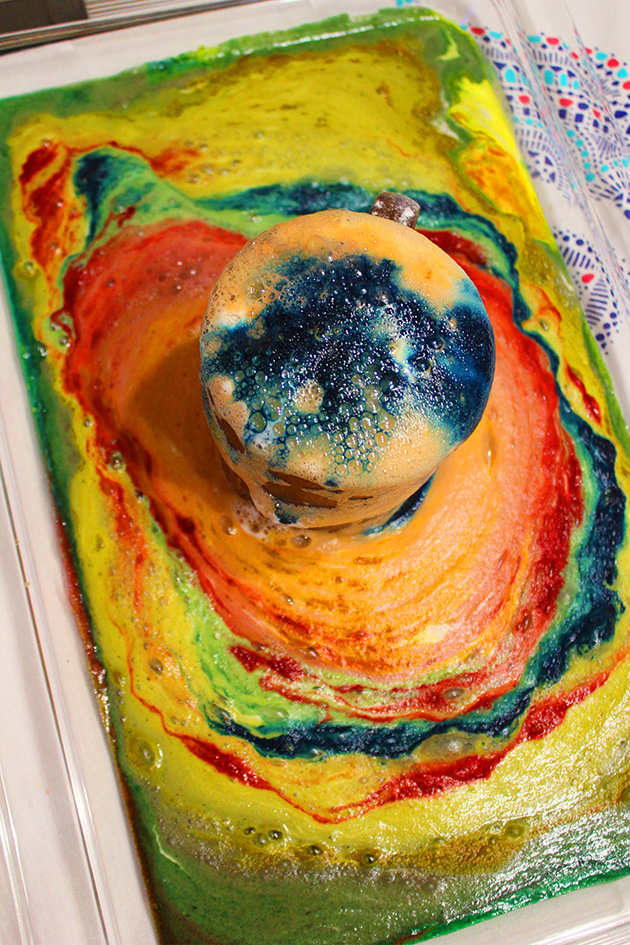
Empty out the baking soda and watch the reaction unfold. The combination of vinegar and baking soda will bubble up, and the gas released will blow up your balloon!

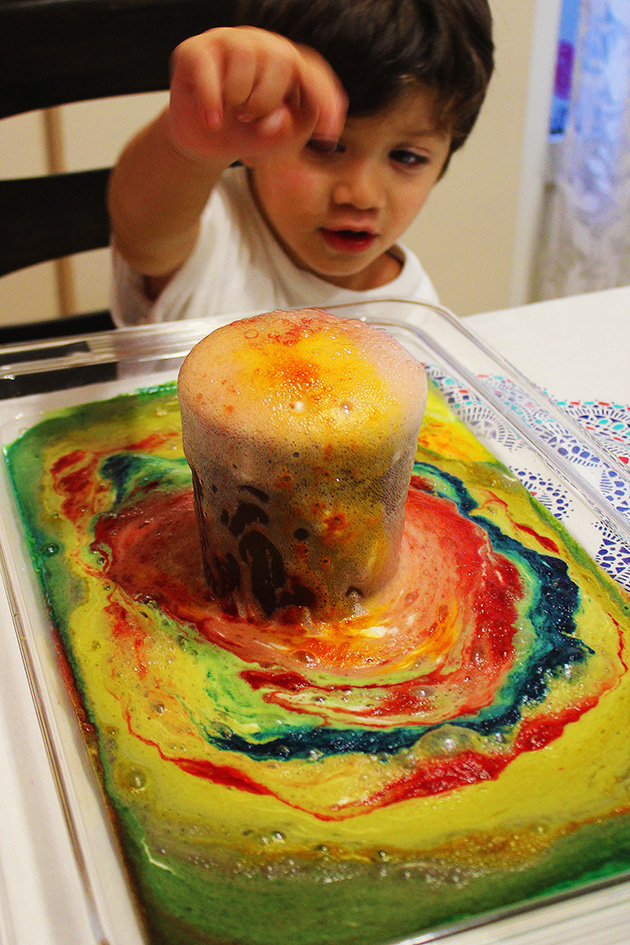
We had a lot of screams and laughter! It’s really magical for kids, you can explain the reaction to your kid according to his age. Nady who is 3 years and a half, knows by now that when you mix baking soda and vinegar, a gas is released and it inflates the balloon.

Enjoy this fun science project and expect not to stop until you run out of baking soda or vinegar!

Fun science project with balloons|marmite et ponpon

If you like this post give it some likes and shares to spread the joy. Don’t forget to like marmite et ponpon facebook page and follow on twitter. More interesting posts are yet to come.

Volcanic eruptions and rainbow lava experiment – My Little Scientist


Volcanic eruptions and colorful lava experimentArt and science come together in this fun and colorful experiment. This activity comes together with just 3 ingredients and no preparation;  In a brown cup (close to look like a real volcano) we put roughly 1 cup of baking soda with few drops of food coloring, then we poured the vinegar, enough to start seeing the eruptions (due to acid – base reaction).

Volcanic eruptions and rainbow lava experimentTo get those colorful ripples, looking like a rainbow, we were adding the food coloring one after the other while the volcano was erupting.

Volcanic eruptions and rainbow lava experimentWe started with green, yellow and blue, first all together then one at a time to get like earth colors ripples, and ended it with the red orange to look like a real volcano!.Every time we were adding a color, Nady was pouring more vinegar to get more and more eruptions. We did many until there was no more vinegar left at home 🙂

Volcanic eruptions and rainbow lava experimentVolcanic eruptions and rainbow lava experimentStunning right? Nady and I were in awe!! Don’t hesitate to try this experiment, it’s absolutely safe (The chemicals produced are non-toxic), easy and so much fun.

Volcanic eruptions and rainbow lava experimentVolcanic eruptions and rainbow lava experimentIf you like this post give it some likes and shares to spread the joy. Don’t forget to like marmite et ponpon facebook page and follow on twitter. More interesting posts are yet to come.

Color changing flowers experiment – My Little Scientist


Color changing flowers experimentThis experiment is a great lesson of “patience” to give to your children, of course beside teaching them about flowers and osmosis. But before going that deep let me tell you it’s also a great fun for the whole family!

Very easy set up; begin by filling the vases with water and desired colors. We used roses and daisies for the experiment.  Give a fresh cut to the flowers before placing them in the colored water, it helps for a quicker absorption.

Color changing flowers experimentColor changing flowers experimentAs the flowers drink the colored water, they will start changing colors (due to osmosis effect, in simple words moving water through the stems to make it more comprehensible to your kids as the flowers need to drink). The change won’t start before few hours.

Our first observation was 6 hours later.

Color changing flowers experimentThe roses were more colored than the daisies. Not all flowers react the same. Nady is so into experiences nowadays, he expects to do one every day after school. I am sure he is fascinated with the outcome thinking it’s magic more than science. I don’t blame him, i would like to believe so also, it brings more fun to the experiment 🙂

Color changing flowers experimentColor changing flowers experimentEach time we go back to check on the flowers, i don’t hide it, i was even more excited than Nady! And this is how they looked after 24 hours.

Color changing flowers experimentThe red and yellow looked amazing! the slowest was purple, so we eliminate it, Nady thought it wasn’t fun 🙂 Don’t do that maybe yours will work!

Color changing flowers experimentColor changing flowers experimentAfter each observation, Nady wants to take pictures with his magical flowers. Then we put them back each in their corresponding vase.

Honestly i was very impressed with his patience, personally i wasn’t. It was a good exercise for me too.

Last observation was 48 hours later. Here are our beautiful flowers!!

Color changing flowers experimentColor changing flowers experimentColor changing flowers experimentColor changing flowers experimentColor changing flowers experiment

You can leave the flowers in the water as much as you want, the colors will be certainly brighter. It all depends on the patience of your children.

If you like this post give it some likes and shares to spread the joy. Don’t forget to like marmite et ponpon facebook page and follow on twitter. More interesting posts are yet to come.

Moving water experiment and color mixing – My Little Scientist


mixing colors experimentMy precious Nady is experiencing many changes in his life. He has been promoted to big brother and started his first year of school. I believe it’s a lot of changes for a kid of two years and eight months, and for me as well honestly!

I’ve done all i should do to prepare him for his new sibling, and once arrived i did my best to split my care and attention to both equally.

Being home the afternoon with both of them and without any help is the big challenge. I have to take care of the newborn Joud and entertain the older Nady after school. It’s not new for us to enjoy our time together; we play, cook and craft… But nowadays he seems more demanding and seeking for more attention to make sure that maman is still all his!

I had to make our playtime more interesting and captivating. We are experimenting! It’s science time with Nady, for him it’s more of magic 🙂

A fun science experiment and in the same time a good lesson of color mixing. This experiment is very interesting since he can see the two different colors going along the tissue paper to form a new color.

mixing colors experimentYou need 3 jars (containers) i used empty jam jar, water, food coloring and paper towel.

Choose the colors you want to mix. We did blue and yellow (to get green) and  then we did red and yellow (to get orange).

Fill a jar with each color you chose (with the help of your kid certainly) and place the empty one in the middle. Fold a paper towel lengthwise. Soak one end of the paper towel into the first color jar and the second end in the empty jar. Same thing goes with the other color jar. Now let your kid watch the colored water moving through the paper towel to reach the empty jar (thanks to capillary action). The middle jar fills up with both colors to form a third one.

Blue +yellow = green! yayyy

mixing colors experimentActually we were both enjoying this science experiment! I love his reactions, i love his face 🙂 Now lets try another color:

Red + yellow = orange

mixing colors experimentmixing colors experimentAfter we were done, there was no way for him but to introduce his cars to the experiment. He decided to soak in his small cars to the next day to see what will happen!

mixing colors experimentmixing colors experimentIf you like this post give it some likes and shares to spread the joy. Don’t forget to like marmite et ponpon facebook page and follow on twitter. More interesting posts are yet to come.