Tag Archives: kids activities

Magazine flowers & food jar vase – recycling craft


Magazine flowers & food jar vase - recycling craft|marmite et ponpon

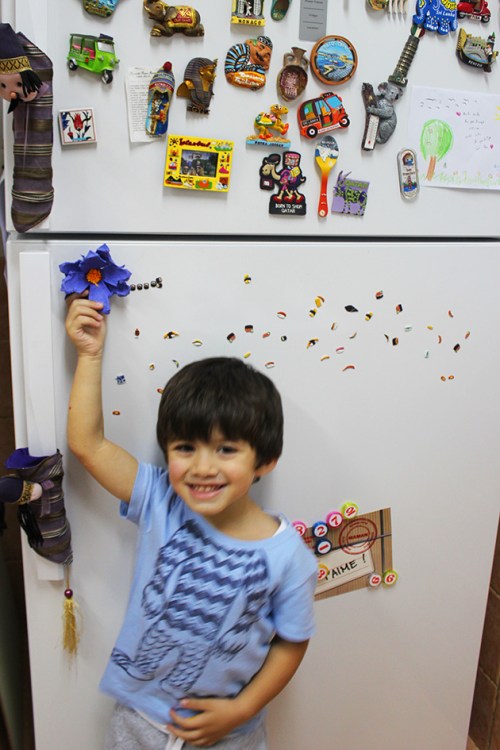
Like i said before, the earlier you teach good habits to your children, the easier they are incorporated into daily life and routine. Recycling crafts became our routine, Nady is getting more and more aware about waste and more than that he is concerned about preserving natural resources.

For instance, he turns off the water while brushing his teeth because this is a waste for water “c’est du gaspillage maman!”(gaspillage=waste). I can’t but be proud of you Nady ❤

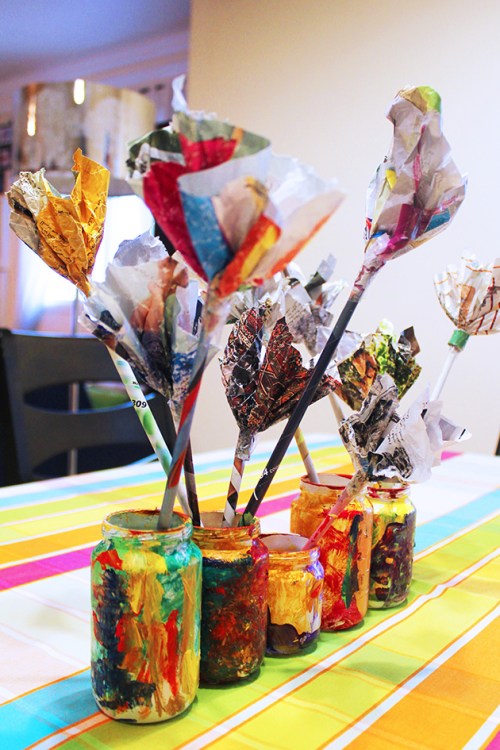
Today we are recycling food jars into a vase and magazine papers into flowers.

Magazine flowers & food jar vase - recycling craft| marmite et ponpon

First start by peeling off the packaging paper, spray it with white so your little ones can paint later with acrylic colors after completely dry. Better leave it for overnight.

After the paint is dry, attach the jars together (using the wax gun) to make one center piece vase.

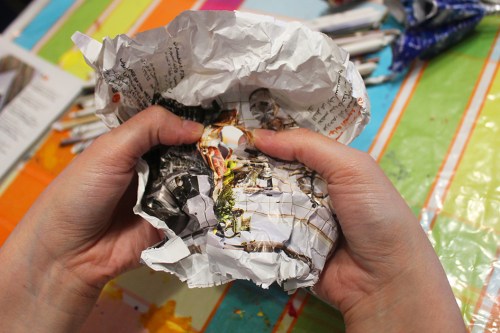
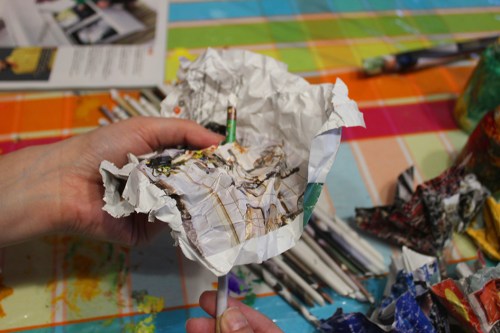
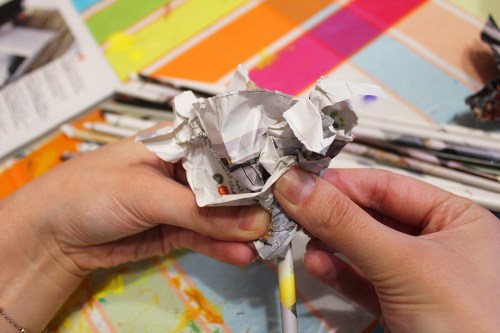
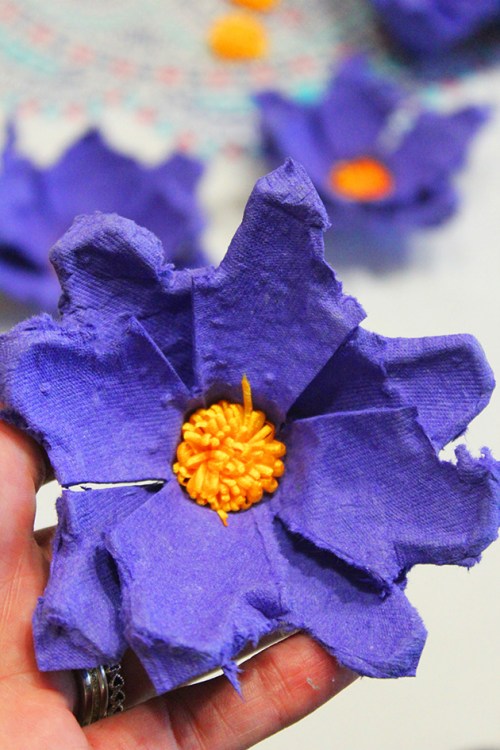
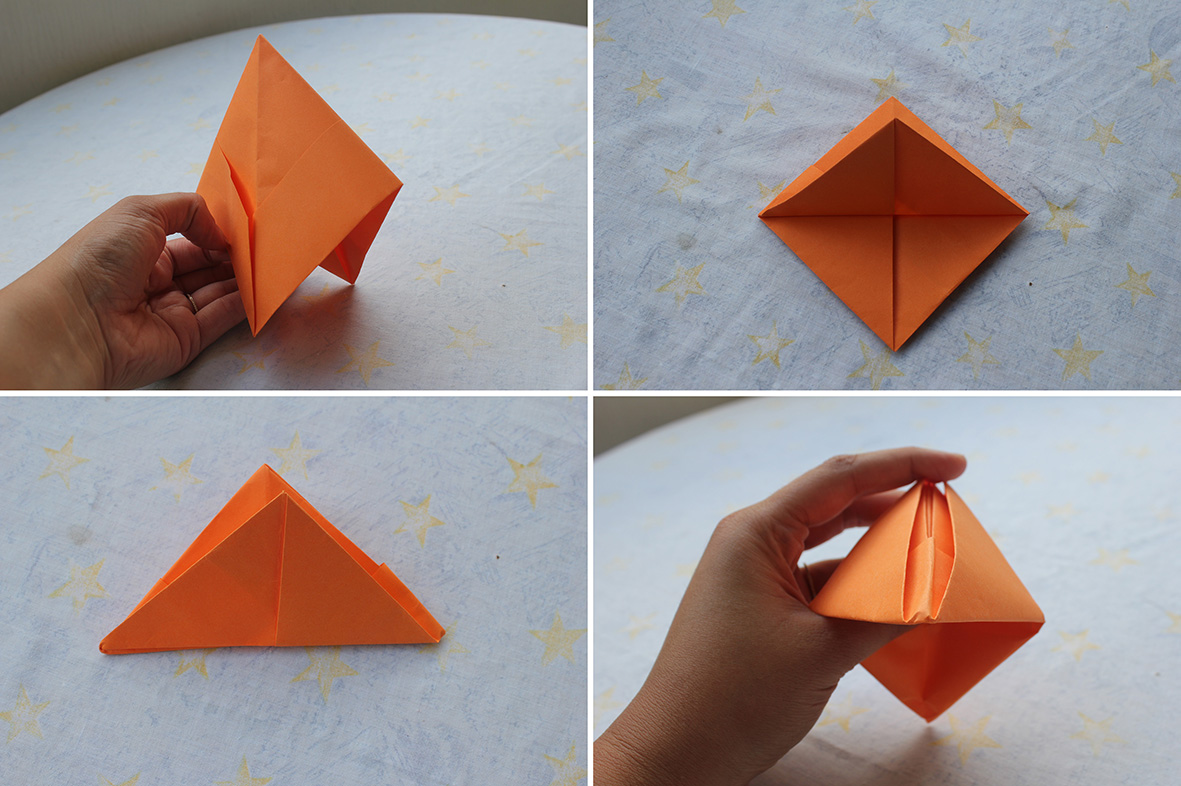
Now it’s the turn of magazine paper flowers. Follow the scheme for the easy tutorial.

13-Magazine flowers & food jar vase - recycling craft|marmite et ponpon14- Magazine flowers & food jar vase - recycling craft|marmite et ponpon15-Magazine flowers & food jar vase - recycling craft|marmite et ponpon16-Magazine flowers & food jar vase - recycling craft|marmite et ponpon17 -Magazine flowers & food jar vase - recycling craft|marmite et ponpon18-Magazine flowers & food jar vase - recycling craft|marmite et ponpon19-Magazine flowers & food jar vase - recycling craft|marmite et ponpon20- Magazine flowers & food jar vase - recycling craft|marmite et ponpon

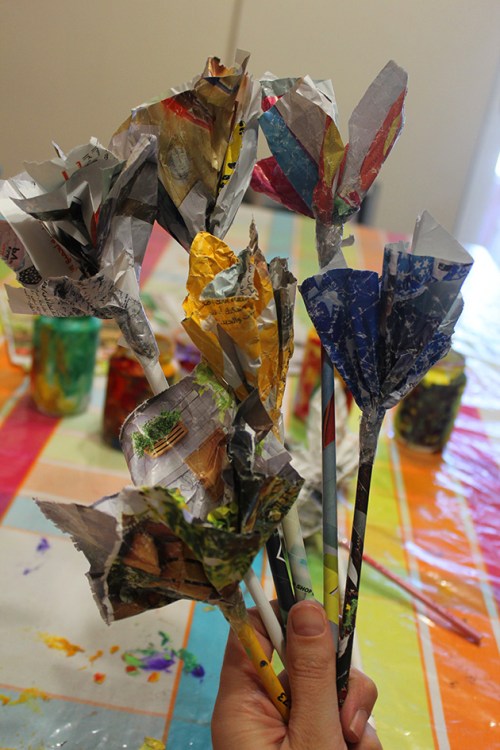
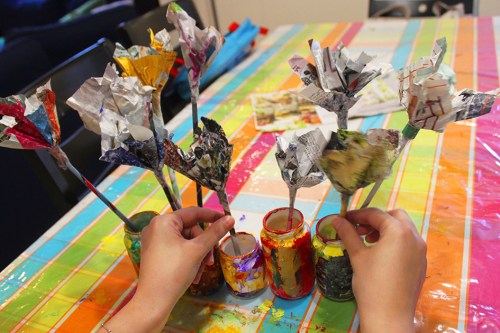
And here is the beautiful flower vase, that can make an awesome gift for a special person or simply decorate your house with it.

Magazine flowers & food jar vase - recycling craft |marmite et ponpon

If you like this post give it many likes and shares to spread the joy. Don’t forget to like marmite et ponpon facebook page and follow on twitter. More interesting posts are yet to come.

Egg carton flowers – recycling crafts


egg carton flowers-recycling crafts |marmite et ponpon

“We are what we repeatedly do. Excellence, then, is not an act, but a habit” – Aristotle

Good habits lead to a successful life, the earlier you teach them to your children, the easier they are incorporated into daily life and routine.

One of those great habits is to teach your children about recycling, so that they grow up with an awareness about waste and an appreciation for preserving resources. Don’t we all want the world a better place for our children?

Arts and crafts help kids understand better what recycling is especially when being part of the process. So now before we throw anything my son asks me what can we do with it, he thinks i can turn absolutely anything into a piece of art. I like that 😉

Egg carton flowers is a cute recycling project, especially we are still in the mood of mothers day, Easter and spring. Follow this step by step tutorial to learn how we can transform a carton egg into a beautiful flower

Most of carton eggs come in white/beige colors which gives you more room for creativity to add colors and make it look like real flowers. Here (in doha) the cartons come in purple color. Not bad, it’s a beautiful fresh color too.

egg carton flowers - recycling crafts |marmite et ponpon

We attached a magnet behind to make it as a fridge magnet to attach nady’s drawings, as per his request. But you can simply add a green stem and make more of it for a beautiful vase.

egg carton flowers- recycling crafts |marmite et ponpon

egg carton flowers -recycling crafts |marmite et ponpon

The sky is the limit. You can use these flowers to decorate a frame picture, or make a greeting card, or simply a bouquet. It’s an awesome craft, won’t cost you anything but it will teach good habits to your kids and a love for arts.

egg carton flowers - recycling crafts|marmite et ponpon

If you like this post give it many likes and shares to spread the joy. Don’t forget to like marmite et ponpon facebook page and follow on twitter. More interesting posts are yet to come.

Fingerprint art project – Surpriiiiise!!


fingerprint art project

Nady loves the crafty projects especially the ones that involves art and colors. This fun activity takes art to another level. We created an abstract art piece that reveals a surprise at the end.

I started by taping off Nady’s first initial onto a piece of paper. I gave him a palette full of paint and asked him to fill all the paper with fingerprints, dots created by his index to practice finger isolation.

fingerprint art project

Finger isolation is a fine motor activity using one finger to perform a task that will reveal its magic later in writing, tying the shoes, typing on a keyboard and many other skills….

We spent fun time covering all the white spaces on the paper experiencing various colors, mixing and learning difference between dark and light colors.

fingerprint art projectfingerprint art project

When he was done I pulled off the tape to show him what he had created. He was so happy and fascinated. Process of discovering many types of art medium and the surprise element is so magnetic for kids.

fingerprint art projectfingerprint art project

Not only was it a fun craft to make, but it was also a great way to teach:

  • finger isolation (fine motor)
  • finger’s name (using the index)
  • colors
  • shapes (round and dot)
  • the letter “N”, his name’s initial
  • And counting

Nady liked it so much, he decided that this piece of art is going to be added to his wall of art.

fingerprint art project

fingerprint art project

If you like this post give it some likes and shares to spread the joy. Don’t forget to like marmite et ponpon facebook page and follow on twitter. More interesting posts are yet to come.

Creative Easter eggs decoration -Dinosaurs land- DIY


IMG_4896As i always say, my son is my source of inspiration. He is so much into dinosaurs lately, so a NADYnosaurs land is the perfect idea for this year’s Easter eggs.

As promised in previous post and If you’re willing to recreate this dino park, follow me step by step in this tutorial, it’s much easier than you think.

IMG_4801To make the dinosaurs eggs, you need first to dye the hard boiled eggs with a color of your choice. To marblize the dyed eggs (to give the effect of real dino ones), add a tbsp of olive oil to another color, preferably darker, then dip them in and let sit about 2 minutes before you pat dry.

I always recommend wilton coloring gel for healthy results.  Add vinegar to your colors for vibrant effect.

IMG_4842We tried as well with brownish colors to make it as real as possible!

IMG_4843For the Dinosaurs, click here to download a high resolution file of the tail, back and head to stick on the eggs.

IMG_4845For the Nadynosaur banner, click here to download the file, you can easily change the name on it.

IMG_4852 IMG_4855 IMG_4858 IMG_4859

The biggest the park you want, the more eggs you should decorate. The files i attached present 3 color options of the dinosaurs; blue, green and orange. You can change easily to your favorite ones (vector files). Enjoy the best moments with your kids. Nothing better than seeing their happy faces! Just priceless!

IMG_4884 IMG_4885 IMG_4886

Happy Easter everyone. المسيح قام، حقاً قام

IMG_4892 IMG_4895

If you like this post give it some likes and shares to spread the joy. Don’t forget to like marmite et ponpon facebook page and follow on twitter. More interesting posts are yet to come.

sail away with paper boats


paper boatSail into summer with fun paper boats. Such a fun water activity, sailing boats into water streams played magic on me when i was a kid.

Since we arrived to lebanon, i wanted to take Nady to this specific place where i used to play when i was his age or even bigger.

paper boats

The sound of water flowing increases the energy and causes great eagerness! With less than a dollar you can make 20 colored boats to launch in this cool water.

paper boatsHere is a detailed tutorial paper boat craft:

paper boat tutorialFold an A4 paper in half. Again fold from both sides to the middle two side triangles to make like the roof of a house.

paper boatsFold up the rectangular part under the triangle from both sides. Fold the edges to the inside to make hat shape.

paper boats tutorialFold the hat exactly in the middle, then fold up the edges (triangles) from both sides. Again if you open it it looks like a hat.

paper boats tutorialOpen the hat sideways, et voila the beautiful paper boat!

paper boats

The multi colored boats and the green on the sides of the water stream created a charming frame! If you don’t have natural water streams nearby, you can play by the sides of a pool or even in the bathtub to make the shower more fun.

paper boats

paper boats

We could stay forever playing, sensory water activities are endless, as i always say it’s one of the most exciting things to explore! Even when all the boats sailed away, Nady found another game to stay by the stream. Throwing stones in the water! Yes splash, slosh and slop! He was so excited he just wanted to soak his hands in the cold water…

throwing stones

Imagine how exciting and fun playing with water!

paper boats