Tag Archives: DIY

DIY food art – kids under the sea breakfast


kids under the sea breakfast

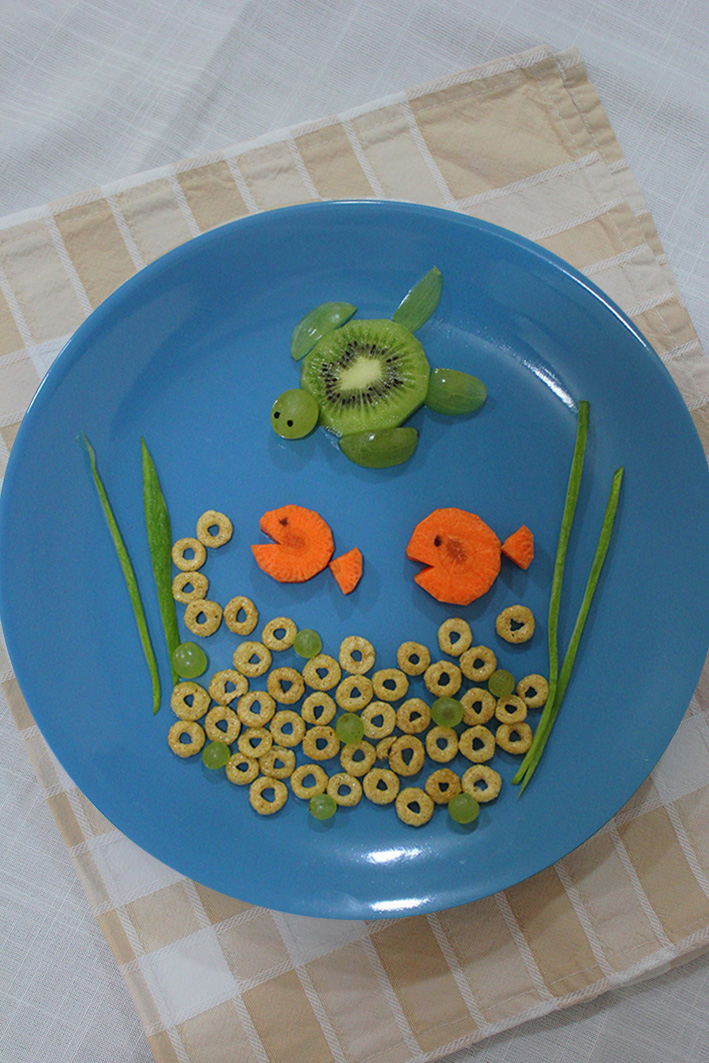
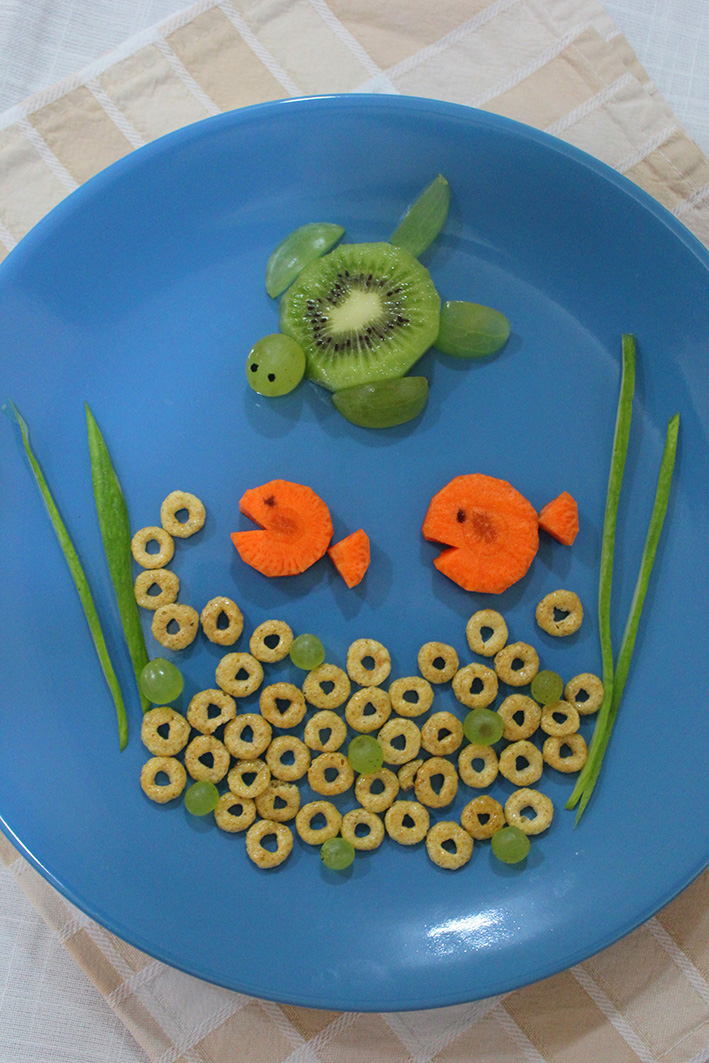
Food art is so fascinating for kids as for adults. I will never mind to get such plate as breakfast in bed. I find it amusing too 🙂

Anyone can make this cute breakfast (could be a snack as well). Very simple and easy. You will need:

  • thin slices of cucumber cut lengthwise for the stems
  • 2 carrots slices to make the fish
  • handful cereal breakfast for the sea
  • small raisins for the water bubbles
  • one big raisin cut in 4 for the turtle hands and legs
  • one medium raisin for the turtle head
  • one kiwi slice for the turtle body
  • edible paint for the turtle and fish eyes (optional)

kids under the sea breakfast

It’s great to get your kid eat healthy food and have fun in the same time. When nady saw the plate he started waving his hands like a fish and singing. The turtle really grabbed his attention too! Amazed by his beautiful breakfast, he was hesitating whether to contemplate, play or start digging in!

kids under the sea breakfast

kids under the sea breakfast

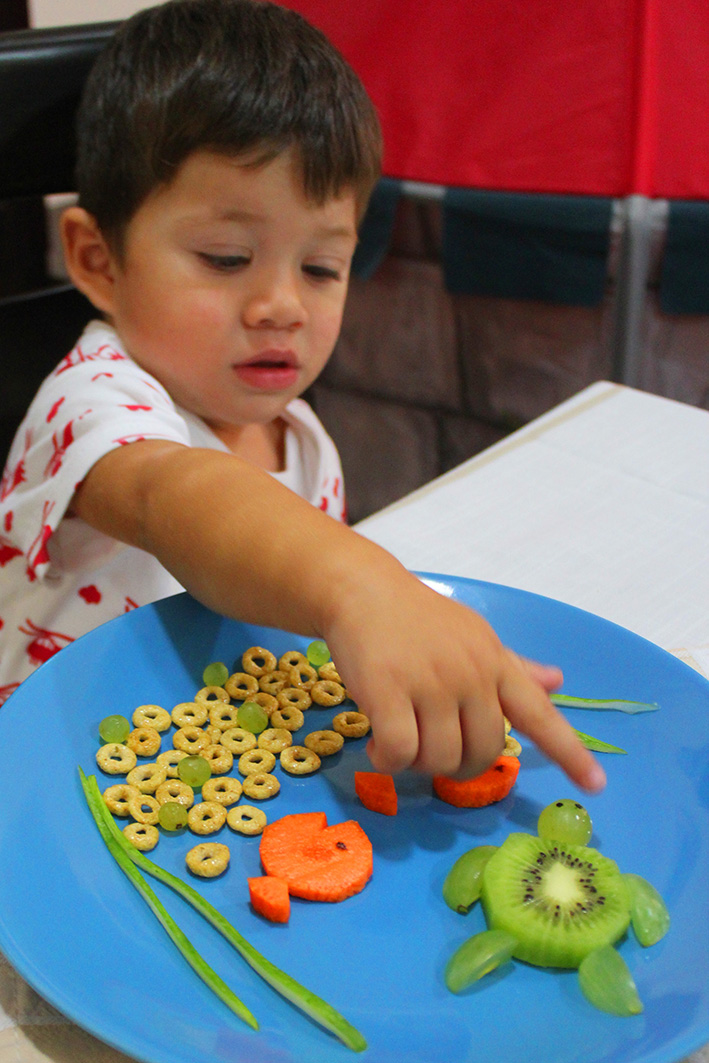
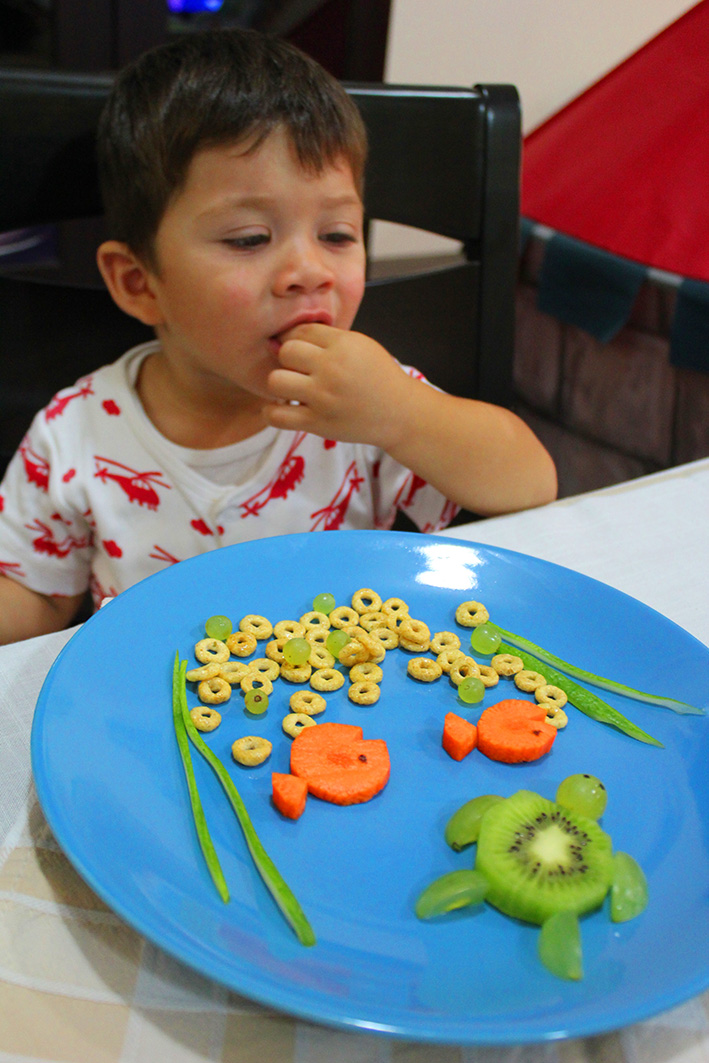
Well he decided to polish off his delicious under the sea breakfast!

kids under the sea breakfast

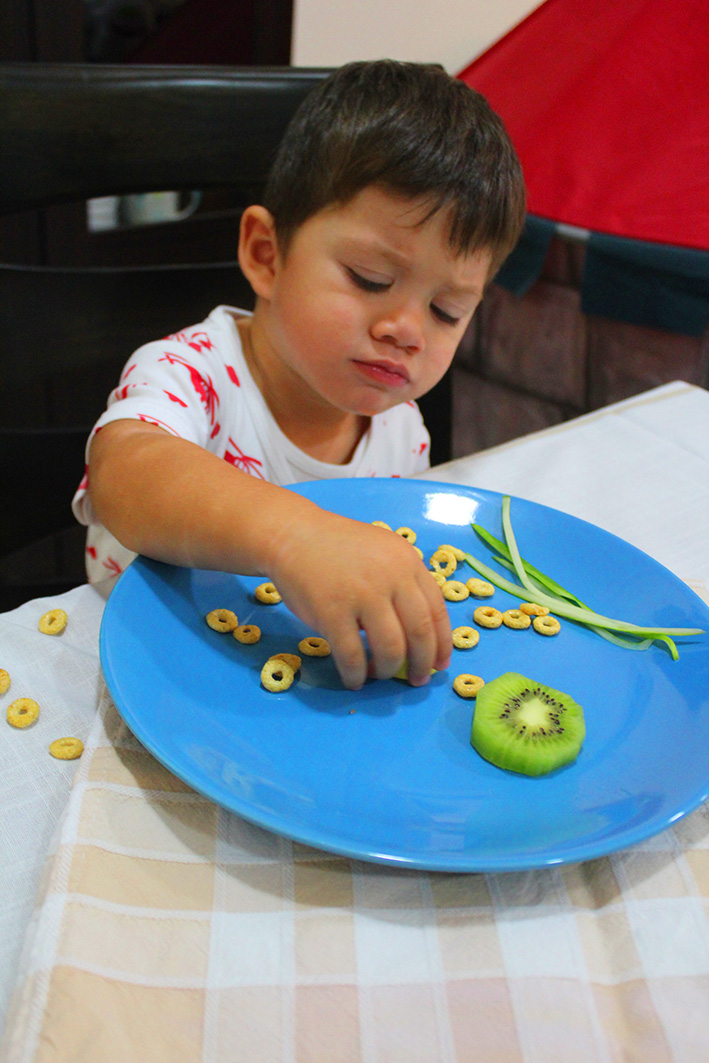
Never mind if your kid didn’t like the taste of kiwi, It’s one of my many attempts to offer this fruit to him but he doesn’t like it so far! But i will keep on trying…

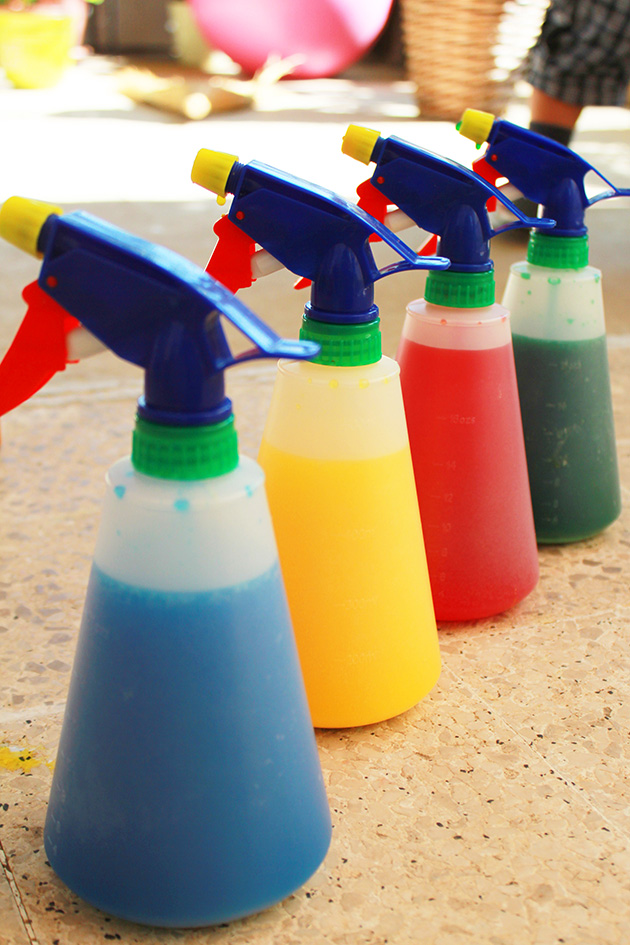
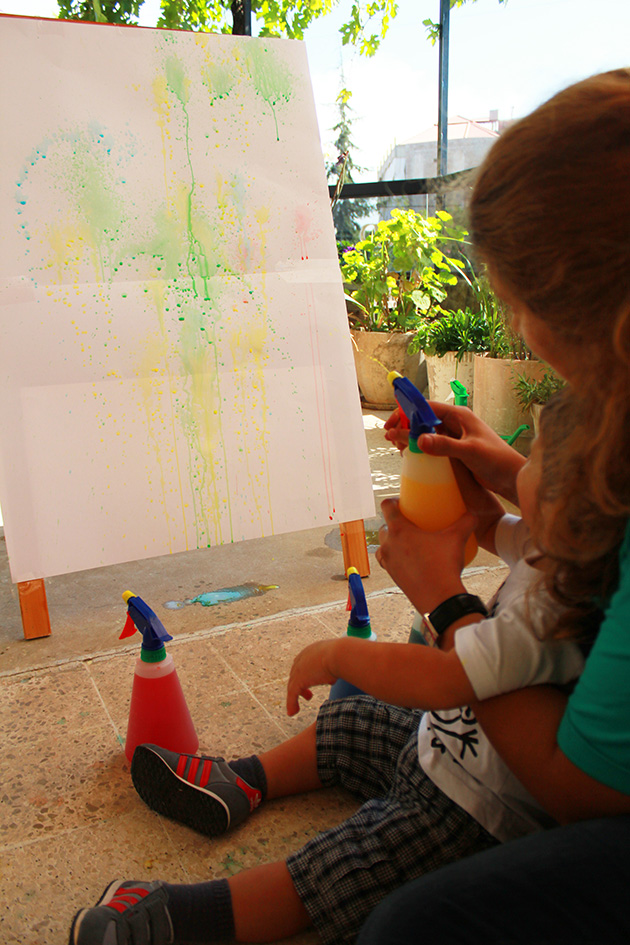
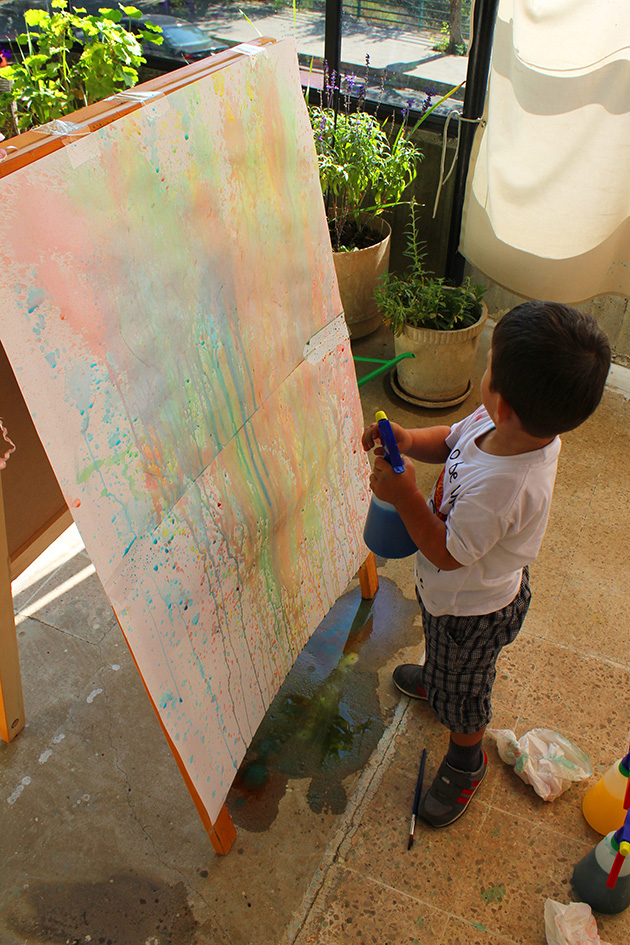
Try these edible cool arts for your kids and give them a reason to always be happy and enjoy food.

kids under the sea breakfast

Whatever you are doing, always add fun to you and your loved ones life! Happy day to all and lots of love and smiles x

If you like to join me to the fun and see more of interesting things, follow this blog and like marmite et ponpon facebook page. Happy reading!

chalk spray art for your kids


chalk spray art

It’s a definite outdoor activity; so much fun but so messy, I am telling you! (but since it’s a washable paint don’t worry).

Lucky us we have a beautiful space at jeddo and teta house, but still my little artist manage to spray the walls, plants, curtains… leaving behind memorable pieces of art.

To make the chalk sprayable paint you need:

  • spraying bottles
  • 1/4 cup corn starch
  • 1/4 cup baking soda
  • 3 cups warm water
  • food coloring gel (wilton as i always recommend)

You have to really mix well until all dissolved, and shake it before starting to spray.

chalk spray art

The world of water, colors and art provides a soothing sensory experience and it’s an excellent avenue for children to learn physical, cognitive and social skills. I love those kind of messy activities, It’s an important part of early education. Children will be given the tools to develop and practice fine motor skills, for instance, spraying bottles are great for developing kids tiny hand muscles.

chalk spray art

Get down on the floor with your child. You are the ultimate plaything, and any activity will seem more fun if your child can share it with you. Introduce the game and let your child improvise. But always talk to him while you play and you’ll help boost his language skills.

chalk spray art

chalk spray art

Chalk spray art develops concentration, problem-solving and planning. He learns how to aim correctly, but trust me in the beginning he will spray everywhere.

spray chalk art

This game is open ended. You can introduce the brush or your kid  favorite play thing. Nady decided to spray the balloons, his favorite toy. He was extremely happy!

spray chalk art

spray chalk art

spray chalk art

Small tip: If your bottle nozzles are clogging, means the inner tubing is touching the floor of the bottle. You only need to snip off a small piece of the tube so it doesn’t sit in the residual corn starch and get clogged.

Happy playing!

homemade paint to my little artist masterpiece


homemade paint

This homemade paint recipe is closer to paint dough due to the thick texture you get. But it all depends on how much you want to dilute it!

The original recipe calls for:

  • 3/4 cup flour
  • 3/4 cup salt
  • 3/4 cup water
  • coloring gel (wilton as i always recommend)

Whisk together the water, flour, and salt, then add the coloring gel. The dough will be just barely pourable, if you want it less thick, add 1/4 cup of water. Pour the dough into squeeze bottles.

homemade paint

To take advantage of the nice weather (before going back to doha heat), we took everything we might need and we head to the closest parc to let my little artist create his colorful chef d’oeuvre!

homemade paint

To kick off the play, i handed him sponge cut outs to paint with. Knowing that after 5 minutes he will go excited and use only his hands. Let your child choose how to play, you can suggest new things or present new options, but he should be the boss. The most important is to talk to him while you play and you’ll help boost his language skills and widen his imagination.

homemade paint

Time for a messy play! I just sat down and watched him while naming the colors, textures, and things around us. He was enjoying squeezing the paint out of the bottles and mixing! Lots of mixing!

homemade paint

As always Nady likes to taste everything! That’s why i always prepare homemade recipes with edible ingredients to play with.

homemade paint

When we first played with noodles and playdough we had doubts he inherited my OCD tendancies, but this time i am sure he does 🙂 look how he always tidy the sponges!

homemade paint

After 45 minutes of painting, here is Nady’s chef d’oeuvre! I am really impressed!

homemade paint

Drying times will vary depending on the dough’s thickness!

homemade paint

homemade paint

It was such a fun and quality time together. Always spend time with your kids, this is the best you can do to them.


DIY- suave lavender sachets


lavender sachets

The English word lavender is derived from the french word lavande, ultimately from the Latin lavare (to wash).

It is grown as a condiment and used in salads and dressings. The flowers yield abundant nectar from which bees make a premium honey.

Lavender is used extensively with aromatherapy. Infusions are believed to soothe insect bites, burns, and headaches. Lavender aroma repels insects. In pillows, lavender seeds and flowers aid sleep and relaxation.

lavender sachets

Since i was a kid i always found between my cloths sachets of lavender. My grandmother used to sew them to scent the cloths, drawers and pillows. Not only does it smell good, but it’s also a natural bug and moth repellent.

This craft held a sweet nostalgia to these old days, and especially to my grandma rose, god bless her and keep her!

lavender sachets

To make these beautiful sachets, cut two same-sized pieces of fabric, preferably linen (mine are about 12x10cm ).

lavender sachets

Place them back-to back inside out and sew them together from three sides. Keep one side open to fill it with the lavender seeds.

If you don’t know how to use the sewing machine, just handle the job to someone professional to make it for you. I used the help of my friend.

lavender sachets

lavender sachets

Lace, ribbons or bows will give it this elegant touch. You can even use colorful textile, but always remember it should be a breathable one to let the scent come out, linen is the best!

lavender sachets


Then turn them the right way out and fill with dried lavender through the side you have left open, then sew it to close it up.

lavender sachets

These sachets turned out to be so beautiful that i feel bad to just put them in the closet or the drawers! Don’t you agree?!

lavender sachets

lavender sachets


5 minutes homemade pesto


One day I will have my own small garden where i will grow basil (and other vegetables of course) to prepare this flavorful pesto!

I grew up in a family who loves the nature! My dad used to grow flowers and vegetables (tomatoes, parsley, mint, cucumbers…. ) for us they are both beautiful, like all lebanese families who has a small garden beside the house. Trust me a salad from your garden tastes different! even, It smells like your home country…

A homemade pesto, to use as a great addition to pasta, salads, sandwiches, or as a tasty dip or spread!

pesto

You will need:

  • 2 cups fresh basil leaves
  • 1/4 cup toasted pine seeds
  • 2 cloves of garlic
  • 1/2 cup olive oil
  • 1 tbsp lemon juice
  • salt & pepper to taste
  • 1/2 cup grated parmesan cheese (optional)

pesto

In the food processor add basil, garlic and pine nuts. Pulse several times until coarsely chopped. Then add lemon juice and olive oil. Once fully combined mix in the parmesan cheese, salt and pepper to taste.

pesto

This simple basic pesto is so easy to make and incredibly delicious. It takes less than 5 minutes and you can spread it on almost everything!

How to store this homemade pesto? After filling a jar to almost the very top, drizzle a little olive oil over the top and seal closed. This can keep for a few weeks in the fridge if you continue to cover the top with olive to keep the herbs fresh.

pesto

add the basil, garlic, and pine nuts. Pulse several times until coarsely chopped. – See more at: http://www.servingseconds.com/2013/06/homemade-pesto.html#sthash.ALGMcs2V.dpuf
  1. To a food processor, add the basil, garlic, and pine nuts. Pulse several times until coarsely chopped.
  2. With the processor running, pour in the lemon juice and slowly add the olive oil.
  3. Once fully combined (but still with some texture), scrape all of the pesto into a separate bowl.
  4. Mix in the parmesan cheese, and season to taste with salt & pepper.

– See more at: http://www.servingseconds.com/2013/06/homemade-pesto.html#sthash.ALGMcs2V.dpuf

2 cups fresh basil leaves (or two huge handfuls) 1/4 cup toasted pine nuts 2 cloves of garlic 1/2 cup olive oil 1/2 cup parmesan cheese juice from half a lemon salt & pepper – See more at: http://www.servingseconds.com/2013/06/homemade-pesto.html#sthash.ALGMcs2V.dpufY
2 cups fresh basil leaves (or two huge handfuls) 1/4 cup toasted pine nuts 2 cloves of garlic 1/2 cup olive oil 1/2 cup parmesan cheese juice from half a lemon salt & pepper – See more at: http://www.servingseconds.com/2013/06/homemade-pesto.html#sthash.ALGMcs2V.dpuf