Category Archives: j delights

no bake lazy cake: 4 ingredients in 4 minutes


lazy cake

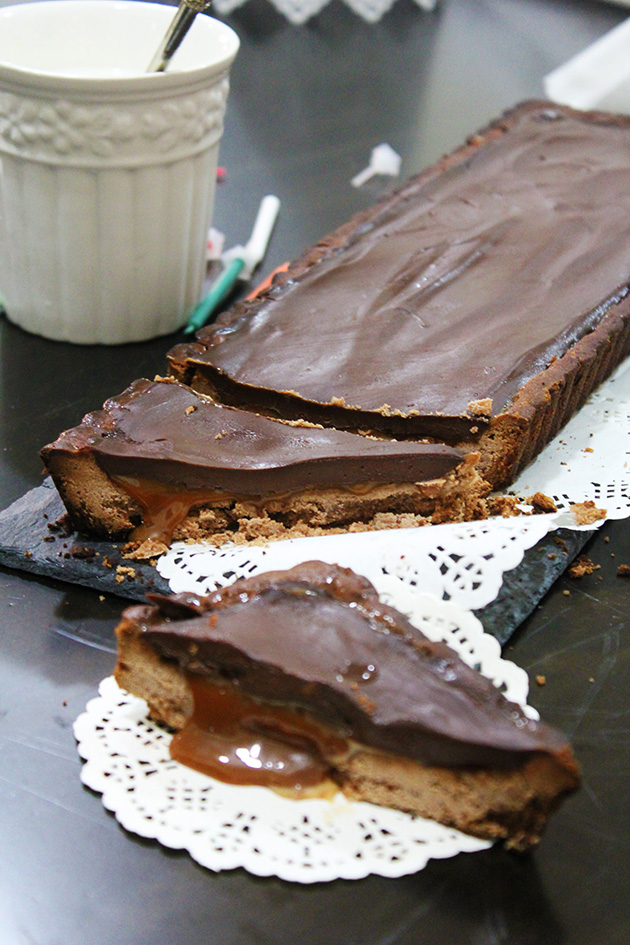
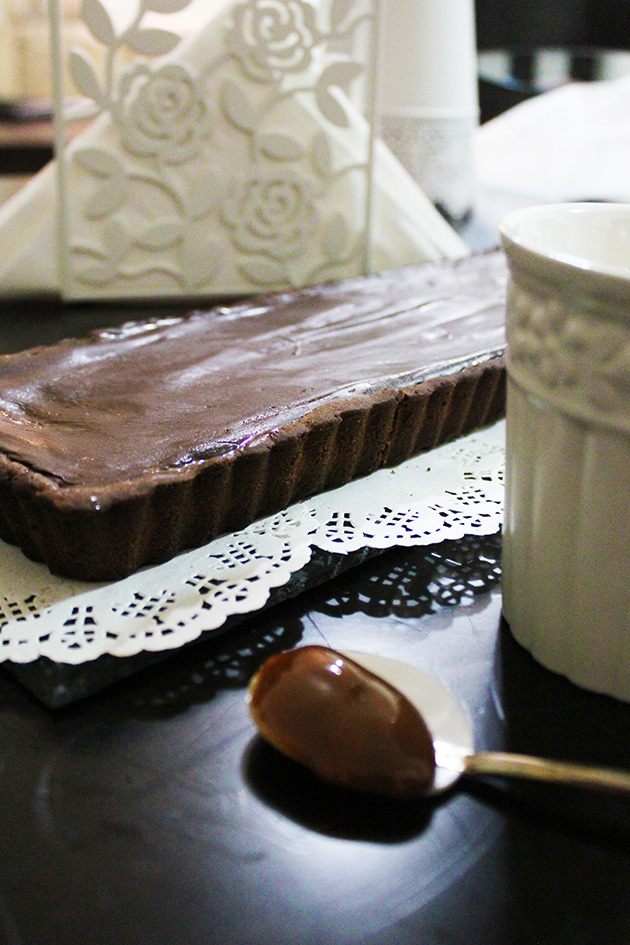
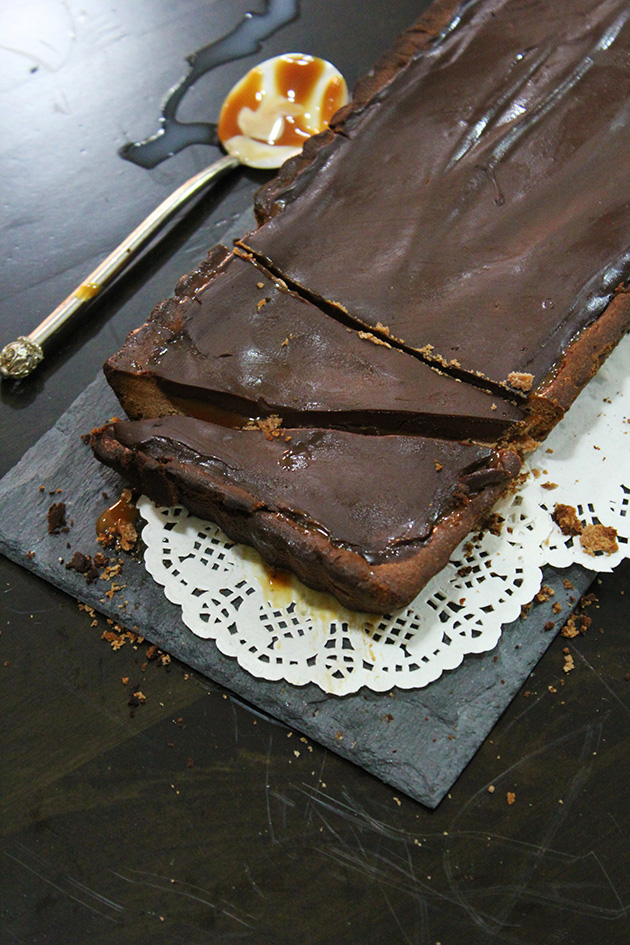
Lazy cake, gateau froid or biscuits au chocolat… Opt for a name, meanwhile i will be done preparing it! Seriously 4 minutes!

  • 200g dark chocolate
  • 200g nutella
  • 50g butter
  • 40 pieces Marie biscuit

In a heatproof bowl place the dark chocolate (cut in small pieces) with nutella and butter and heat it for 1.5 minute in the microwave. Take it out and mix it well until all ingredients melt and incorporate.

Crush each biscuit in 4 and toss in the chocolate sauce. Marie biscuit is similar to tea biscuits, you find it in many brands like Mcvitie’s, Tiffany, Britannia… and for Lebanese you know our famous ghandour 555!! it reminds me of my childhood and the famous “biscuit w raha”.

Fold gently so you don’t crush the biscuits in tiny pieces until all of them are well coated. Line a loaf pan with plastic wrap to put the biscuits and chocolate, this way it will have a rectangular shape, easy to cut. Depending on how thick you want your cake to be, use the convenient mold size, mine is 11¨. With the back of a spoon (or your hand) shape the mixture in the loaf pan.

lazy cake

Refrigerate at least for 3 hours, take it out, unwrap, cut in slices using a sharp knife and enjoy!

lazy cake

Some people like to sprinkle over icing sugar before serving and others coconut powder… You can try if you are one of those lovers.

lazy cake

This cake stays well up to one week in the freezer, ours didn’t survive the time i wrote the post 🙂

lazy cake


If you like this post give it many likes and shares to spread the joy. Don’t forget to like marmite et ponpon facebook page and follow on twitter. More interesting posts are yet to come.
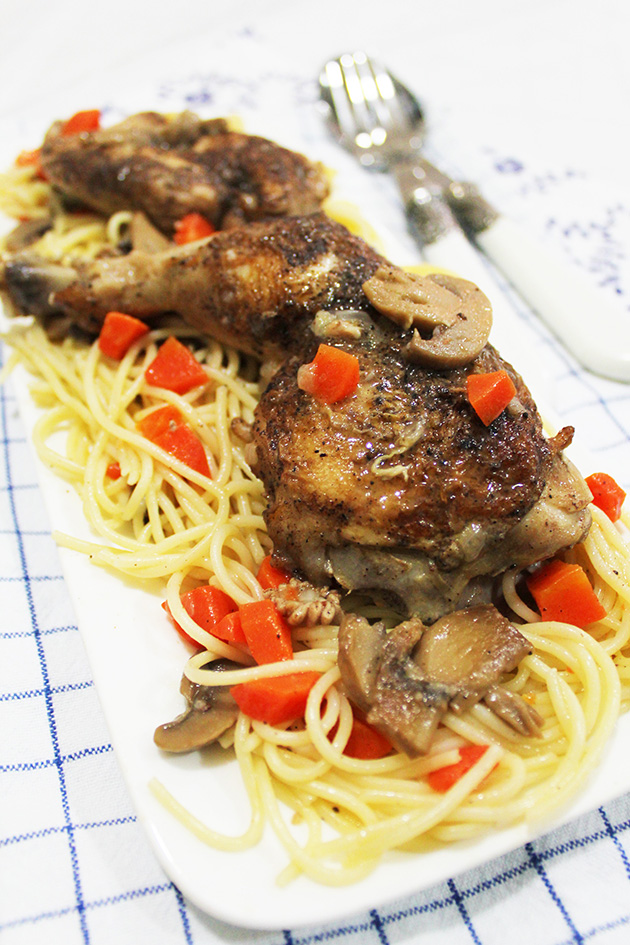
Decadent dark chocolate “fleur de sel” and caramel tart


dark chocolate caramel tartA decadent chocolate and caramel tart, cures the cravings of all chocolate lovers. Fleur de sel chocolate and caramel are a winning combo, anyone who is into dessert will be totally thrilled with this indulgent tart!

Yesterday was my hubby’s birthday, i wanted this tart to look as romantic and as sinful as it tastes, one bite and he is in another realm! I guess i succeeded.

dark chocolate caramel tartdark chocolate caramel tart

To make the crust you need:

  • 2 cups flour
  • 2 tbsp dark cocoa powder
  • 1/4 cup caster sugar
  • 200g butter cut in cubes
  • pinch of salt

Mix flour, cocoa, sugar and salt. Add the butter and mix with your hands. At the beginning while adding the butter it will resemble the breadcrumbs and by the final cube of butter it will form a big clump.

Wrap it and let it rest in the fridge for half an hour before rolling in a mold. I used a rectangular one of 36x11x2.8 cm (14″x4 3/4″x1″). Preheat oven to 180°C. Poke the dough with a fork (it will prevent the dough from getting puffy). Baking for 20 mns.

Let it cool to room temperature before applying the first caramel layer. you will need almost 5 tbsp of caramel(i used a ready made caramel from bonne maman). Put it in the fridge for 2 hours then pour the chocolate ganache over and return it to chill in the fridge for another 4-6 hours before serving.

dark chocolate caramel tart

dark chocolate caramel tartTo make the ganache you need 100g chocolate fleur de sel chopped, 150 ml cream and one tbsp butter. Heat the cream for 2 minutes in the microwave, add the chopped chocolate and butter and whisk until u get the glossy ganache. Usually i don’t use butter in the ganache unless i want the glossy effect to chocolate. If you want to booze it up you can add 1 tbsp of fine whiskey or rum, depending on your preference.

dark chocolate caramel tart

dark chocolate caramel tartHappy birthday Antoun and many happy returns, Nady and I, have been waiting for this day since a week to sing for you: hapababa da to you… hapababa da to you 🙂 ❤ xx

dark chocolate caramel tart

DIY fridge magnet for a birthday daily note surprise


fridge magnet DIYAntoun’s Bday is in less than a week! Nady’s is so excited about it, especially he loves birthdays and singing “to you” (happy birthday to you). We decided to make for him a daily small drawing with a cute message till the big day comes (tuesday, october 7). Happiness and love are in small details, and it’s so important to teach your kids how small gestures can bring happiness to someone and show care and love. Our motto is “we don’t do big things, we do small things with big love”- mother teresa

To post them, there was no better than the fridge to serve us as a message board, therefore we needed magnets. It was so quick and super easy to craft them, we just glued small magnets on colored buttons and that’s it! I told you it’s super easy 🙂

fridge magnet DIYNady took care of the drawing part and i did the writings. It was so fun thinking that Antoun will love it and wait for his daily dose of love from us!

fridge magnet DIYThat was our first note on the fridge. Aren’t these buttons so cute?! But nady didn’t like the fridge so plain, he wanted to draw on it as well. Why not?! this is a cool idea, now the fridge is a mini gallery! With beeswax crayons (safe and so easy to clean) he did a really good work and concretized his dream of drawing everywhere with no restrictions… Everything is permitted, it’s “papa to you” (daddy’s bday) surprise.

fridge magnet DIYYesterday we posted our second note with more drawings! Now I am sure Antoun is waiting impatiently for his daily note!

fridge magnet DIYToday we posted our third note. Antoun didn’t see it yet, he will now as he is reading the post.

fridge magnet DIY

There will be 4 more notes until the birthday. It’s an ongoing post, come back everyday to check the new images updated for the daily notes. See how the fridge will look on the day of Antoun’s birthday 🙂

As promised this is today’s fourth note.

fridge magnet DIYand today’s fifth note is:

fridge magnet DIYThe sixth note, the one before the last! yessss papa to you is so soon 🙂

fridge magnet DIYAnd here is the final note before papa’s bday!

fridge magnet DIYHappy birthday Antoun ❤

fridge magnet DIY

chicken fricassée with spaghetti


Chicken fricassée “Fricassée” is a method of cooking, when the chicken is sautéed in butter and oil then simmered. It’s an old fashion dish in france and with many variations. It’s a true classic french comfort food. Usually presented with french baguette bread, rice or mashed potatoes. My mum’s recipe is served with spaghetti. When i first made it, my husband fell in love with it. Whenever he craves it he asks me: when are you going to do “your chicken pasta with the yummy sauce”?

For 6 persons recipe you need:

  • 12 pieces of chicken (thighs, drumsticks and breasts)
  • 750g spaghetti
  • 3 1/2 tbsp butter devided
  • 1 1/2 tbsp vegetable oil
  • 2 medium carrots diced
  • 1 big onion finely chopped
  • 125g mushroom sliced
  • 1 tbsp nutmeg
  • 1tbsp pepper
  • 1 1/2 tbsp salt
  • 3 tbsp flour
  • 4 cups water

Season chicken on both sides with the salt, pepper and nutmeg. Preheat a large pot and add the vegetable oil and 1 tbsp butter. Fry the chicken until golden brown on both sides, and transfer to a plate. Don’t over crowd the pot, fry the chicken in several batches.

Wipe the pot with a paper towel and add 1 tbsp butter to sautee the onion, carrots and mushroom for 3-4 minutes over medium heat and transfer to a plate.

Again add to the pot the final 1 1/2 tbsp of butter with 3 tbsp of flour and stir until combined and golden, add the water slowly and keep stirring until liquid just thickens (one minute) as if you are doing a roux. if you like silky sauce, you can replace one of the water cups with 1 cup cream. Return the vegetables and chicken to the pot and simmer for 30 minutes.

Chicken fricassée

If you are fan of rice or potatoes, just replace the spaghetti. This dish pairs perfectly with all. Personally i love it like mum used to serve it with spaghetti!

Chicken fricassée

I loved this dish as a child and still consider it one of the most delicious meals my mum used to prepare. Try it, and am sure it will be a staple dish on your menu. Enjoy!!

Chicken fricassée If you liked this post and you want to see more, follow this blog and like marmite et ponpon facebook page. Happy reading!


la crème pâtissière – the easiest no fail recipe


 Crème pâtissière

Crème pâtissière is a velvety smooth pudding that’s quite quick and easy to make. It’s known as pastry cream, used as a filling for eclairs, choux, boston cream pie, napoleons (mille-feuille), tartes, cupcakes  and lots of dessert pastries.

 crème pâtissière

I learned it the easy way from my mom who is a great cook. When i say easy, i mean it’s really easy, with few ingredients and less than 10 minutes to be ready!

It’s a pleasure to make this cream and there is no chance to fail or get any lumps! Follow the instructions and you will be licking the saucepan and spoon.

 crème pâtissière

You will need:

  • 3 cups milk
  • 3 tbsp flour
  • 4 tbsp sugar
  • 3 eggs
  • 1 tsp vanilla
  • 1 tsp lemon zest
  • 1 tbsp rum

In your sauce pan mix all except the eggs and whisk until sugar is completely dissolved and all ingredients are well incorporated.

Add the eggs one by one and mix.

Now bring your sauce pan to medium heat and stir continuously, when you see the first bubble forming (after almost 4-5 minutes), put the heat to low and keep whisking until you get the desired consistency. Am talking about 1-2 minutes.

Spoon the hot crème pâtissière into a bowl and place plastic wrap directly onto it to cover. This will prevent a skin from forming as it cools. Let it rest, until it comes to room temperature and then place it into the fridge to chill for several hours.

 crème pâtissière

I have pâte a choux that i will fill in with this delicious cream!

 crème pâtissière

 crème pâtissièreYou can sprinkle on top some icing sugar, or drizzle chocolate sauce or caramel. They all match heavenly with it. Ready to serve!

 crème pâtissière

 crème pâtissièreEven kids enjoy the taste, it’s nutritious as well! My husband loves it so much he can eat it alone.

 crème pâtissière

Enjoy!